
Uniden D1483-3BK Handset Keypad Replacement

Arbitrary Name とその他
最終更新日: 2015年6月19日
閲覧: 666
統計データ:
- 過去24時間:
- 2
- 過去7日:
- 20
- 過去30日:
- 81
- 今までの合計
- 666
コメント: 0
このガイドにコメントを投稿した人はいません。何かコメントはありませんか?(日本語可)
修理ガイドのコメントへ完了済み: 6 7
6人のユーザーがこのガイドを「完了」させました。あなたも加わりませんか?
あなたを含む、7人のユーザーがこのガイドを使って修理を「完了」させました。素晴らしいです!
お気に入り: 1 2
1人のユーザーがこのガイドをお気に入りに登録しています。あなたもリストに入れませんか?
あなたを含む、2人のユーザーがこのガイドをお気に入りに登録しています。
高画質の画像が必要
よりよい画像があればこのガイドが改善されます。よければ新しい写真を撮影し、編集し、アップロードしてお手伝いください。
はじめに
手順 1 に進む ↓To complete this guide you will have to separate the parts of the handset in order to access the keypad. The steps of this guide are moderate in difficulty. After completing this guide, users will no longer have a sticky keypad or worn out buttons.
必要な工具と部品
ツール


-
-
-
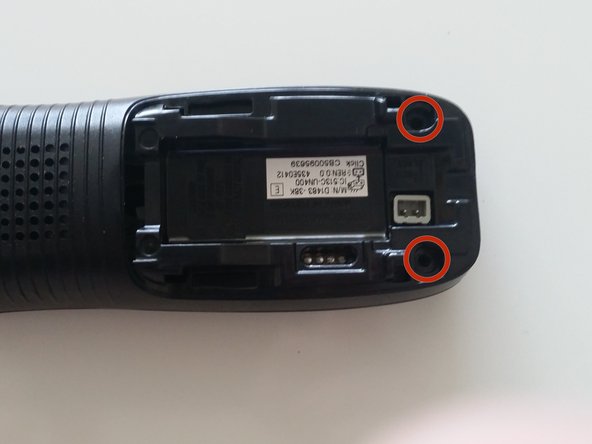
Slide the battery cover toward the bottom of the phone.
-
Lift and remove the back cover from the phone.
-
-
-
Remove the battery from its compartment.
-
Pinch the end of cord where the battery is attached to the phone and pull up gently.
-
-
-
-
-
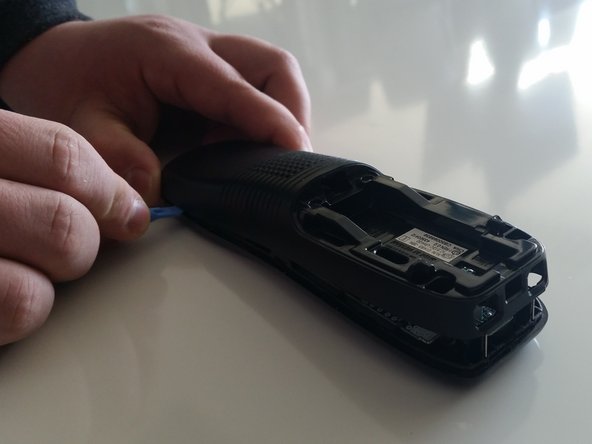
Use the plastic opening tool to carefully separate the two halves of the case.
-
Slowly work around the entire case to fully separate the halves before pulling them apart.
-
-
-
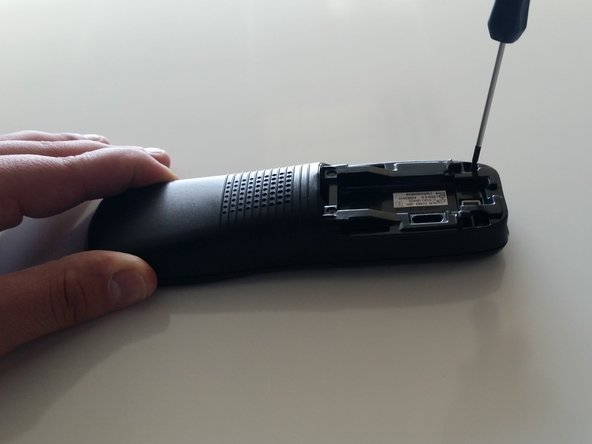
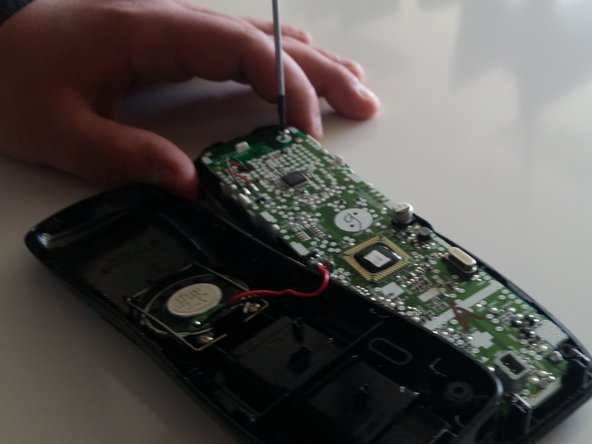
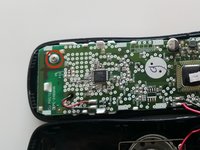
Carefully remove the 9mm Phillips #1 screw from the top corner of the circuit board.
-
-
-
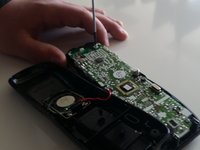
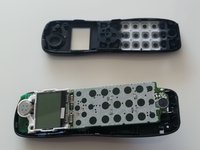
Carefully grasp either side of the circuit board and lift it straight out of the front half of the case.
-
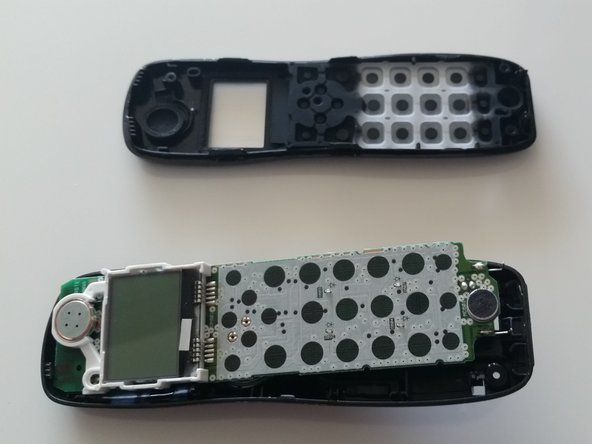
Set the board in the lower half of the case.
-
-
-
-
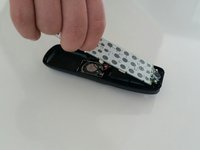
Remove the rubber keypad from the front half of the handset case.
-
-

 FixBotに聞いてみる








To reassemble your device, follow these instructions in reverse order.
6 の人々がこのガイドを完成させました。

チーム

Penn State, Team 1-8, Kaschak Winter 2015 Penn State, Team 1-8, Kaschak Winter 2015人のメンバー
PSU-KASCHAK-W15S1G8
4 メンバー
48のガイドは作成済み
