メインコンテンツにスキップ

このバージョンは誤った内容を含んでいる可能性があります。最新の承認済みスナップショットに切り替えてください。

必要な工具と部品

  1. この手順は未翻訳です。 翻訳を手伝う。

    : 手順 1、 1の画像 1
    • Push the highlighted button in the direction in which the antenna is pointing. The battery will release and pop up.

  2. この手順は未翻訳です。 翻訳を手伝う。

    : 手順 2、 1の画像 1
    • Remove the battery.

  3. この手順は未翻訳です。 翻訳を手伝う。

    : 手順 3、 1の画像 1
    • Identify the antenna. It is the extendable plastic component pictured here.

  4. この手順は未翻訳です。 翻訳を手伝う。

    : 手順 4、 1の画像 1
    • Twist the base in a counter-clockwise motion to unscrew the antenna.

  5. この手順は未翻訳です。 翻訳を手伝う。

    : 手順 5、 2の画像 1 : 手順 5、 2の画像 2
    • The antenna should slide right out of the phone when finished.

  6. この手順は未翻訳です。 翻訳を手伝う。

    : 手順 6、 1の画像 1
    • Remove the small rubber grommet using the plastic opening tool.

  7. この手順は未翻訳です。 翻訳を手伝う。

    : 手順 7、 1の画像 1
    • Remove five screws using a Phillips #00 screwdriver.

  8. この手順は未翻訳です。 翻訳を手伝う。

    : 手順 8、 1の画像 1
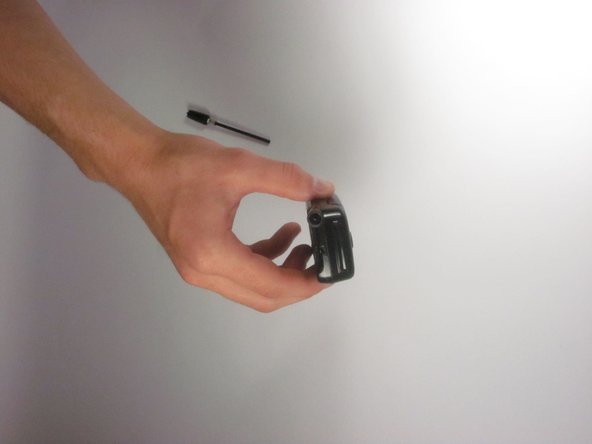
    • Use the plastic opening tool to separate the two pieces that form the outer case of the phone.

    • Prying the two pieces apart may be difficult. Carefully apply a moderate amount of pressure when attempting to separate the two pieces or else you will risk breaking them.

  9. この手順は未翻訳です。 翻訳を手伝う。

    : 手順 9、 1の画像 1
    • Remove the back piece of the outer case.

  10. この手順は未翻訳です。 翻訳を手伝う。

    : 手順 10、 1の画像 1
    • Remove the speaker using a plastic opening tool.

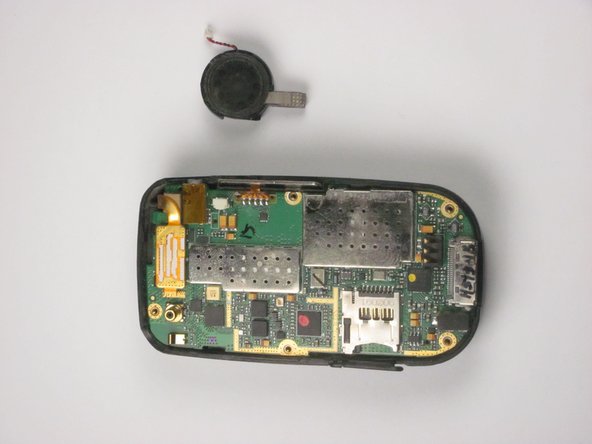
    • Apply a small amount of force when removing the broken speaker from the motherboard. If you apply a large amount of force, you may rip out the wires and damage the motherboard.

  11. この手順は未翻訳です。 翻訳を手伝う。

    : 手順 11、 2の画像 1 : 手順 11、 2の画像 2
    • Remove the wire attached to the speaker from the motherboard using tweezers.

    • Apply a small amount of force when removing the wire from the motherboard. If you apply a large amount of force, you may rip out the wires and damage the motherboard.

  12. この手順は未翻訳です。 翻訳を手伝う。

    : 手順 12、 1の画像 1
    • Detach the highlighted piece from the logic board using a plastic opening tool.

  13. この手順は未翻訳です。 翻訳を手伝う。

    : 手順 13、 2の画像 1 : 手順 13、 2の画像 2
    • Remove the logic board from the anterior piece of the outer case using the plastic opening tool.

ゴール

作成者

5人の作成者と共同で作成されました。

Bilal

メンバー登録日: 10/04/12

1 ポイント

1ガイドが承認済み

チーム

Cal Poly, Team 24-26, Regan Fall 2012 Cal Poly, Team 24-26, Regan Fall 2012人のメンバー

CPSU-REGAN-F12S24G26

4 メンバー

10のガイドは作成済み

0 件のコメント

コメントを追加

統計データ:

過去 24時間: 1

過去 7 日: 1

過去 30 日: 2

今までの合計 302