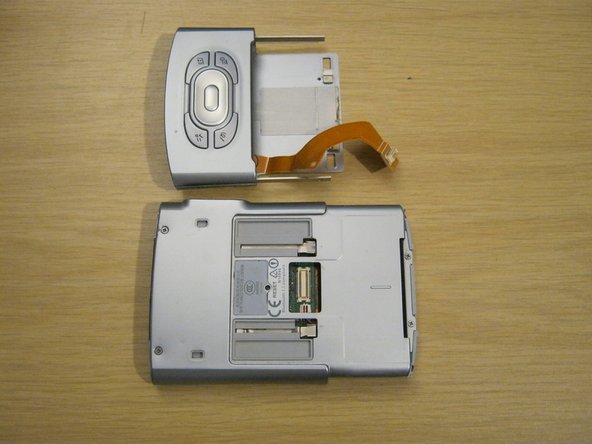
メインコンテンツにスキップ

Tungsten T3 Battery Replacement

必要な工具と部品

  1. Tungsten T3 Battery Replacement, Battery: 手順 1、 2の画像 1 Tungsten T3 Battery Replacement, Battery: 手順 1、 2の画像 2
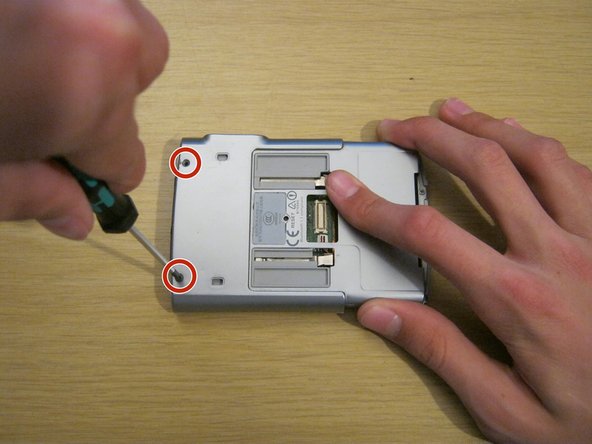
    • Remove the two Phillips #00 screws on either side of the device, on the sliding panel.

  2. Tungsten T3 Battery Replacement: 手順 2、 3の画像 1 Tungsten T3 Battery Replacement: 手順 2、 3の画像 2 Tungsten T3 Battery Replacement: 手順 2、 3の画像 3
    • Slide out the function panel.

    • Insert a paper clip into the two marked small holes on the back and push downwards while pulling the function panel gently.

    • The connector for the buttons will be revealed.

  3. Tungsten T3 Battery Replacement: 手順 3、 3の画像 1 Tungsten T3 Battery Replacement: 手順 3、 3の画像 2 Tungsten T3 Battery Replacement: 手順 3、 3の画像 3
    • Gently remove the function panel from the device.

    • Be careful - it's still connected by the button cable. Peel the cable from the device carefully with a spudger - it is attached with a little bit of adhesive.

    • Carefully remove the connector and set the panel aside.

  4. Tungsten T3 Battery Replacement: 手順 4、 2の画像 1 Tungsten T3 Battery Replacement: 手順 4、 2の画像 2
    • Remove the two Phillips #00 screws on the back of the device.

  5. Tungsten T3 Battery Replacement: 手順 5、 3の画像 1 Tungsten T3 Battery Replacement: 手順 5、 3の画像 2 Tungsten T3 Battery Replacement: 手順 5、 3の画像 3
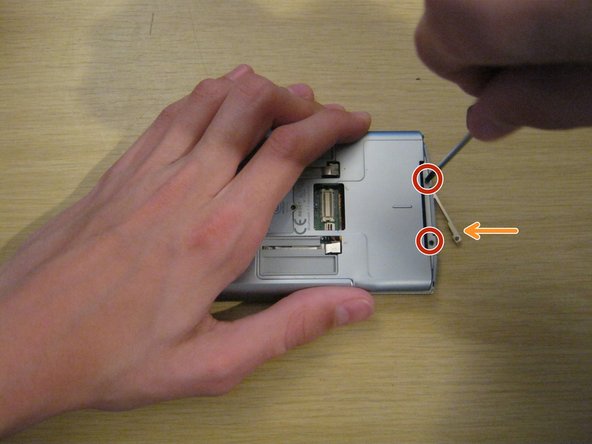
    • Remove the two small Phillips #00 screws at the other end of the device.

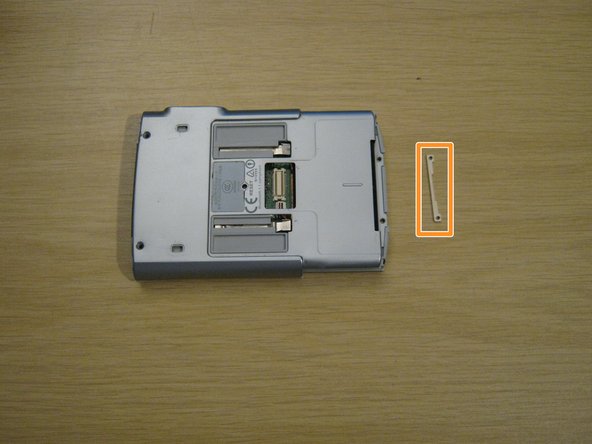
    • A small metal part will fall out of the device from the other side. Keep hold of this - you won't be able to put these screws back in without it.

    Every thing looks great why don’t p you show cost +delivery

    Keenleyside - 返信

  6. Tungsten T3 Battery Replacement: 手順 6、 3の画像 1 Tungsten T3 Battery Replacement: 手順 6、 3の画像 2 Tungsten T3 Battery Replacement: 手順 6、 3の画像 3
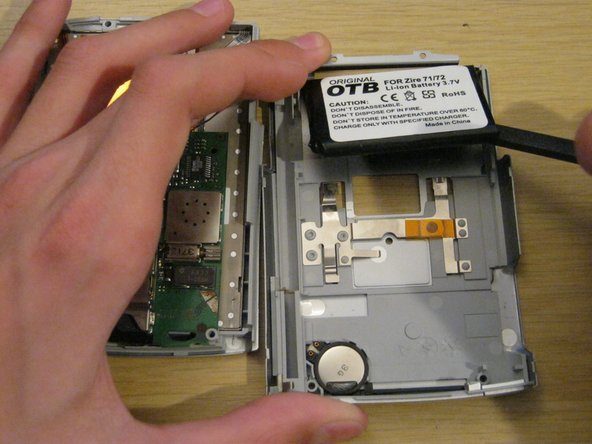
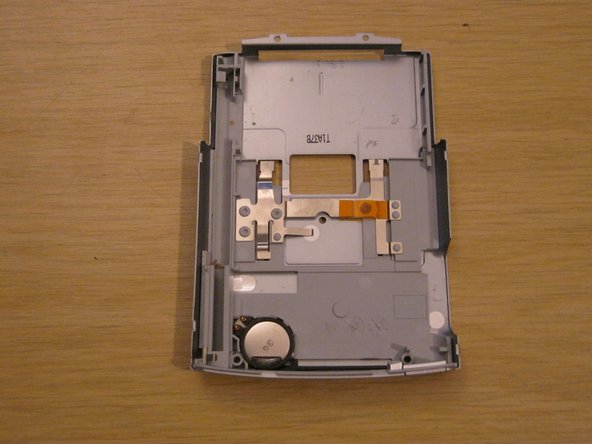
    • Using a spudger, gently separate the back casing from the rest of the device.

    • Be careful - the back casing contains the battery, which is connected by a very thin battery cable.

    There is an additional loose metal device which will or can come out. I believe it is to go at the bottom of the stylus hole. But there is no info in these directions. Ned to place it with the clip part at thebottom and make sure it stays there when reassembling. I put mine in upside down only to have to start over again to correct it. Author needs to edit or add a picture showing its correct placement.

    Curt

    curt_whitney - 返信

  7. Tungsten T3 Battery Replacement: 手順 7、 3の画像 1 Tungsten T3 Battery Replacement: 手順 7、 3の画像 2 Tungsten T3 Battery Replacement: 手順 7、 3の画像 3
    • Lay the two halves side by side.

    • The battery is usually held to the case by a small amount of adhesive. Carefully peel it up with a spudger.

    • Lay the back case aside.

  8. Tungsten T3 Battery Replacement: 手順 8、 3の画像 1 Tungsten T3 Battery Replacement: 手順 8、 3の画像 2 Tungsten T3 Battery Replacement: 手順 8、 3の画像 3
    • You should now be left with the front panel and the battery.

    • Gently disconnect the battery connector from the front panel. It's small and the pins are delicate, so be careful not to bend it.

    • When you install the new battery, you may find it useful to secure it to the back casing with some double-sided tape or even a small amount of glue.

  9. Tungsten T3 Battery Replacement: 手順 9、 2の画像 1 Tungsten T3 Battery Replacement: 手順 9、 2の画像 2
    • When reassembling your device, remember to place the small metal part on the front of the device and hold it while you insert the two small screws.

    • The screws won't stay in unless they're screwed into this metal part.

終わりに

To reassemble your device, follow these instructions in reverse order.

10 の人々がこのガイドを完成させました。

作成者

7人の作成者と共同で作成されました。

Whitney

メンバー登録日: 09/08/11

303 ポイント

3のガイドは作成済み

チーム

University of Maine, Team 1-14, Diaz Fall 2011 University of Maine, Team 1-14, Diaz Fall 2011人のメンバー

UMAINE-DIAZ-F11S1G14

2 メンバー

3のガイドは作成済み

コメント 1 件

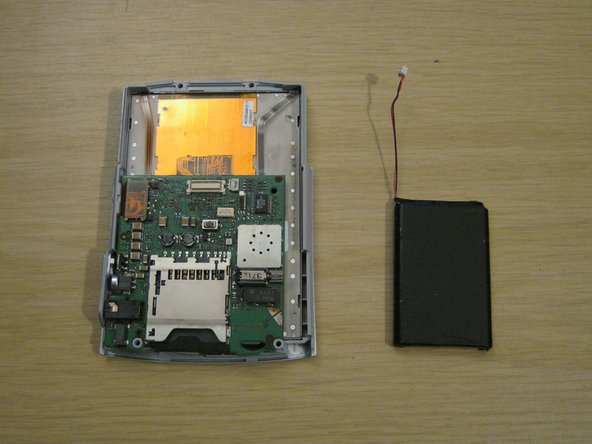
The only thing I would add is before replacing the battery, be sure to backup your device since disconnecting the battery will do a total reset.

bill.costa_01 - 返信

コメントを追加

統計データ:

過去 24時間: 1

過去 7 日: 4

過去 30 日: 40

今までの合計 7,097