メインコンテンツにスキップ

Toyota Sienna 2009 Lightbulb Replacement Replacement

必要な工具と部品

  1. Toyota Sienna 2009 Lightbulb Replacement Replacement, Lightbulb Replacement: 手順 1、 3の画像 1 Toyota Sienna 2009 Lightbulb Replacement Replacement, Lightbulb Replacement: 手順 1、 3の画像 2 Toyota Sienna 2009 Lightbulb Replacement Replacement, Lightbulb Replacement: 手順 1、 3の画像 3
    • Locate the latch on the bottom left of steering wheel.

    • Once found, pull in your direction.

  2. Toyota Sienna 2009 Lightbulb Replacement Replacement: 手順 2、 3の画像 1 Toyota Sienna 2009 Lightbulb Replacement Replacement: 手順 2、 3の画像 2 Toyota Sienna 2009 Lightbulb Replacement Replacement: 手順 2、 3の画像 3
    • Now that you have unlocked the hood, locate the latch on top of the logo to fully release the hood.

    • Once found, lift the latch upwards and you have now freed the hood.

  3. Toyota Sienna 2009 Lightbulb Replacement Replacement: 手順 3、 3の画像 1 Toyota Sienna 2009 Lightbulb Replacement Replacement: 手順 3、 3の画像 2 Toyota Sienna 2009 Lightbulb Replacement Replacement: 手順 3、 3の画像 3
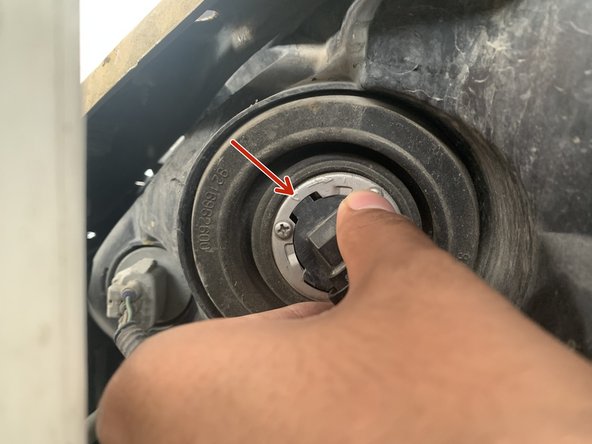
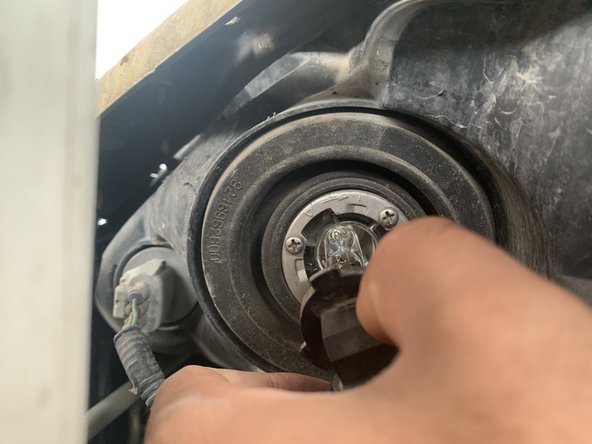
    • Locate the lightbulb by locating the access compartment.

    • Once located, twist the compartment counter-clockwise and pull to free the lighbulb.

    • The plastic holding the compartment in place should appear in the gap shown in the picture.

  4. Toyota Sienna 2009 Lightbulb Replacement Replacement: 手順 4、 3の画像 1 Toyota Sienna 2009 Lightbulb Replacement Replacement: 手順 4、 3の画像 2 Toyota Sienna 2009 Lightbulb Replacement Replacement: 手順 4、 3の画像 3
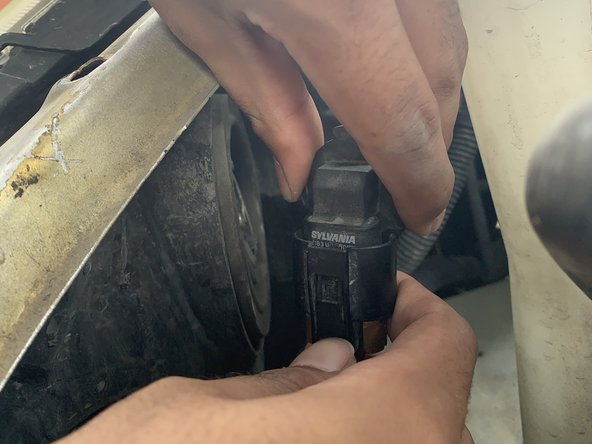
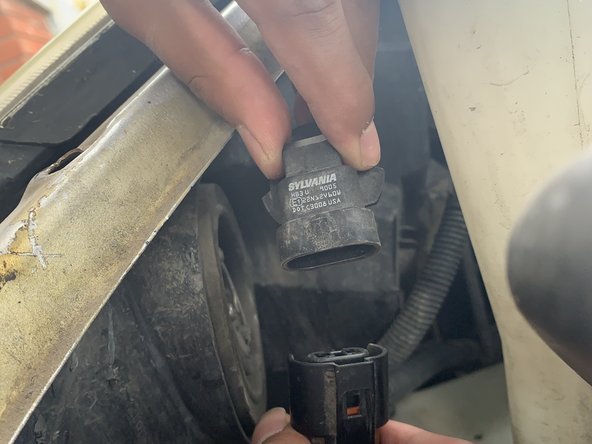
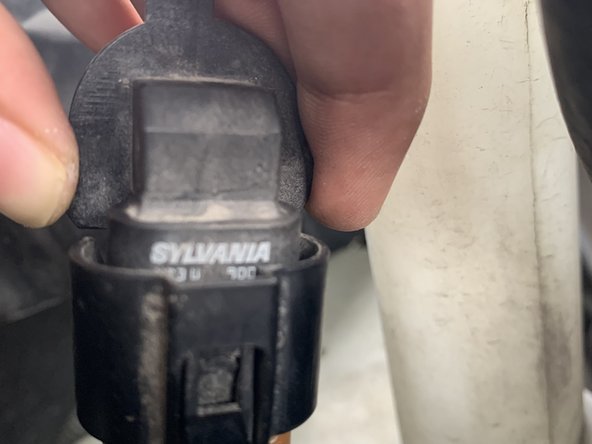
    • Turn the back of the bulb connector towards yourself, and prepare to remove the clasp, freeing the bulb.

    • In order to free the bulb, press firmly on the clasp, and pull with enough force to pull it out, but not enough to break it.

  5. Toyota Sienna 2009 Lightbulb Replacement Replacement: 手順 5、 2の画像 1 Toyota Sienna 2009 Lightbulb Replacement Replacement: 手順 5、 2の画像 2
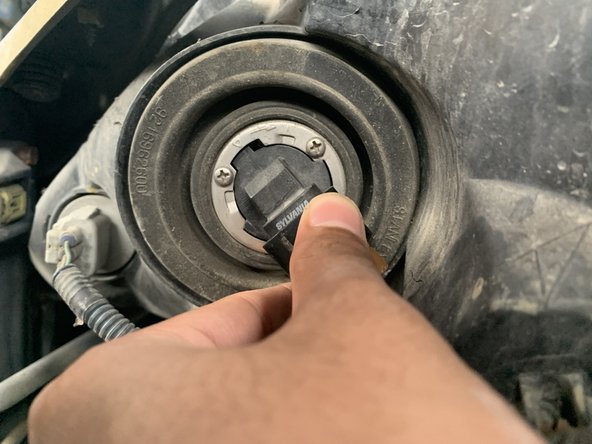
    • Once you have the new lightbulb ready, it is time to put everything back together.

    • Simply press the new bulb into where the old one was, making sure it is locked into the clasp.

  6. Toyota Sienna 2009 Lightbulb Replacement Replacement: 手順 6、 3の画像 1 Toyota Sienna 2009 Lightbulb Replacement Replacement: 手順 6、 3の画像 2 Toyota Sienna 2009 Lightbulb Replacement Replacement: 手順 6、 3の画像 3
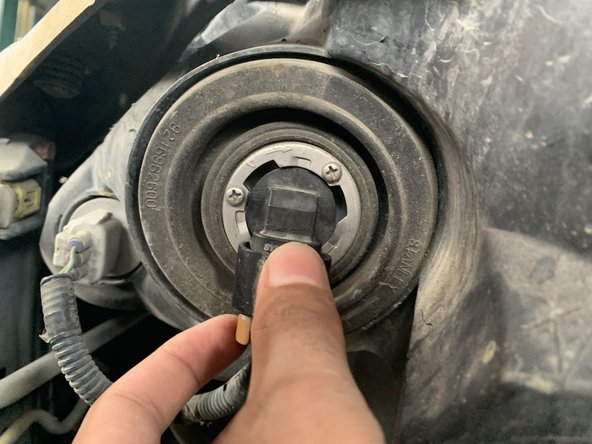
    • Line the connector with the empty point of where it is supposed to be locked in.

    • And this time, twist it clockwise to lock it into place.

  7. Toyota Sienna 2009 Lightbulb Replacement Replacement: 手順 7、 1の画像 1
    • That's it! You are all done! Congratulations on accomplishing this easy and simple fix.

終わりに

To reassemble your device, follow these instructions in reverse order.

作成者

1人の作成者と共同作成されました。

Muhammad Aqeel

メンバー登録日: 09/08/23

145 ポイント

1ガイドが承認済み

チーム

York University, Team D-3, O'Regan Fall 2023 York University, Team D-3, O'Regan Fall 2023人のメンバー

YORK-O'REGAN-F23SDG3

1 メンバー

1のガイドは作成済み

0 件のコメント

コメントを追加

統計データ:

過去 24時間: 0

過去 7 日: 0

過去 30 日: 8

今までの合計 91