メインコンテンツにスキップ

Toshiba Thrive Speakers Replacement

必要な工具と部品

  1. Toshiba Thrive Speakers Replacement, Back Cover: 手順 1、 1の画像 1
    • Make sure the lock switch for the back cover is unlocked.

    • The cover is unlocked when the switch is slid in the direction of the 'unlock' icon.

  2. Toshiba Thrive Speakers Replacement: 手順 2、 2の画像 1 Toshiba Thrive Speakers Replacement: 手順 2、 2の画像 2
    • Remove back cover by prying away from the Thrive.

    • The easiest place to pry from is one of the two speakers.

  3. Toshiba Thrive Speakers Replacement: 手順 3、 1の画像 1
    • To remove the battery, make sure the lock switch is in the unlocked position.

    • The battery is unlocked when the switch is slid to the unlocked position.

  4. Toshiba Thrive Speakers Replacement: 手順 4、 3の画像 1 Toshiba Thrive Speakers Replacement: 手順 4、 3の画像 2 Toshiba Thrive Speakers Replacement: 手順 4、 3の画像 3
    • Slide the battery switch release to the right.

    • While holding the switch in place, lift up the battery.

  5. Toshiba Thrive Speakers Replacement, Speakers: 手順 5、 2の画像 1 Toshiba Thrive Speakers Replacement, Speakers: 手順 5、 2の画像 2
    • Start by using a PH0 phillips head screwdriver to remove the 12 screws holding on the back cover

    • All of these screws are identical so don't worry about getting them mixed up.

  6. Toshiba Thrive Speakers Replacement: 手順 6、 3の画像 1 Toshiba Thrive Speakers Replacement: 手順 6、 3の画像 2 Toshiba Thrive Speakers Replacement: 手順 6、 3の画像 3
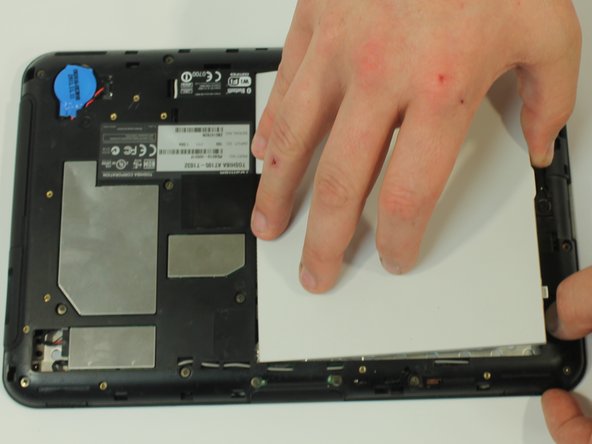
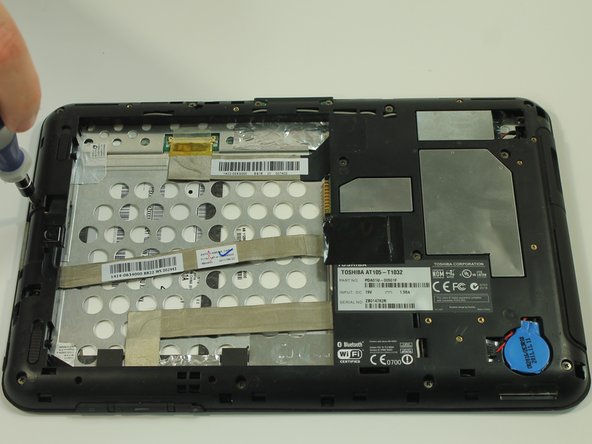
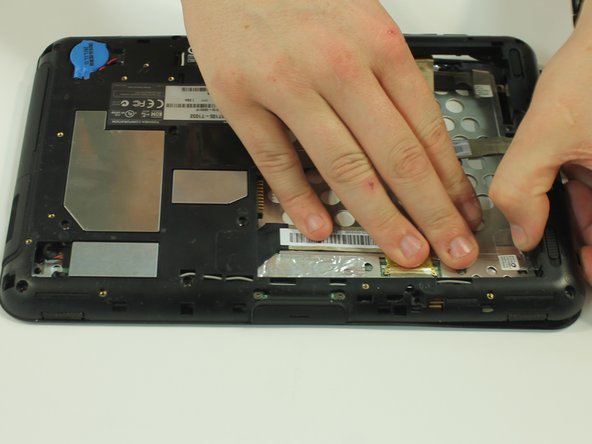
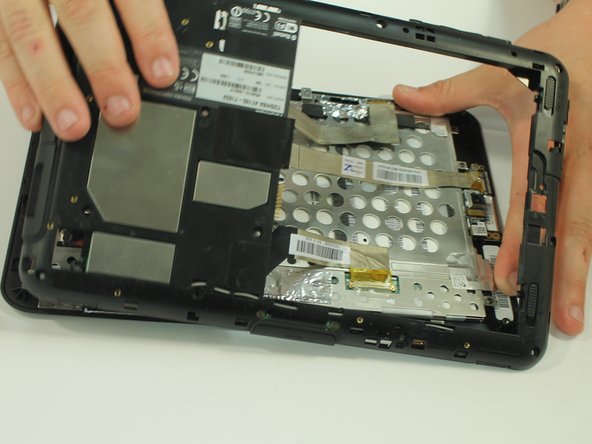
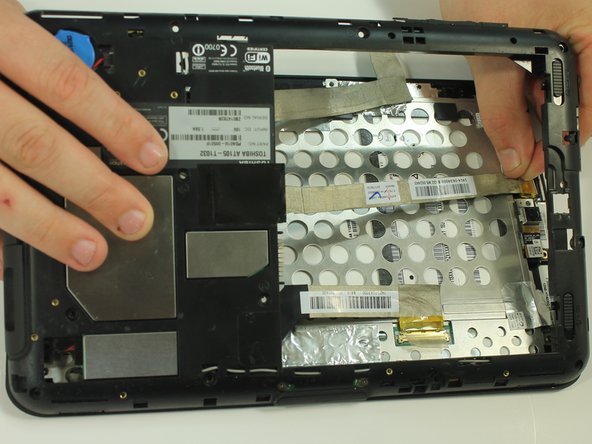
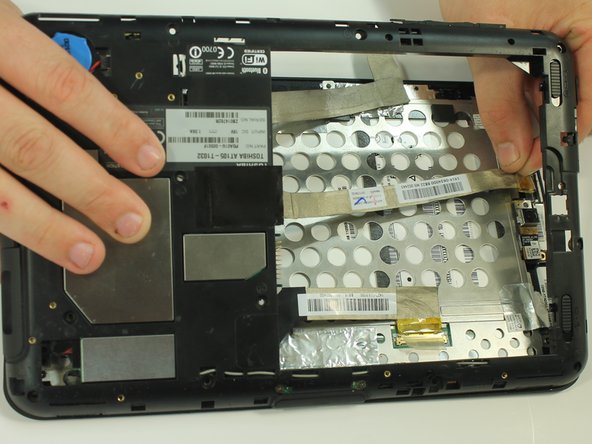
    • Start to gently pry the back of the device off, while leaving it loosely in place.

    • Be careful not to tear or damage the cables when removing the back.

  7. Toshiba Thrive Speakers Replacement: 手順 7、 3の画像 1 Toshiba Thrive Speakers Replacement: 手順 7、 3の画像 2 Toshiba Thrive Speakers Replacement: 手順 7、 3の画像 3
    • Once the back of the case is off, disconnect the wires by gently pulling on the plastic tabs as shown.

  8. Toshiba Thrive Speakers Replacement: 手順 8、 2の画像 1 Toshiba Thrive Speakers Replacement: 手順 8、 2の画像 2
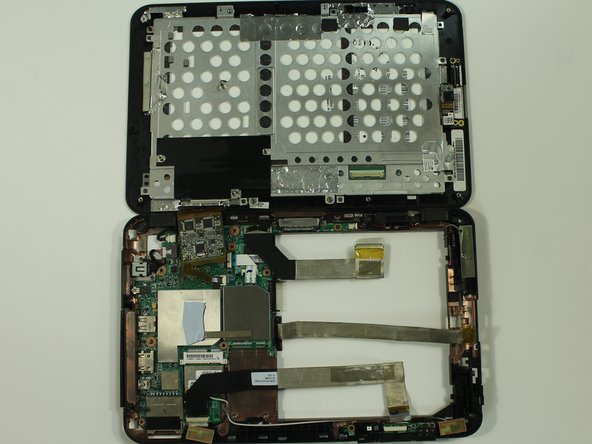
    • carefully open the device like a book and lay the two halves beside each other.

    • put the screen assembly in a safe place as you complete the rest of the guide.

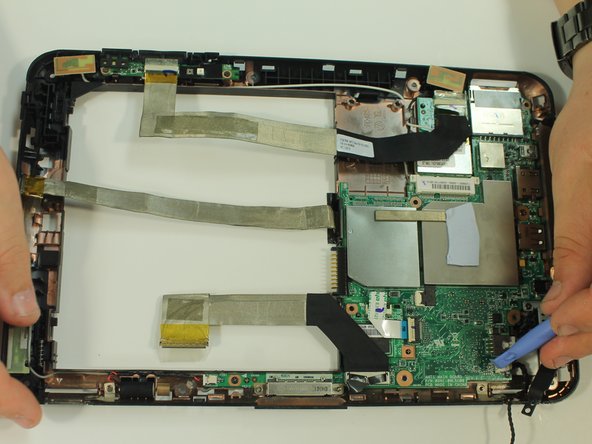
  9. Toshiba Thrive Speakers Replacement: 手順 9、 2の画像 1 Toshiba Thrive Speakers Replacement: 手順 9、 2の画像 2
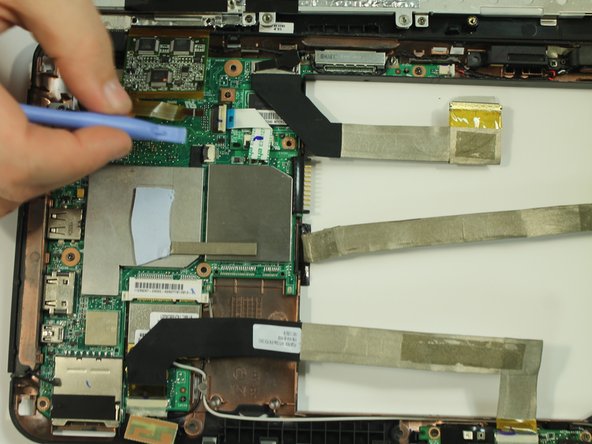
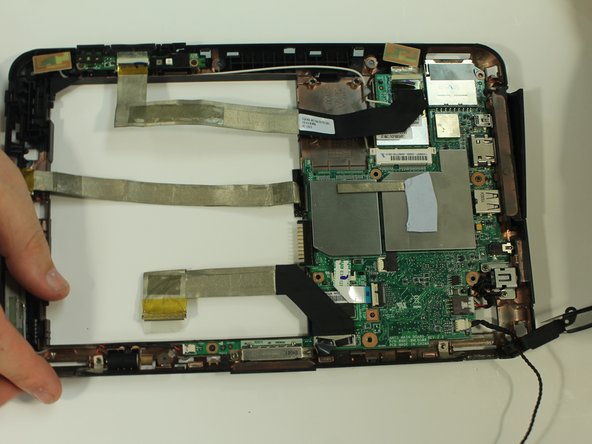
    • Use the plastic opening tool to open the latch holding the last wire to the back of the device.

  10. Toshiba Thrive Speakers Replacement: 手順 10、 3の画像 1 Toshiba Thrive Speakers Replacement: 手順 10、 3の画像 2 Toshiba Thrive Speakers Replacement: 手順 10、 3の画像 3
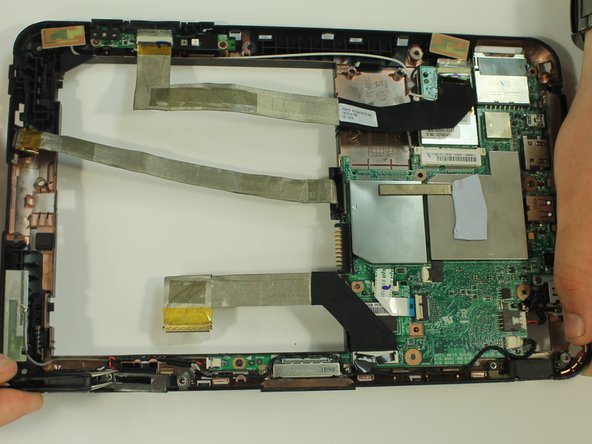
    • Remove the two screws holding the speakers in place. The screws are 3mm in length and require a PH0 screwdriver.

    • Using a pair of tweezers, remove the speaker.

  11. Toshiba Thrive Speakers Replacement: 手順 11、 3の画像 1 Toshiba Thrive Speakers Replacement: 手順 11、 3の画像 2 Toshiba Thrive Speakers Replacement: 手順 11、 3の画像 3
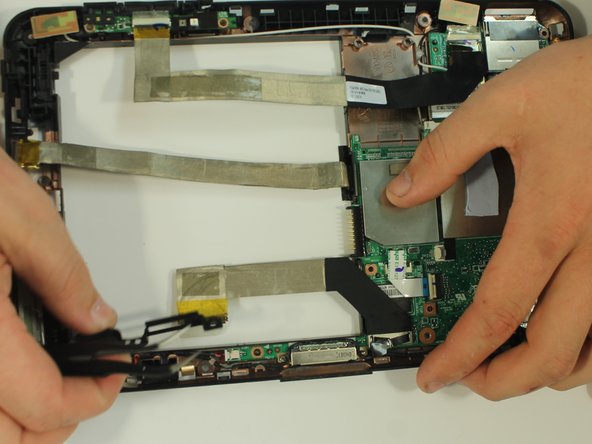
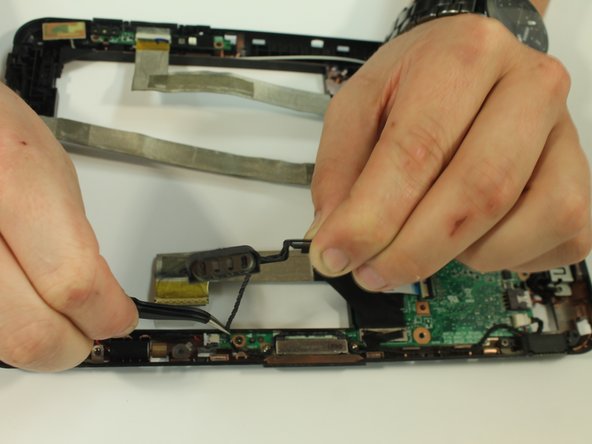
    • Use the tweezers to help you remove the speaker wire from the clips holding them in place.

    • After removal place the left speaker on the side.

  12. Toshiba Thrive Speakers Replacement: 手順 12、 3の画像 1 Toshiba Thrive Speakers Replacement: 手順 12、 3の画像 2 Toshiba Thrive Speakers Replacement: 手順 12、 3の画像 3
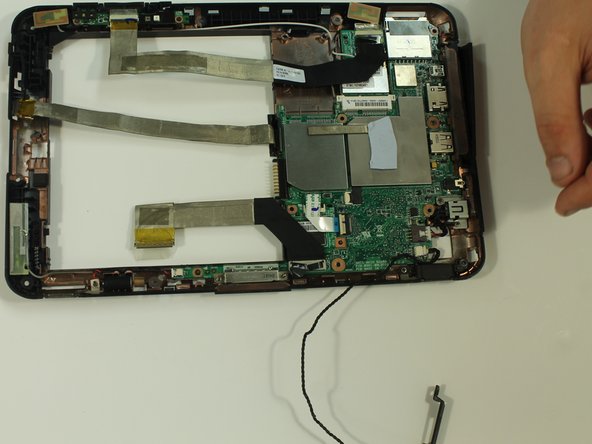
    • Use the tweezers again to help you remove the right speaker from its position.

    • Use a plastic opening tool to pull the connector connecting the speaker to the motherboard out of its port.

終わりに

To reassemble your device, follow these instructions in reverse order.

ある他の人がこのガイドを完成しました。

作成者

3人の作成者と共同で作成されました。

Ivan Williams

メンバー登録日: 09/22/14

133 ポイント

1ガイドが承認済み

チーム

USF Tampa, Team 10-1, Brown Fall 2014 USF Tampa, Team 10-1, Brown Fall 2014人のメンバー

USFT-BROWN-F14S10G1

3 メンバー

12のガイドは作成済み

0 件のコメント

コメントを追加

統計データ:

過去 24時間: 0

過去 7 日: 0

過去 30 日: 1

今までの合計 342