メインコンテンツにスキップ

Toshiba TDP-XP2 Fan Replacement

必要な工具と部品

  1. Toshiba TDP-XP2 Fan Replacement, Fan: 手順 1、 3の画像 1 Toshiba TDP-XP2 Fan Replacement, Fan: 手順 1、 3の画像 2 Toshiba TDP-XP2 Fan Replacement, Fan: 手順 1、 3の画像 3
    • Start by removing the two screws on the bottom of the device as shown.

  2. Toshiba TDP-XP2 Fan Replacement: 手順 2、 2の画像 1 Toshiba TDP-XP2 Fan Replacement: 手順 2、 2の画像 2
    • Remove the top plastic cover from the device. The back is snapped on so it would help to have leverage from a prying tool.

    • Remove the ribbon cable attached to the plastic piece just removed. Remember its orientation for re-assembling later.

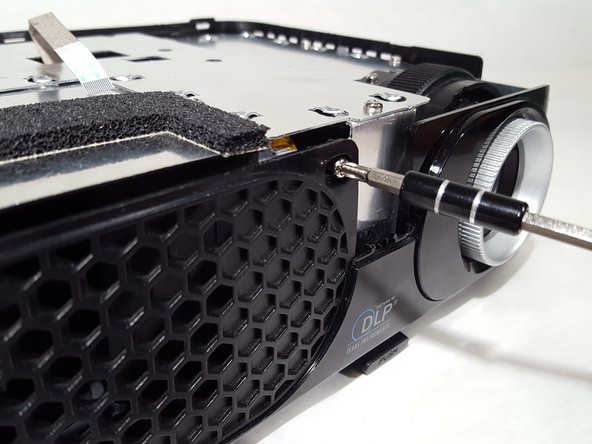
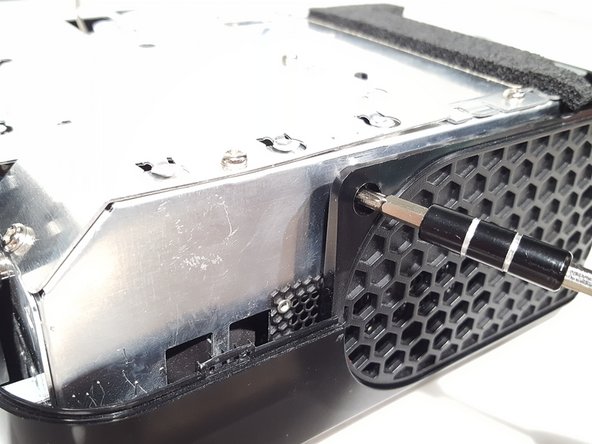
  3. Toshiba TDP-XP2 Fan Replacement: 手順 3、 3の画像 1 Toshiba TDP-XP2 Fan Replacement: 手順 3、 3の画像 2 Toshiba TDP-XP2 Fan Replacement: 手順 3、 3の画像 3
    • Remove the screws from the case located around the device.

  4. Toshiba TDP-XP2 Fan Replacement: 手順 4、 1の画像 1
    • Remove the plastic panels from the body.

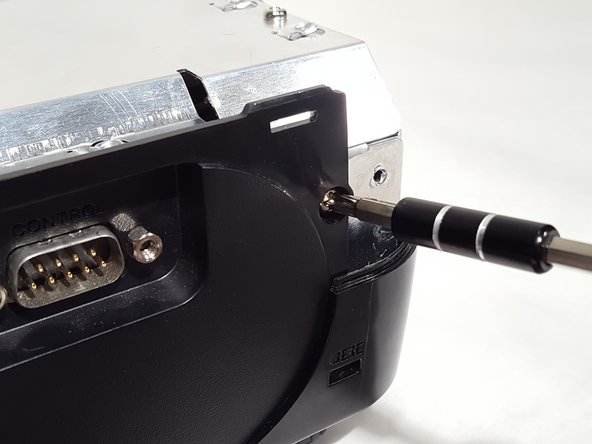
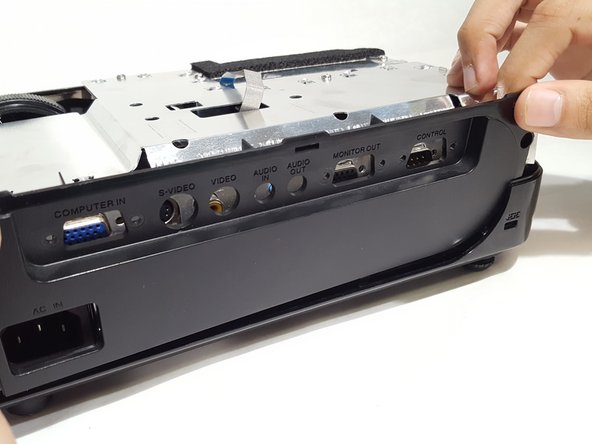
  5. Toshiba TDP-XP2 Fan Replacement: 手順 5、 3の画像 1 Toshiba TDP-XP2 Fan Replacement: 手順 5、 3の画像 2 Toshiba TDP-XP2 Fan Replacement: 手順 5、 3の画像 3
    • Remove the screws from the IO panel.

    • Pull up on the panel and remove it.

  6. Toshiba TDP-XP2 Fan Replacement: 手順 6、 2の画像 1 Toshiba TDP-XP2 Fan Replacement: 手順 6、 2の画像 2
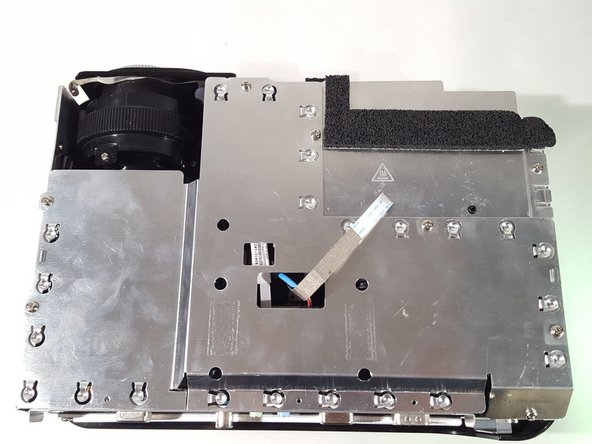
    • Unscrew the screws from the metal shielding to remove it.

  7. Toshiba TDP-XP2 Fan Replacement: 手順 7、 3の画像 1 Toshiba TDP-XP2 Fan Replacement: 手順 7、 3の画像 2 Toshiba TDP-XP2 Fan Replacement: 手順 7、 3の画像 3
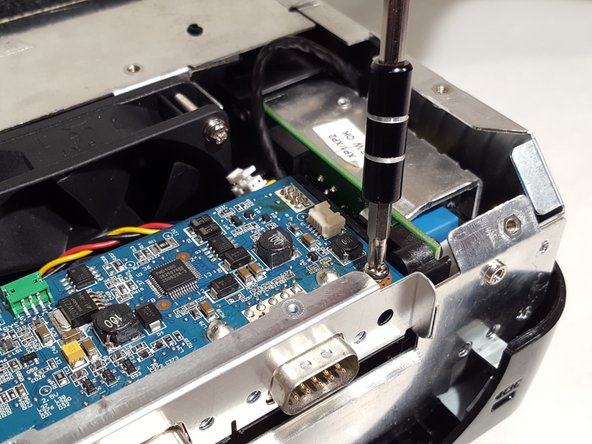
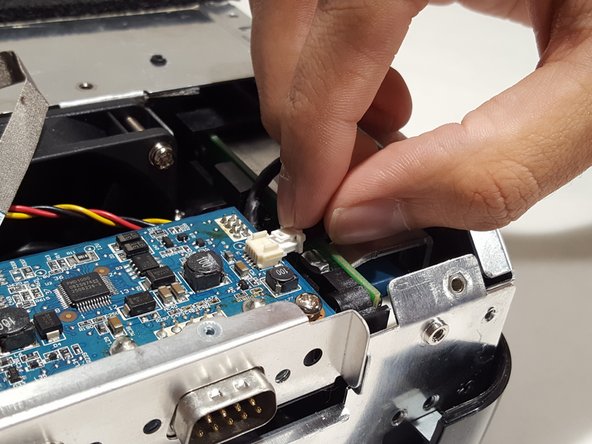
    • Remove cables from motherboard.

    • Unscrew motherboard and remove from device.

  8. Toshiba TDP-XP2 Fan Replacement: 手順 8、 1の画像 1
    • Remove the cable from the bottom of the motherboard to fully remove it.

  9. Toshiba TDP-XP2 Fan Replacement: 手順 9、 1の画像 1
    • Unscrew the power adapter on the back.

  10. Toshiba TDP-XP2 Fan Replacement: 手順 10、 2の画像 1 Toshiba TDP-XP2 Fan Replacement: 手順 10、 2の画像 2
    • Remove cables from the power supply board.

    • Remove the screws located around the board to un-mount it.

  11. Toshiba TDP-XP2 Fan Replacement: 手順 11、 1の画像 1
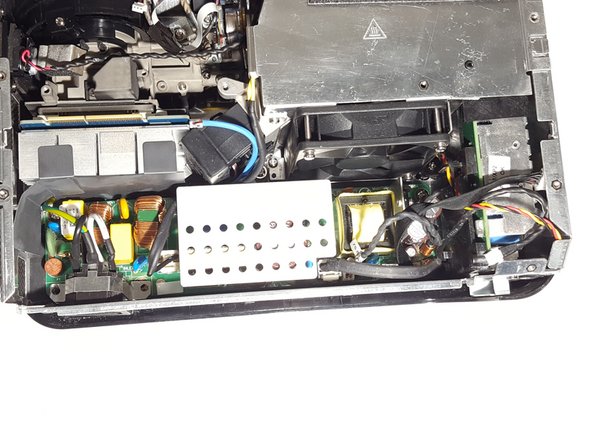
    • Remove the power board to reveal the bottom two screws to the fan.

    • Unscrew the fan and replace it with an equivalent one.

終わりに

To reassemble your device, follow these instructions in reverse order.

作成者

1人の作成者と共同作成されました。

Bryan Underwood

メンバー登録日: 04/02/18

697 ポイント

5のガイドは作成済み

チーム

University of Memphis, Team S1-G3, Kim Spring 2018 University of Memphis, Team S1-G3, Kim Spring 2018人のメンバー

UM-KIM-S18S1G3

3 メンバー

5のガイドは作成済み

0 件のコメント

コメントを追加

統計データ:

過去 24時間: 0

過去 7 日: 0

過去 30 日: 0

今までの合計 269