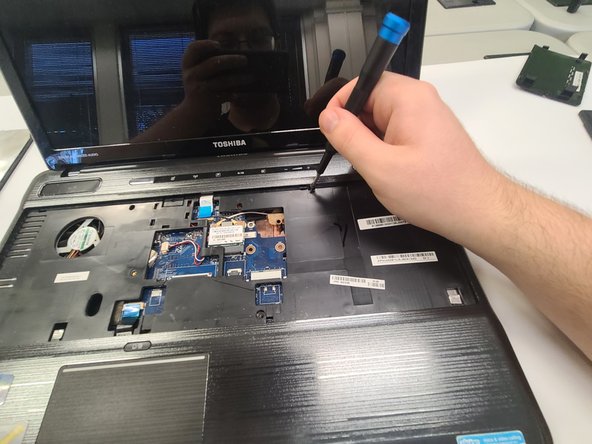
メインコンテンツにスキップ

Toshiba Satellite P755-EZ1511D Laptop Speakers Replacement

  1. Toshiba Satellite P755-EZ1511D Laptop Speakers Replacement, Battery: 手順 1、 1の画像 1
    • First flip the device over so that the back side is facing upwards

  2. Toshiba Satellite P755-EZ1511D Laptop Speakers Replacement: 手順 2、 1の画像 1
    • Push the two sliders toward the edge of the laptop.

    • Remove the battery.

  3. Toshiba Satellite P755-EZ1511D Laptop Speakers Replacement, Hard Drive: 手順 3、 1の画像 1
    • First, remove the screw holding the hard drive cover in place.

  4. Toshiba Satellite P755-EZ1511D Laptop Speakers Replacement: 手順 4、 3の画像 1 Toshiba Satellite P755-EZ1511D Laptop Speakers Replacement: 手順 4、 3の画像 2 Toshiba Satellite P755-EZ1511D Laptop Speakers Replacement: 手順 4、 3の画像 3
    • Lift the cover and set it aside.

  5. Toshiba Satellite P755-EZ1511D Laptop Speakers Replacement: 手順 5、 1の画像 1
    • Remove the hard drive.

  6. Toshiba Satellite P755-EZ1511D Laptop Speakers Replacement, Speakers: 手順 6、 3の画像 1 Toshiba Satellite P755-EZ1511D Laptop Speakers Replacement, Speakers: 手順 6、 3の画像 2 Toshiba Satellite P755-EZ1511D Laptop Speakers Replacement, Speakers: 手順 6、 3の画像 3
    • Remove all of the screws labeled F8 from the backside of the device.

  7. Toshiba Satellite P755-EZ1511D Laptop Speakers Replacement: 手順 7、 3の画像 1 Toshiba Satellite P755-EZ1511D Laptop Speakers Replacement: 手順 7、 3の画像 2 Toshiba Satellite P755-EZ1511D Laptop Speakers Replacement: 手順 7、 3の画像 3
    • Flip the device over and open it up.

    • Using your pry tool begin to pop the keyboard upwards starting from the side closest to the screen. You will hear an audible "pop" sound.

  8. Toshiba Satellite P755-EZ1511D Laptop Speakers Replacement: 手順 8、 3の画像 1 Toshiba Satellite P755-EZ1511D Laptop Speakers Replacement: 手順 8、 3の画像 2 Toshiba Satellite P755-EZ1511D Laptop Speakers Replacement: 手順 8、 3の画像 3
    • After popping the keyboard off you need to disconnect the keyboard from the motherboard.

  9. Toshiba Satellite P755-EZ1511D Laptop Speakers Replacement: 手順 9、 2の画像 1 Toshiba Satellite P755-EZ1511D Laptop Speakers Replacement: 手順 9、 2の画像 2
    • Remove the two screws labeled F8 in the shown places.

  10. Toshiba Satellite P755-EZ1511D Laptop Speakers Replacement: 手順 10、 1の画像 1
    • Remove the optical drive from the device. Just pull it out.

  11. Toshiba Satellite P755-EZ1511D Laptop Speakers Replacement: 手順 11、 2の画像 1 Toshiba Satellite P755-EZ1511D Laptop Speakers Replacement: 手順 11、 2の画像 2
    • The next step is to unplug the speakers from the motherboard. The wire shown is the speaker wire.

  12. Toshiba Satellite P755-EZ1511D Laptop Speakers Replacement: 手順 12、 3の画像 1 Toshiba Satellite P755-EZ1511D Laptop Speakers Replacement: 手順 12、 3の画像 2 Toshiba Satellite P755-EZ1511D Laptop Speakers Replacement: 手順 12、 3の画像 3
    • Next, take your pry tool again and start to lift around the edge of the device. Once you get it lifted enough, use your hands to pop the top panel of the base of the device.

  13. Toshiba Satellite P755-EZ1511D Laptop Speakers Replacement: 手順 13、 2の画像 1 Toshiba Satellite P755-EZ1511D Laptop Speakers Replacement: 手順 13、 2の画像 2
    • Next, remove the wires from the the small clips holding them in place.

  14. Toshiba Satellite P755-EZ1511D Laptop Speakers Replacement: 手順 14、 3の画像 1 Toshiba Satellite P755-EZ1511D Laptop Speakers Replacement: 手順 14、 3の画像 2 Toshiba Satellite P755-EZ1511D Laptop Speakers Replacement: 手順 14、 3の画像 3
    • Lastly, remove the two screws holding the speaker in place.

    • After doing that you will be able to just lift up on the speaker to remove it.

    • Repeat Steps 8 and 9 for the other speaker.

終わりに

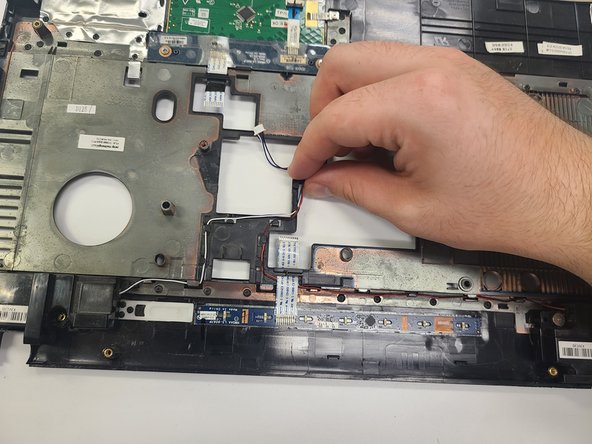
To reassemble your device, follow these instructions in reverse order.

作成者

2人の作成者と共同で作成されました。

Jacob Volcke

メンバー登録日: 09/22/22

665 ポイント

5のガイドは作成済み

チーム

University of North Texas, Team 4-2, Saru Jimmy Fall 2022 University of North Texas, Team 4-2, Saru Jimmy Fall 2022人のメンバー

UNT-SARU JIMMY-F22S4G2

4 メンバー

5のガイドは作成済み

0 件のコメント

コメントを追加

統計データ:

過去 24時間: 0

過去 7 日: 2

過去 30 日: 9

今までの合計 198