Locate the battery locks on the bottom of the laptop.
Slide the right lock outwards, until it locks into place.
Slide and hold the left lock outwards and hold it in place.
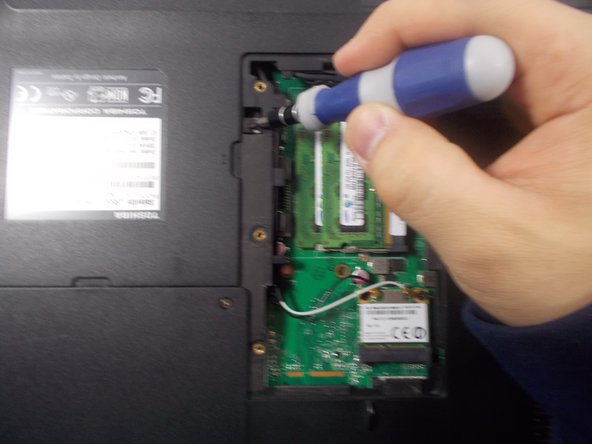
Unscrew the panel located over the RAM as shown
Rotate the computer so the battery is now located on the top of the device. Now unscrew the single screw located at the top left of the RAM's housing as shown
Remove the battery.
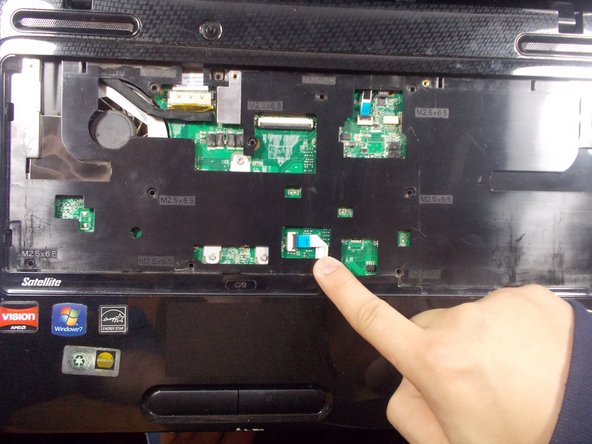
Unscrew the single screw closest to the center of the device, as shown in picture two.
Remove the four screws that were previously hidden by the battery.
Remove the disk drive located at the left of the device.
Remove two screws that were hidden by the disk drive, as shown in picture two.
Now turn the device over so you can see the keyboard. Find the plastic bar located at the top of the keyboard.
Pry this plastic cover off with the use of the plastic opening tools.
Now unscrew the screws that are located under the plastic cover previously removed. After these are gone, remove the keyboard.
Remove the screws located around the area the keyboard had previously covered, as shown in the red circles.
Before removing this cover, locate the connection indicated in the photo and disconnect it.
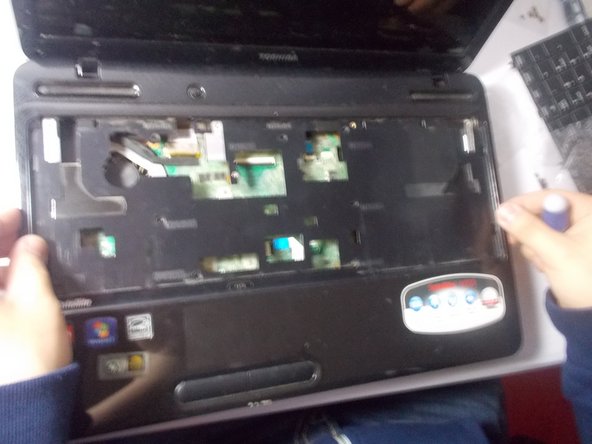
Remove the cover.
Turn the cover over and remove the back panel.
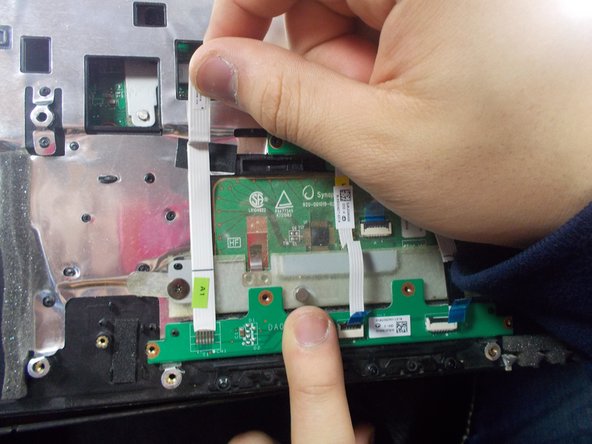
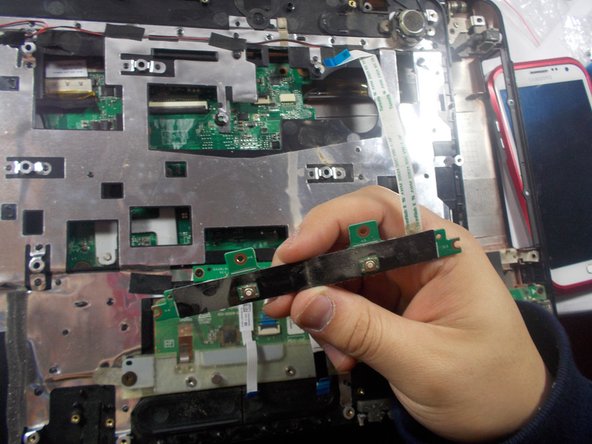
Locate the button found at the lower end of the cover. Once found, remove the four screws keeping it in place.
Remove the two buses from the button by the blue tab as shown in the pictures.
Remove the last bus from the motherboard by pulling the blue tab.
Remove the disfunctional button from the device.
このガイドを埋め込む
サイズを選択し、以下のコードをコピーして、このガイドを小さなウィジェットとしてサイト/フォーラムに埋め込みます。
1つの手順
全ガイド
小サイズ - 600px
中サイズ - 800px
大サイズ - 1200px
プレビュー


