-
-
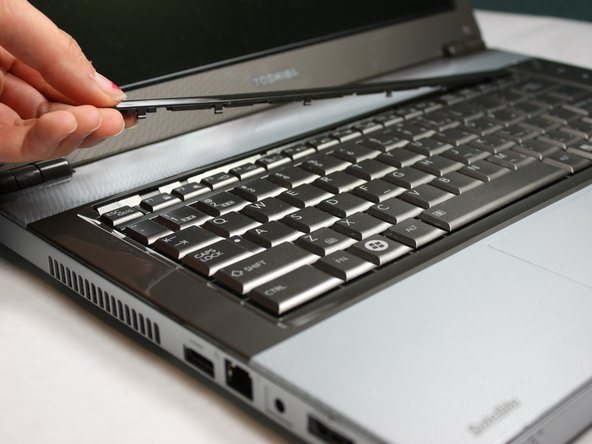
Flip the computer over and insert the plastic opening tool under the plastic strip at the top of the keyboard.
-
Pry the top plastic strip from the top of the keyboard.
-
Peel the strip completely away from the keyboard.
-
-
-
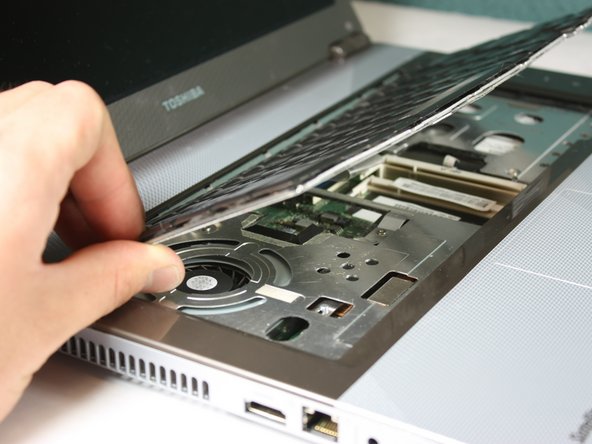
When removing the keyboard, be careful not to rip the ribbon cable connecting the keyboard to the computer, to avoid damaging it.
-
Flip the keyboard up from the bottom in order to see the two ribbons connecting it to the motherboard.
-
-
-
-
Completely remove the keyboard from the laptop by lifting up the part closest to the screen, and then gently pulling out the bottom half.
-
Keep the keyboard safe by storing it on a flat, non-metallic surface until needed.
-
-
-
Locate the four silver screws on the front panel.
-
Using the Phillips #0, unscrew to remove all four 2.95mm silver screws.
-
-
-
-
Rotate the laptop so the back faces you.
-
Locate the two black Philips #00 7.65 screws, one by each hinge, and remove.
-
-
Use the plastic opening tool to pry the top panel up from the base of the computer.
-
Slowly work your way around the computer with the plastic removing tool to make it easier to lift the top panel away from the base.
-
Carefully lift the top panel no more than six inches, as there are ribbon cables connecting the two pieces.
-
Disconnect ribbons, and slowly lift the top panel up, away from the base.
-
-
Locate the ribbon cable from the motherboard.
-
Using plastic removing tools, pop the ribbon base from the motherboard.
-
-
Locate the two plugs from the motherboard.
-
Using plastic opening tools, remove each plug from the motherboard.
-
-
Locate the ribbon cable partially hidden under the front panel.
-
Using plastic opening tools, pop out the ribbon cable from the motherboard.
-
-
Make sure that all wires have been disconnected before proceeding to avoid damaging components.
-
Slowly lift the top panel away from the base of the computer.
-
Place the top panel away from the computer and keep in a flat non-metallic surface until needed.
-
-
Rotate the computer so the screen is facing you and locate the four plastic screw covers; one at each corner of the screen
-
Using your fingernail, remove each cover in order to expose the screw.
-
-
-
-
Locate and remove the two Philips #00 5.65 mm screws in the bottom right and bottom left corners of the screen.
-
The screw in the bottom left corner is attached to a black and white cord in the back casing.
-
To remove the cord from the motherboard, grip the sides of the cord and pull up from the motherboard.
-
-
Locate and remove the eight Philips #00 5.65 mm screws, four on either side of the screen.
-
Lift the screen away from the rest of the laptop.
このガイドを埋め込む
サイズを選択し、以下のコードをコピーして、このガイドを小さなウィジェットとしてサイト/フォーラムに埋め込みます。
プレビュー