はじめに
This guide will show you how to replace the camera on your Toshiba Excite 7c. The camera itself plugs directly into the motherboard and can be slightly more difficult to replace than other componants.
必要な工具と部品
-
-
Place an iFixit opening tool in the seam between the screen and back casing.
-
Apply pressure down all four sides to separate the back casing from the screen.
-
Place the tablet face down and carefully remove the back panel.
-
-
-
-
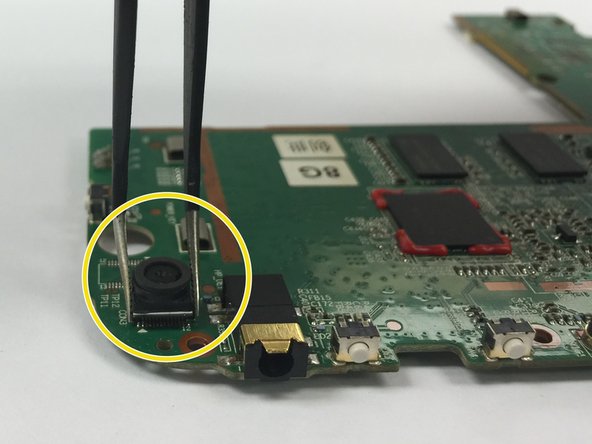
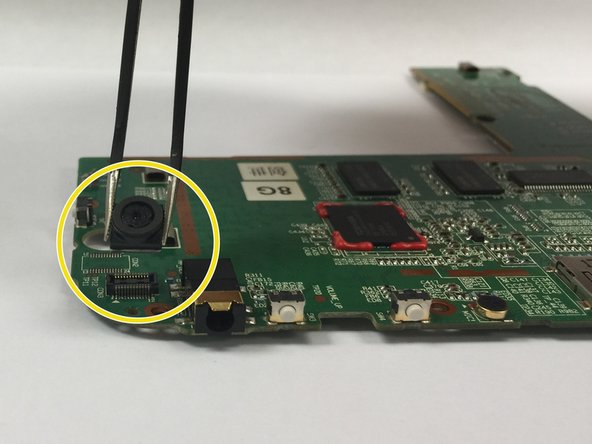
Locate the camera on the top portion of the motherboard as seen here.
-
Grip using the tweezers and pull directly up applying as much force as necessary to remove the camera.
-


To reassemble your device, follow these instructions in reverse order.
To reassemble your device, follow these instructions in reverse order.
ある他の人がこのガイドを完成しました。
チーム

Gateway, Team 1-2, Johnson Fall 2014 Gateway, Team 1-2, Johnson Fall 2014人のメンバー
GCC-JOHNSON-F14S1G2
2 メンバー
10のガイドは作成済み