メインコンテンツにスキップ

Toshiba A1304T Camera Replacement

必要な工具と部品

  1. Toshiba A1304T Camera Replacement, Back panel: 手順 1、 1の画像 1
    • Using a thumb-tack, push-pin, or similar pin, remove the four plastic stoppers located on the back panel.

  2. Toshiba A1304T Camera Replacement: 手順 2、 1の画像 1
    • With the T8 Torx Security Bit Screwdriver, remove the four screws in the designated locations.

    • The T8 Torx Security Bit Screwdriver can be substituted with a small flathead screwdriver. Screw removal may be slightly more difficult however.

  3. Toshiba A1304T Camera Replacement: 手順 3、 2の画像 1 Toshiba A1304T Camera Replacement: 手順 3、 2の画像 2
    • If needed, use the flathead screwdriver to gently pry the panel from the phone.

    • Using your fingers, lift the panel from the device.

  4. Toshiba A1304T Camera Replacement, Camera: 手順 4、 2の画像 1 Toshiba A1304T Camera Replacement, Camera: 手順 4、 2の画像 2
    • Using a small Phillips screwdriver, remove the two black screws from the positions indicated.

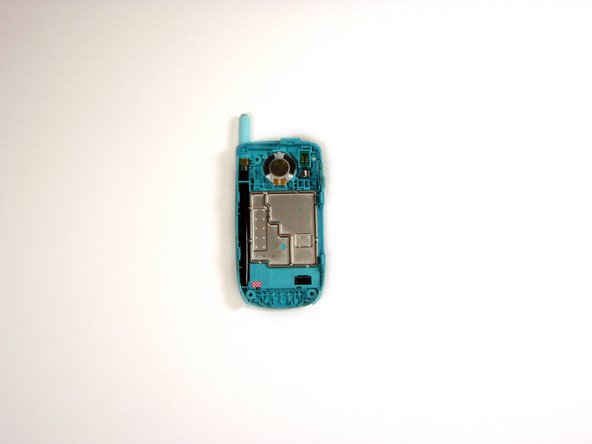
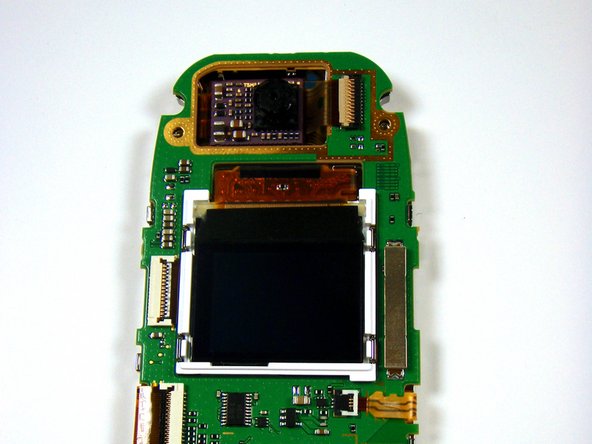
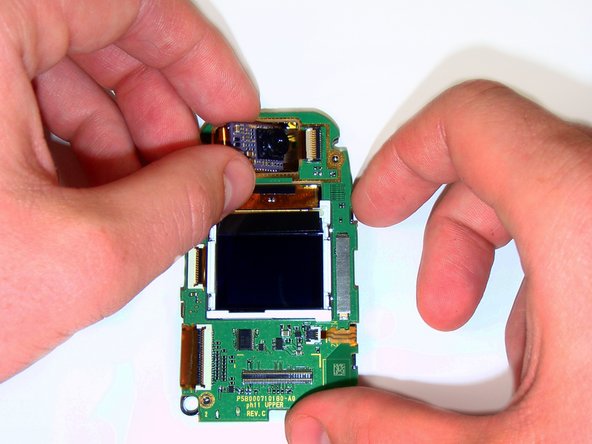
    • Gently pull the silver plate from the phone using your fingers.

  5. Toshiba A1304T Camera Replacement: 手順 5、 3の画像 1 Toshiba A1304T Camera Replacement: 手順 5、 3の画像 2 Toshiba A1304T Camera Replacement: 手順 5、 3の画像 3
    • Using the head of a flathead screwdriver, flip the white segment of the socket that the camera's ribbon-wire runs into so that it is orientated vertically.

    • Gently lift the camera from its cavity and pull it away from the socket using your thumb and forefinger.

終わりに

To reassemble your device, follow these instructions in reverse order.

作成者

4人の作成者と共同で作成されました。

Christopher

メンバー登録日: 04/22/10

90 ポイント

8のガイドは作成済み

チーム

Cal Poly, Team 16-6, Maness Spring 2010 Cal Poly, Team 16-6, Maness Spring 2010人のメンバー

CPSU-MANESS-S10S16G6

4 メンバー

16のガイドは作成済み

0 件のコメント

コメントを追加

統計データ:

過去 24時間: 0

過去 7 日: 1

過去 30 日: 3

今までの合計 2,055