メインコンテンツにスキップ

Tivax MiTraveler 10Q-8 Rear Case Replacement

必要な工具と部品

  1. Tivax MiTraveler 10Q-8 Rear Case Replacement, Rear Case: 手順 1、 2の画像 1 Tivax MiTraveler 10Q-8 Rear Case Replacement, Rear Case: 手順 1、 2の画像 2
    • With the device face down, slide the charging port cover off on the left side of device.

  2. Tivax MiTraveler 10Q-8 Rear Case Replacement: 手順 2、 1の画像 1
    • Locate a Phillips 2.88mm screw at the charging port.

  3. Tivax MiTraveler 10Q-8 Rear Case Replacement: 手順 3、 1の画像 1
    • Use a PH000 Philips head screwdriver to remove screw.

    • Remember lefty loosey, righty tighty

  4. Tivax MiTraveler 10Q-8 Rear Case Replacement: 手順 4、 1の画像 1
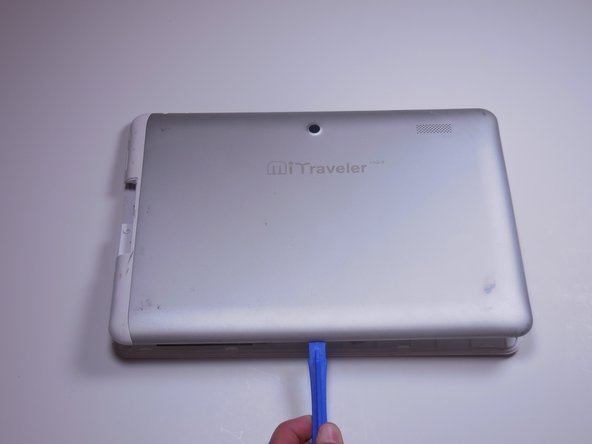
    • To pry the back plate off, use the plastic opening tool between the back plate and front plate; start at the headphone jack.

    • Make sure the lip of the plastic opening tool is face up.

  5. Tivax MiTraveler 10Q-8 Rear Case Replacement: 手順 5、 2の画像 1 Tivax MiTraveler 10Q-8 Rear Case Replacement: 手順 5、 2の画像 2
    • Move around the device with the plastic opening tool, pushing down to release the back plate from clips.

    • You will hear popping sounds when you work around the device.

  6. Tivax MiTraveler 10Q-8 Rear Case Replacement: 手順 6、 2の画像 1 Tivax MiTraveler 10Q-8 Rear Case Replacement: 手順 6、 2の画像 2
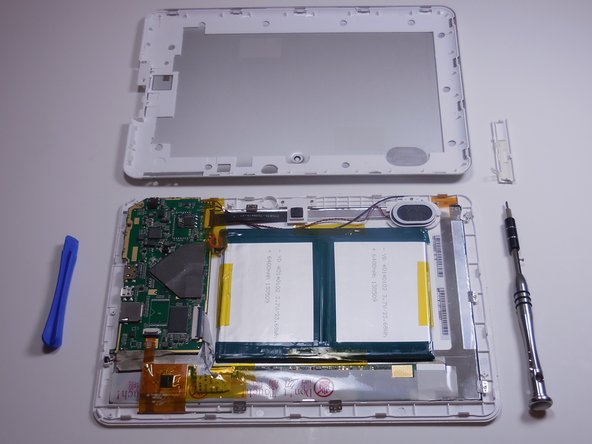
    • Once you’ve moved around the whole device with the plastic opening tool, the back plate will completely release from the rest of the device.

終わりに

To reassemble your device, simply slide the back plate back in to place and press down until you hear several clicks.

作成者

5人の作成者と共同で作成されました。

Maria

メンバー登録日: 03/16/15

210 ポイント

2のガイドは作成済み

チーム

Colorado Springs, Team 4-3, Panko Spring 2015 Colorado Springs, Team 4-3, Panko Spring 2015人のメンバー

UCCS-PANKO-S15S4G3

3 メンバー

10のガイドは作成済み

0 件のコメント

コメントを追加

統計データ:

過去 24時間: 0

過去 7 日: 2

過去 30 日: 2

今までの合計 285