メインコンテンツにスキップ

Thrustmaster T Flight Hotas 4 PlayStation Action Buttons Replacement

必要な工具と部品

  1. Thrustmaster T Flight Hotas 4 PlayStation Action Buttons Replacement, J1 Screws on Throttle: 手順 1、 1の画像 1
    • Be sure to disconnect the controller from the power source before disassembling.

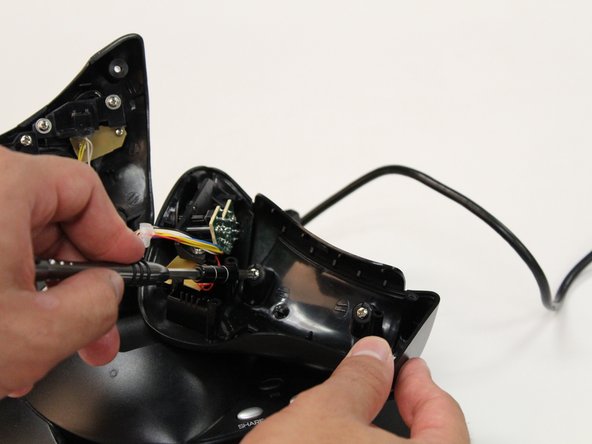
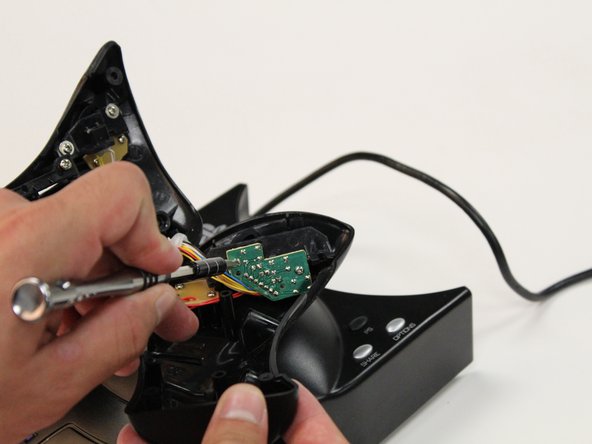
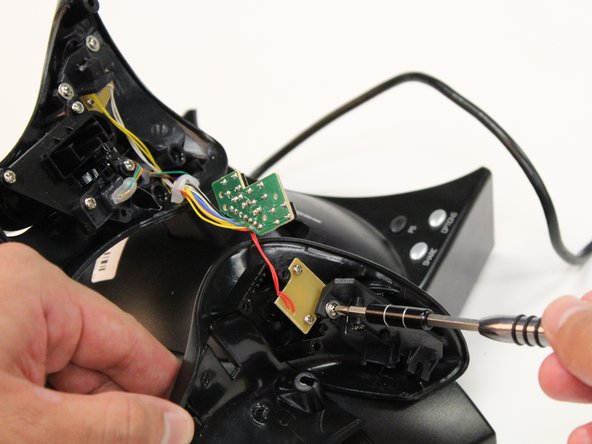
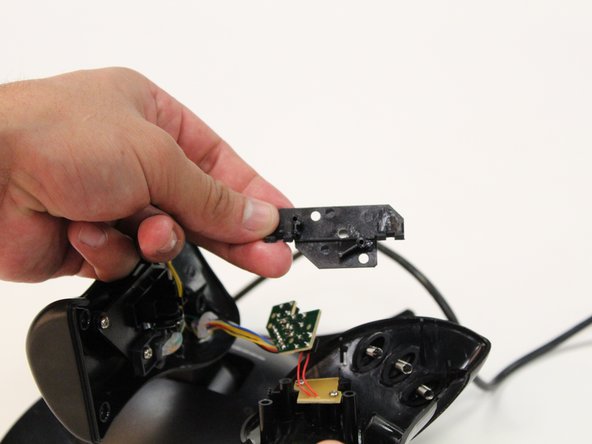
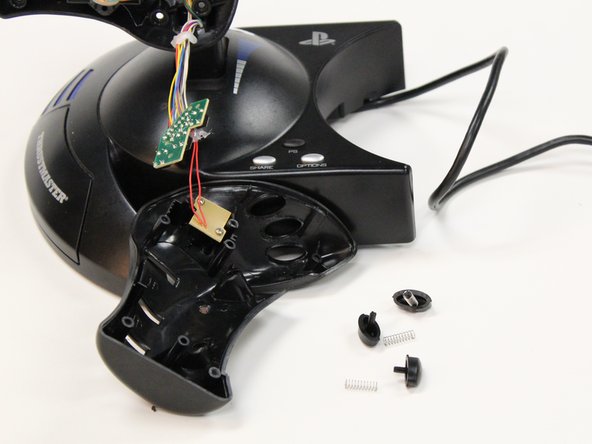
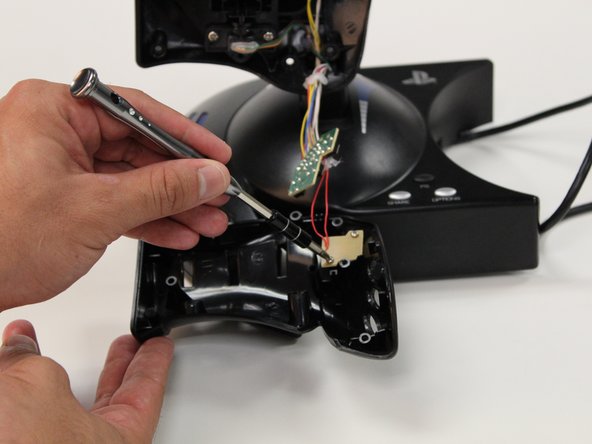
    • Remove the five 15 mm J1 JIS head screws from the front of the throttle.

  2. Thrustmaster T Flight Hotas 4 PlayStation Action Buttons Replacement, Throttle Panel: 手順 2、 2の画像 1 Thrustmaster T Flight Hotas 4 PlayStation Action Buttons Replacement, Throttle Panel: 手順 2、 2の画像 2
    • Be sure to disconnect the controller from the power source before disassembling.

    • Using your hands, pull away the panel from the throttle.

  3. Thrustmaster T Flight Hotas 4 PlayStation Action Buttons Replacement, PlayStation Action Buttons: 手順 3、 2の画像 1 Thrustmaster T Flight Hotas 4 PlayStation Action Buttons Replacement, PlayStation Action Buttons: 手順 3、 2の画像 2
    • Remove the two 8 mm J1 JIS head screws.

  4. Thrustmaster T Flight Hotas 4 PlayStation Action Buttons Replacement: 手順 4、 2の画像 1 Thrustmaster T Flight Hotas 4 PlayStation Action Buttons Replacement: 手順 4、 2の画像 2
    • Remove exterior panel from the throttle by using your hands to gently pull the panel away.

  5. Thrustmaster T Flight Hotas 4 PlayStation Action Buttons Replacement: 手順 5、 2の画像 1 Thrustmaster T Flight Hotas 4 PlayStation Action Buttons Replacement: 手順 5、 2の画像 2
    • Remove the two 6 mm J1 JIS head screws from the circuit board.

  6. Thrustmaster T Flight Hotas 4 PlayStation Action Buttons Replacement: 手順 6、 1の画像 1
    • Carefully remove the circuit board.

  7. Thrustmaster T Flight Hotas 4 PlayStation Action Buttons Replacement: 手順 7、 2の画像 1 Thrustmaster T Flight Hotas 4 PlayStation Action Buttons Replacement: 手順 7、 2の画像 2
    • Remove the 6 mm J1 JIS head screw that is attached to the black plastic cover.

  8. Thrustmaster T Flight Hotas 4 PlayStation Action Buttons Replacement: 手順 8、 2の画像 1 Thrustmaster T Flight Hotas 4 PlayStation Action Buttons Replacement: 手順 8、 2の画像 2
    • Remove black plastic cover.

  9. Thrustmaster T Flight Hotas 4 PlayStation Action Buttons Replacement: 手順 9、 2の画像 1 Thrustmaster T Flight Hotas 4 PlayStation Action Buttons Replacement: 手順 9、 2の画像 2
    • Once the black plastic cover is removed, push the buttons inward from the outside of the device.

    • Be aware of the springs. They are small and easy to lose.

    • This step only replaces the x, square, and circle buttons.

  10. Thrustmaster T Flight Hotas 4 PlayStation Action Buttons Replacement: 手順 10、 2の画像 1 Thrustmaster T Flight Hotas 4 PlayStation Action Buttons Replacement: 手順 10、 2の画像 2
    • Remove the two 6 mm J1 JIS head screws that are attached to the tan plastic cover.

    • Removal of the screws will detach the exterior panel from the device.

  11. Thrustmaster T Flight Hotas 4 PlayStation Action Buttons Replacement: 手順 11、 1の画像 1
    • Carefully remove tan plastic cover.

  12. Thrustmaster T Flight Hotas 4 PlayStation Action Buttons Replacement: 手順 12、 1の画像 1
    • Once the black panel is disconnected, push the triangle button inward from the outside of the exterior panel.

終わりに

To reassemble your device, follow these instructions in reverse order.

作成者

2人の作成者と共同で作成されました。

Aaron Banaga

メンバー登録日: 09/11/17

526 ポイント

4のガイドは作成済み

チーム

CSU Fullerton, Team S2-G1, Bruce Fall 2017 CSU Fullerton, Team S2-G1, Bruce Fall 2017人のメンバー

CSUF-BRUCE-F17S2G1

3 メンバー

13のガイドは作成済み

コメント 1 件

Very well presented. Just one question - if one of these buttons (or rather the switch that it activates) has broken, how do you fix it? Where can you get a replacement part if that is what is needed?

Anthony Vallillo - 返信

コメントを追加

統計データ:

過去 24時間: 0

過去 7 日: 6

過去 30 日: 19

今までの合計 1,578