メインコンテンツにスキップ

ThinkPad X1 Carbon Push Button Controls Replacement

必要な工具と部品

  1. ThinkPad X1 Carbon Push Button Controls Replacement, Push Button Controls: 手順 1、 1の画像 1
    • Unscrew the seven screws located on the back of the device.

  2. ThinkPad X1 Carbon Push Button Controls Replacement: 手順 2、 1の画像 1
    • Slide the plastic the spudger along the edge of the device to separate the keyboard tray.

  3. ThinkPad X1 Carbon Push Button Controls Replacement: 手順 3、 1の画像 1
    • Flip the device over and open it to lift the keyboard tray from the body of the device.

  4. ThinkPad X1 Carbon Push Button Controls Replacement: 手順 4、 1の画像 1
    • Use the Plastic Spudger to gently release the ribbon cable attached to the keyboard.

    • Place device to side.

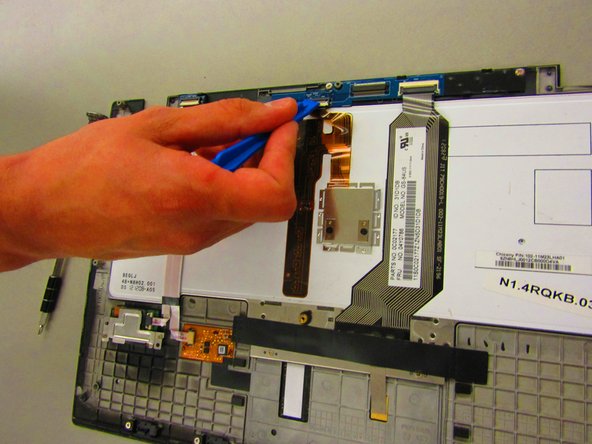
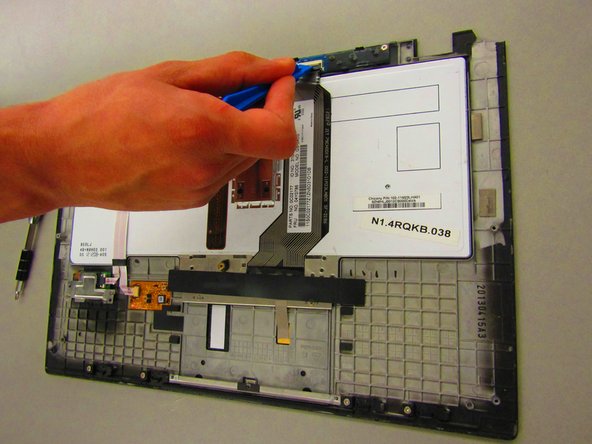
  5. ThinkPad X1 Carbon Push Button Controls Replacement: 手順 5、 3の画像 1 ThinkPad X1 Carbon Push Button Controls Replacement: 手順 5、 3の画像 2 ThinkPad X1 Carbon Push Button Controls Replacement: 手順 5、 3の画像 3
    • Unlock and remove the 3 ribbon cables along the top of the keyboard tray.

  6. ThinkPad X1 Carbon Push Button Controls Replacement: 手順 6、 1の画像 1
    • Locate and unscrew the 3 silver screws.

  7. ThinkPad X1 Carbon Push Button Controls Replacement: 手順 7、 1の画像 1
    • Gently wiggle and lift the Push Button board from the keyboard tray.

終わりに

To reassemble your device, follow these instructions in reverse order.

作成者

5人の作成者と共同で作成されました。

Kirby Raines

メンバー登録日: 01/23/18

648 ポイント

4のガイドは作成済み

チーム

Western Carolina University, Team S1-G3, Virtue Spring 2018 Western Carolina University, Team S1-G3, Virtue Spring 2018人のメンバー

WCU-VIRTUE-S18S1G3

4 メンバー

6のガイドは作成済み

0 件のコメント

コメントを追加

統計データ:

過去 24時間: 0

過去 7 日: 6

過去 30 日: 25

今までの合計 1,429