メインコンテンツにスキップ
リペアコミュニティに参加 - アカウントの作成

Texas Instruments TI-92 Backup Battery Replacement

必要な工具と部品

    1. Texas Instruments TI-92 Backup Battery Replacement, Back Cover: 手順 1、 3の画像 1 Texas Instruments TI-92 Backup Battery Replacement, Back Cover: 手順 1、 3の画像 2 Texas Instruments TI-92 Backup Battery Replacement, Back Cover: 手順 1、 3の画像 3
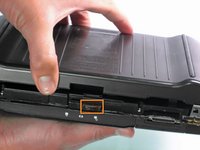
      • The first step to any repair operation is to remove the front cover.

      • Grab the back of the calculator with one hand and the cover with the other.

      • Pull the cover off from one of the sides for easy removal.

      FixBotに聞いてみる
      コメントを追加

    2. Texas Instruments TI-92 Backup Battery Replacement: 手順 2、 2の画像 1 Texas Instruments TI-92 Backup Battery Replacement: 手順 2、 2の画像 2
      • Orientate the calculator with the top facing towards you.

      • Slide the locking tab,found on the top part of the calculator, to the unlock position.

      FixBotに聞いてみる
      コメントを追加

    3. Texas Instruments TI-92 Backup Battery Replacement: 手順 3、 2の画像 1 Texas Instruments TI-92 Backup Battery Replacement: 手順 3、 2の画像 2
      • "Locking Tab"

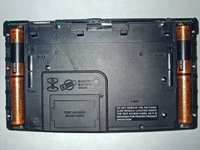
      • To remove the back cover, slide the cover away from the locking tab towards the bottom of the calculator until the cover no longer slides.

      • Then with the front of the calculator facing down, pull up on the back cover.

      • The calculator should now be orientated with the front facing down, as shown in picture 2.

      FixBotに聞いてみる

      コメントを追加

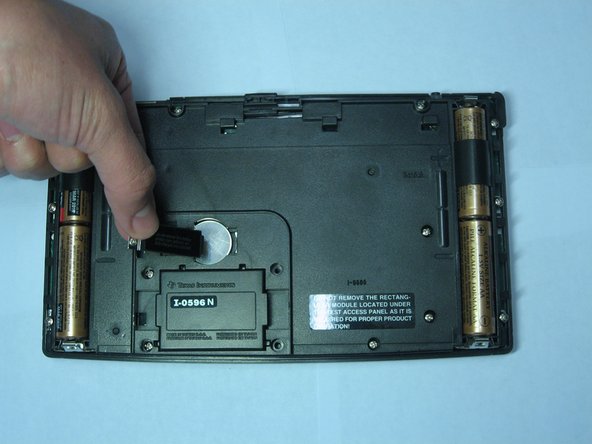
    1. Texas Instruments TI-92 Backup Battery Replacement, Backup Battery: 手順 4、 1の画像 1
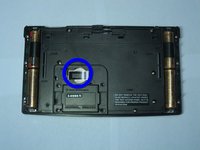
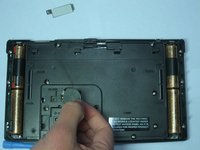
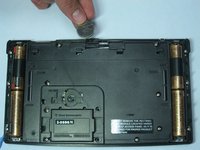
      • Before removing the backup battery make sure your AA batteries are installed so that there is no loss of information.

      • Using a #00 Philip Screwdriver remove the 19mm screw located near the center of the back of the calculator on the panel with words "Test Access"

      FixBotに聞いてみる

      コメントを追加

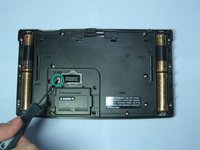
    2. Texas Instruments TI-92 Backup Battery Replacement: 手順 5、 1の画像 1
      • Remove the screw and lift the panel to access battery.

      FixBotに聞いてみる

      コメントを追加

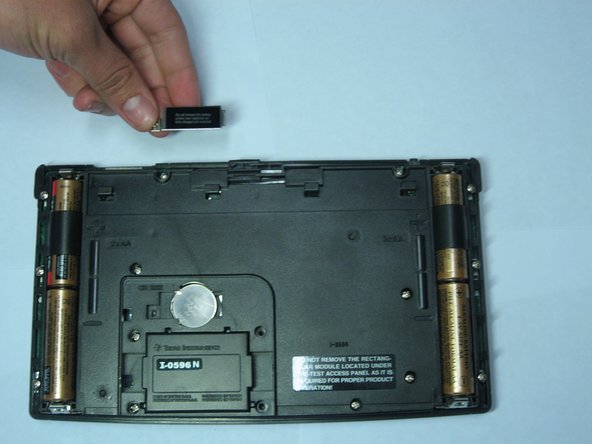
    3. Texas Instruments TI-92 Backup Battery Replacement: 手順 6、 2の画像 1 Texas Instruments TI-92 Backup Battery Replacement: 手順 6、 2の画像 2
      • The backup battery can now be seen underneath a small metal cover held by a screw.

      • Using the same screwdriver, unscrew the 4.6mm screw located under the panel and left of the backup battery.

      FixBotに聞いてみる

      コメントを追加

    4. Texas Instruments TI-92 Backup Battery Replacement: 手順 7、 3の画像 1 Texas Instruments TI-92 Backup Battery Replacement: 手順 7、 3の画像 2 Texas Instruments TI-92 Backup Battery Replacement: 手順 7、 3の画像 3
      • Remove the metal cover keeping the backup battery in place.

      FixBotに聞いてみる

      コメントを追加

    5. Texas Instruments TI-92 Backup Battery Replacement: 手順 8、 2の画像 1 Texas Instruments TI-92 Backup Battery Replacement: 手順 8、 2の画像 2
      • Use an Ipod Opening Tool or a similar tool to pull up on the right side of the backup battery.

      • The battery should pop out of position.

      FixBotに聞いてみる

      コメントを追加

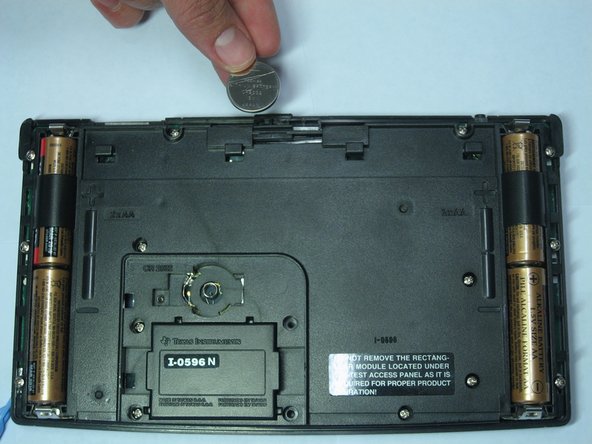
    6. Texas Instruments TI-92 Backup Battery Replacement: 手順 9、 2の画像 1 Texas Instruments TI-92 Backup Battery Replacement: 手順 9、 2の画像 2
      • After the battery has been tilted out of its socket, simply remove it with your hands.

      FixBotに聞いてみる

      コメントを追加

終わりに

To reassemble your device, follow these instructions in reverse order.

キャンセル: このガイドを終了できませんでした。

2 の人々がこのガイドを完成させました。

作成者

5人の作成者と共同で作成されました。

Daniel Maldonado

メンバー登録日: 04/14/10

264 ポイント

9のガイドは作成済み

チーム

Cal Poly, Team 15-51, Garner Spring 2010 Cal Poly, Team 15-51, Garner Spring 2010人のメンバー

CPSU-GARNER-S10S15G51

5 メンバー

36のガイドは作成済み

0件のガイドコメント

コメントを追加

統計データ:

過去 24時間: 2

過去 7 日: 11

過去 30 日: 61

今までの合計 5,901