必要な工具と部品
ビデオの概要
-
-
Use a guitar pick, although some have successfully used a fingernail. Don't use a screwdriver as you will damage the case.
-
Start at one corner and carefully insert your tool, working it along the seam until you hear a click and the case starts to come apart.
-
Carry on working your way around the case. Be very careful near the buttons.
-
Eventually the rear case will come away. There aren't any wires attached to the rear case, it just lifts off.
-
When it's time to reassemble, clip the rear cover back on carefully, making sure to fit the side with the buttons first and being careful to ensure they are positioned correctly.
-
-
-
-
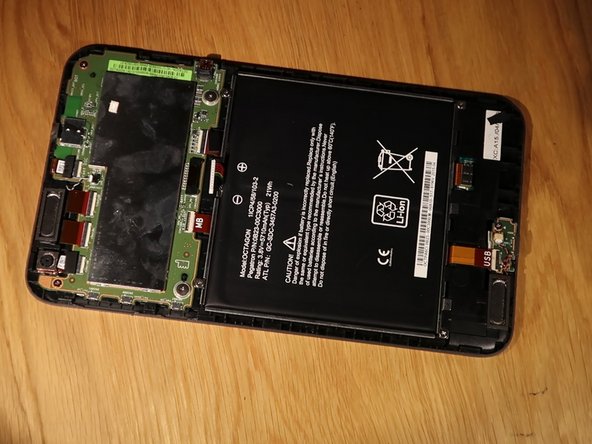
Carefully peel off the black sticky tape and set it aside.
-
Unscrew the two screws holding the port in place.
-
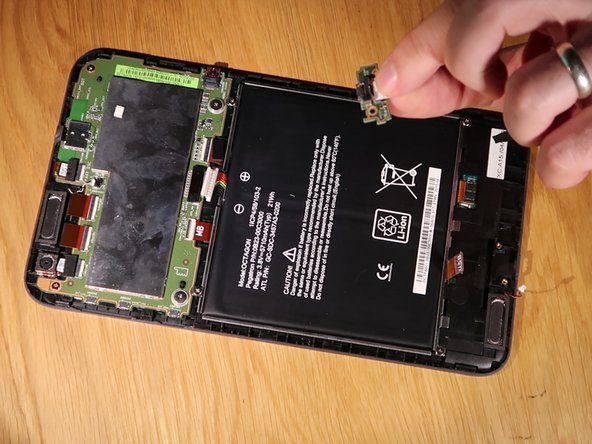
Remove the two pin speaker plug by moving it gently from side to side until it comes out of its socket.
-
Use a spudger to flip open the latch and then withdraw the flat cable.
-
Lift out the board and replace with a new one. Reattach the black sticky tape.
-


2 の人々がこのガイドを完成させました。

コメント 1 件
Thanks very quick and easy! Straight to the point, you saved me 80£ on a new tablet!