このバージョンは誤った内容を含んでいる可能性があります。最新の承認済みスナップショットに切り替えてください。
分解
この分解は修理ガイドでは ありません。 お持ちのTesco Value JK07 Kettleを修理する際は、iFixitの修理ガイドをご利用ください。
この手順は未翻訳です。 翻訳を手伝う。
Remove the kettle from its base.
Remove the limescale filter by sliding it out from the lip.
Remove the screw from the bottom side of the lid.
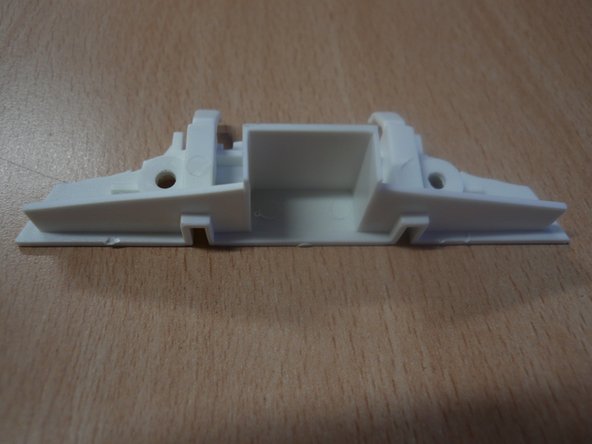
Disassemble the lid and remove the plastic piece inside.
Remove the button that opens the lid by sliding it out.
Remove the screws on the underside of the kettle to release the socket cover.
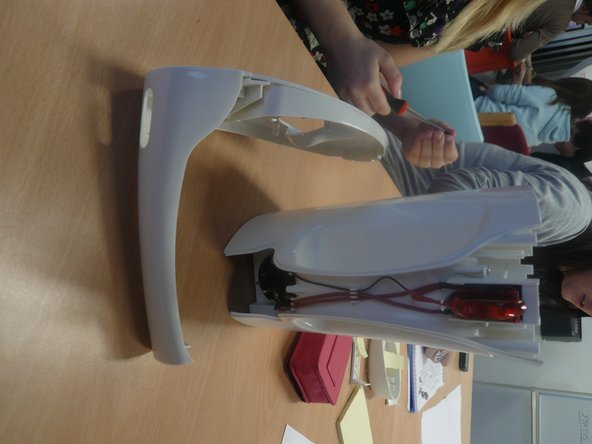
Separate the handle from the kettle.
Remove the screws to separate the handle and the lid from the hinge.
Gently remove the switch cover.
Remove the circular piece attached to the switch base by gently pulling it away.
Remove the screws from the socket at the back of the kettle.
These screws also hold the socket together, so once they have been removed, it can be opened.
The components within the socket are clipped in. Remove the components by gently pulling.
Remove the heating element.
Remove the gasket.
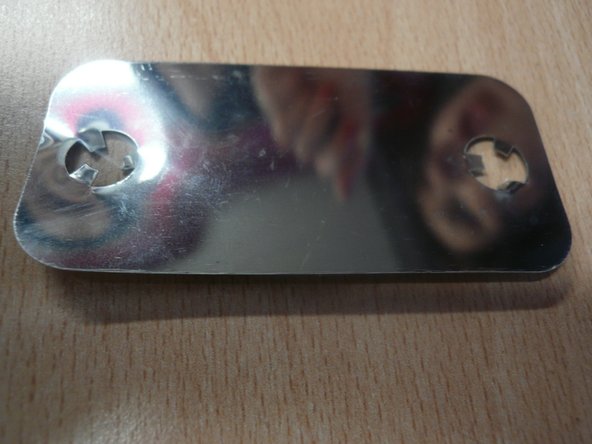
Remove the plate beneath the heating element by bending the metal in the holes as shown in the picture. Remove the plate from the clips.
Remove all the screws from the bottom, then gently separate the two halves.
Push the feet (B) out from the base (C).
The plug and cable (G) are held in by clips and can be pulled away.
The fuse (F) can be pulled away from inside the pins on the plug (G).
The kettle is now fully disassembled.
There should be 26 separate parts, all shown here in this photo.
10人の作成者と共同で作成されました。
メンバー登録日: 03/17/10
21 ポイント
1ガイドが承認済み
バッジ: 0
サイズを選択し、以下のコードをコピーして、このガイドを小さなウィジェットとしてサイト/フォーラムに埋め込みます。
過去 24時間: 1
過去 7 日: 11
過去 30 日: 28
今までの合計 7,367