メインコンテンツにスキップ

Teenage Engineering OP-Z Function Key Plastic Buttons Replacement

必要な工具と部品

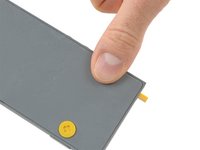
  1. Teenage Engineering OP-Z Function Key Plastic Buttons Replacement, Back Cover: 手順 1、 3の画像 1 Teenage Engineering OP-Z Function Key Plastic Buttons Replacement, Back Cover: 手順 1、 3の画像 2 Teenage Engineering OP-Z Function Key Plastic Buttons Replacement, Back Cover: 手順 1、 3の画像 3
    • Unlock the four rubber feet by turning them 90° counterclockwise using your thumb or finger tip.

    • There is a tiny mark on every foot facing the bottom edge of the OP-Z. After turning them they should face towards the short edge where the on/off switch is.

  2. Teenage Engineering OP-Z Function Key Plastic Buttons Replacement: 手順 2、 2の画像 1 Teenage Engineering OP-Z Function Key Plastic Buttons Replacement: 手順 2、 2の画像 2
    • When turning the OP-Z over again the bottom plate should come off by itself (thanks gravity).

    • If the bottom plate won’t come off you might want to make sure every foot is rotated correctly and gently tug on one of them.

  3. Teenage Engineering OP-Z Function Key Plastic Buttons Replacement: 手順 3、 1の画像 1
    • Remove the bottom plate including the rubber feet.

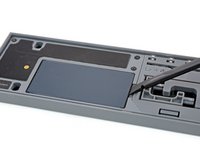
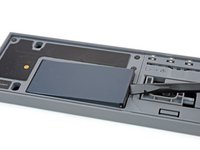
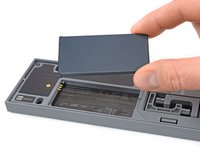
  4. Teenage Engineering OP-Z Function Key Plastic Buttons Replacement, Battery: 手順 4、 2の画像 1 Teenage Engineering OP-Z Function Key Plastic Buttons Replacement, Battery: 手順 4、 2の画像 2
    • Use your fingernail or a spudger to lift the battery on the right side where the notch is.

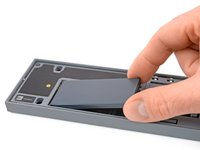
  5. Teenage Engineering OP-Z Function Key Plastic Buttons Replacement: 手順 5、 2の画像 1 Teenage Engineering OP-Z Function Key Plastic Buttons Replacement: 手順 5、 2の画像 2
    • Remove the battery.

    • When installing the new battery make sure you put it in contact side first.

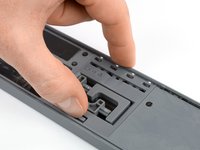
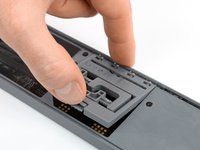
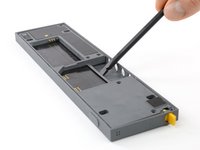
  6. Teenage Engineering OP-Z Function Key Plastic Buttons Replacement, Expansion Module: 手順 6、 2の画像 1 Teenage Engineering OP-Z Function Key Plastic Buttons Replacement, Expansion Module: 手順 6、 2の画像 2
    • Use your finger or a spudger to push up on the small tab on the bottom of the module.

    • Lift the module up and out of its recess bottom first.

  7. Teenage Engineering OP-Z Function Key Plastic Buttons Replacement: 手順 7、 1の画像 1
    • Remove the module.

    • When inserting another module make sure you put it in outputs first. Then push down the bottom part for the tab to engage.

  8. Teenage Engineering OP-Z Function Key Plastic Buttons Replacement, Midframe: 手順 8、 1の画像 1
    • Remove the five Torx T4 screws.

  9. Teenage Engineering OP-Z Function Key Plastic Buttons Replacement: 手順 9、 2の画像 1 Teenage Engineering OP-Z Function Key Plastic Buttons Replacement: 手順 9、 2の画像 2
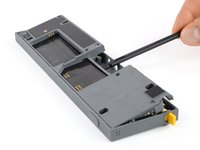
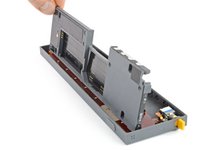
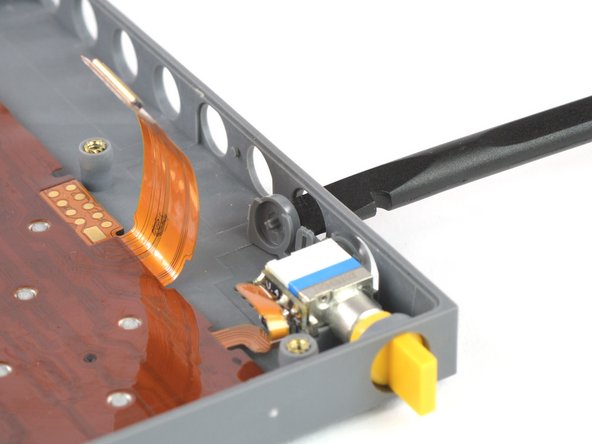
    • Place a spudger in the cutout of the extension module to lift the midframe.

    • Be careful not to damage the highway flex cable underneath.

    • Don’t remove the midframe yet. It is still connected to the rest of the OP-Z.

  10. Teenage Engineering OP-Z Function Key Plastic Buttons Replacement: 手順 10、 3の画像 1 Teenage Engineering OP-Z Function Key Plastic Buttons Replacement: 手順 10、 3の画像 2 Teenage Engineering OP-Z Function Key Plastic Buttons Replacement: 手順 10、 3の画像 3
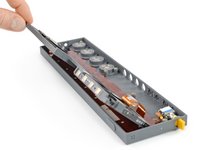
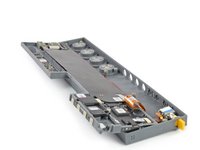
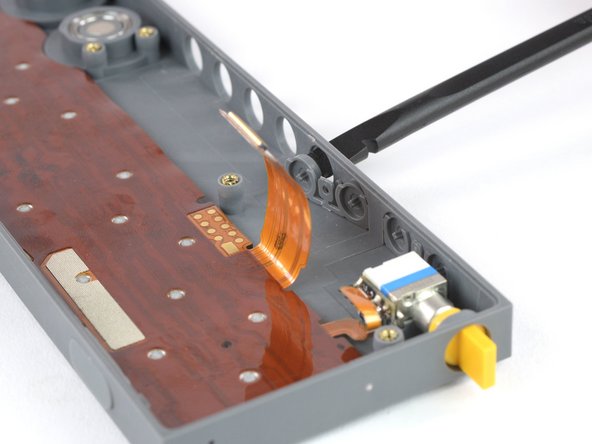
    • Flip the midframe over to gain access to the flex cable connector underneath.

  11. Teenage Engineering OP-Z Function Key Plastic Buttons Replacement: 手順 11、 2の画像 1 Teenage Engineering OP-Z Function Key Plastic Buttons Replacement: 手順 11、 2の画像 2
    • Use the flat end of a spudger to disconnect the flex cable from the front panel assembly.

  12. Teenage Engineering OP-Z Function Key Plastic Buttons Replacement, Function Key Plastic Buttons: 手順 12、 2の画像 1 Teenage Engineering OP-Z Function Key Plastic Buttons Replacement, Function Key Plastic Buttons: 手順 12、 2の画像 2
    • Use a spudger to push the first set of function buttons inwards.

  13. Teenage Engineering OP-Z Function Key Plastic Buttons Replacement: 手順 13、 1の画像 1
    • Remove the first set of function buttons.

    • This pair has a circular alignment post between the buttons and a dot mark on one of the buttons.

  14. Teenage Engineering OP-Z Function Key Plastic Buttons Replacement: 手順 14、 2の画像 1 Teenage Engineering OP-Z Function Key Plastic Buttons Replacement: 手順 14、 2の画像 2
    • Use a spudger to push the second set of function buttons inwards.

  15. Teenage Engineering OP-Z Function Key Plastic Buttons Replacement: 手順 15、 1の画像 1
    • Remove the second set of function buttons.

    • This pair has an elliptical alignment post between the buttons and a straight mark on one of the buttons.

終わりに

To reassemble your device, follow these instructions in reverse order.

作成者

2人の作成者と共同で作成されました。

Tobias Isakeit

メンバー登録日: 03/31/14

117,598 ポイント

188のガイドは作成済み

チーム

Master Techs Master Techs人のメンバー

Community

322 メンバー

2,532のガイドは作成済み

コメント 1 件

Torx t4 screwdriver doesn’t work! Seems too big. Wasting too much money so far to fix something that shouldn’t have worn to breaking point so quickly. Gutted.
Sam Lsn - 返信

コメントを追加

統計データ:

過去 24時間: 1

過去 7 日: 10

過去 30 日: 23

今までの合計 1,623