メインコンテンツにスキップ

Tascam Portastudio 05 Broken Play Switch

  1. Tascam Portastudio 05 Broken Play Switch, Tascam Portastudio 05 Broken Play Switch: 手順 1、 3の画像 1 Tascam Portastudio 05 Broken Play Switch, Tascam Portastudio 05 Broken Play Switch: 手順 1、 3の画像 2 Tascam Portastudio 05 Broken Play Switch, Tascam Portastudio 05 Broken Play Switch: 手順 1、 3の画像 3
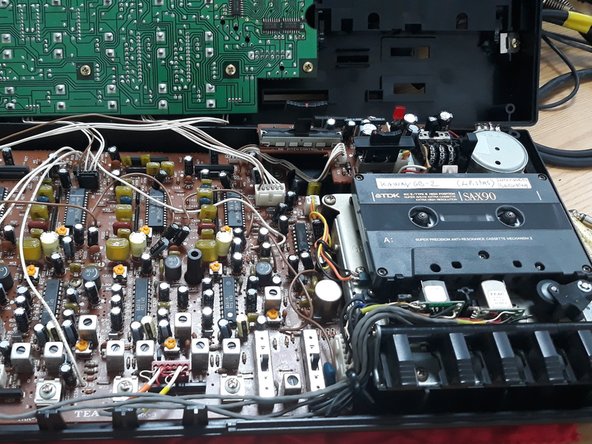
    • Remove the power buton

    • Remove the screws from back

    • Gently open the device

  2. Tascam Portastudio 05 Broken Play Switch: 手順 2、 3の画像 1 Tascam Portastudio 05 Broken Play Switch: 手順 2、 3の画像 2 Tascam Portastudio 05 Broken Play Switch: 手順 2、 3の画像 3
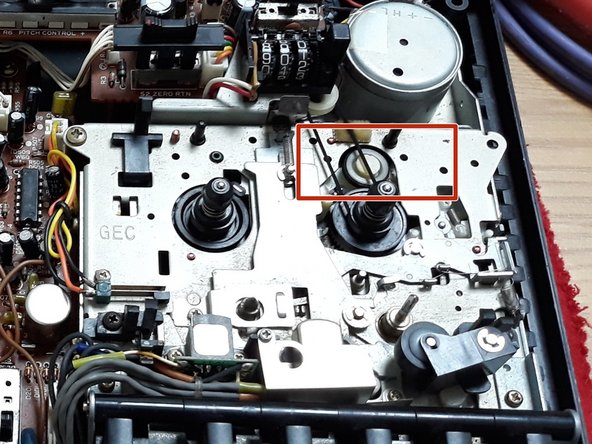
    • Remove this screws

    • The PLAY doesn't work because the plastic is broken. It holds a spring.

    • Gluing the plastic will not work, as spring pressure is too high.

  3. Tascam Portastudio 05 Broken Play Switch: 手順 3、 3の画像 1 Tascam Portastudio 05 Broken Play Switch: 手順 3、 3の画像 2 Tascam Portastudio 05 Broken Play Switch: 手順 3、 3の画像 3
    • To make a good support for the spring, drill a hole on the metal and ADD a little screw.

  4. Tascam Portastudio 05 Broken Play Switch: 手順 4、 2の画像 1 Tascam Portastudio 05 Broken Play Switch: 手順 4、 2の画像 2
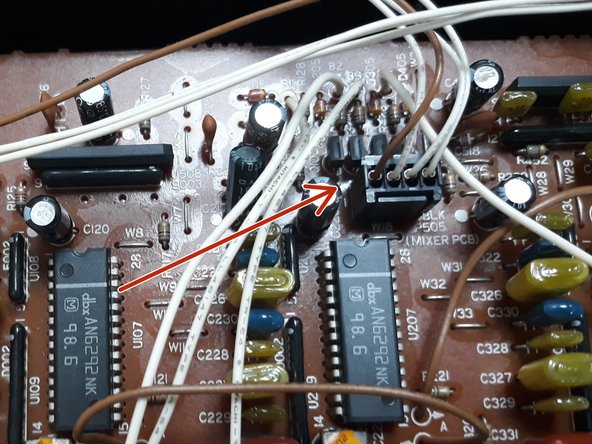
    • This little plug has the sound output of the four tracks split. You can add independent outputs from tape.

終わりに

Para remontagem de seu dispositivo, siga estas instruções na ordem inversa.

ある他の人がこのガイドを完成しました。

作成者

3人の作成者と共同で作成されました。

Cafony

メンバー登録日: 02/17/15

687 ポイント

4のガイドは作成済み

0 件のコメント

コメントを追加

統計データ:

過去 24時間: 1

過去 7 日: 6

過去 30 日: 22

今までの合計 445