Before performing any repairs, perform a water test on the pump by raising and lowering the handle a full 40 strokes. A properly performing pump will yield greater than 10 liters.
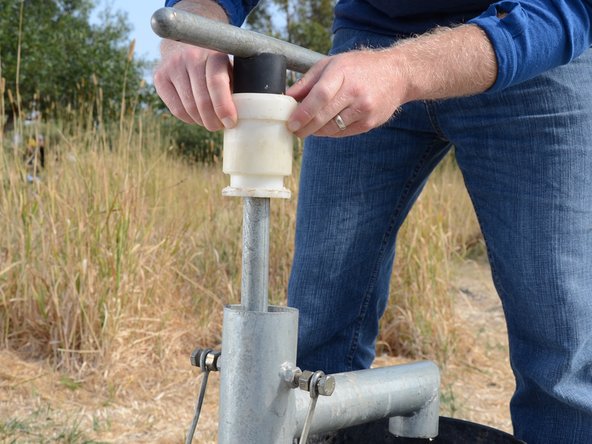
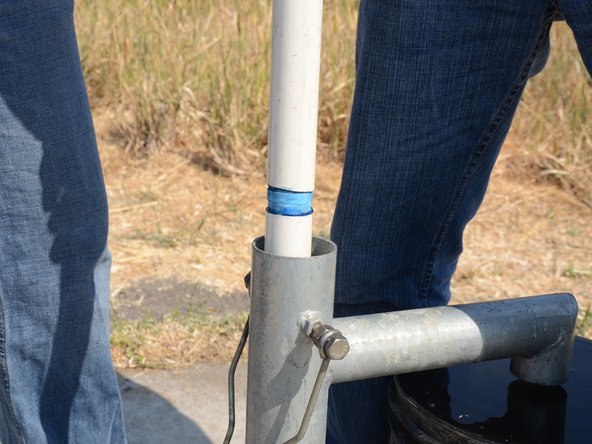
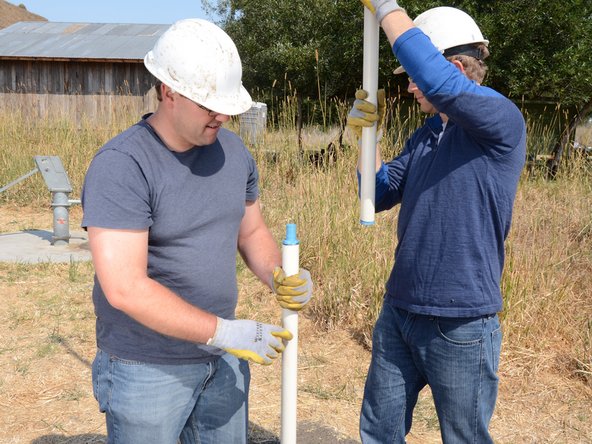
Use a Tara tool to loosen the jam nuts on either side of the pump.
The bolts do not need to be loosened or removed, only the nuts need to be loosened.
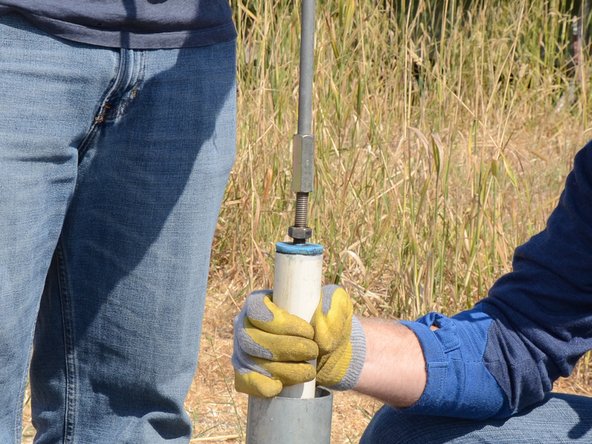
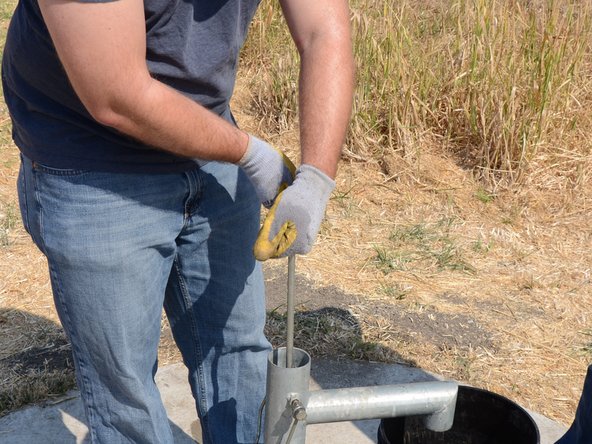
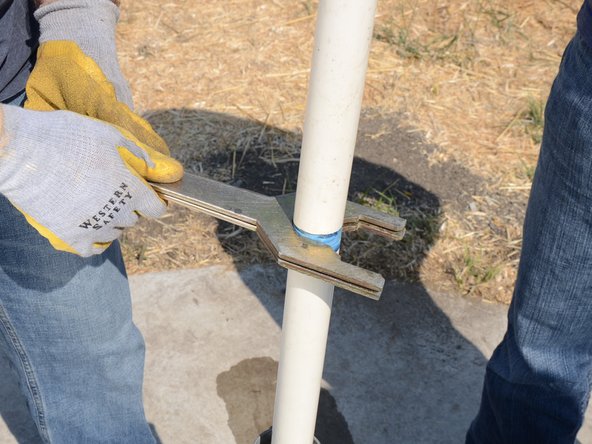
Pull the plastic bushing and handle straight up out of the pump.
If the bushing doesn't come up, loosen the lock bolts further.
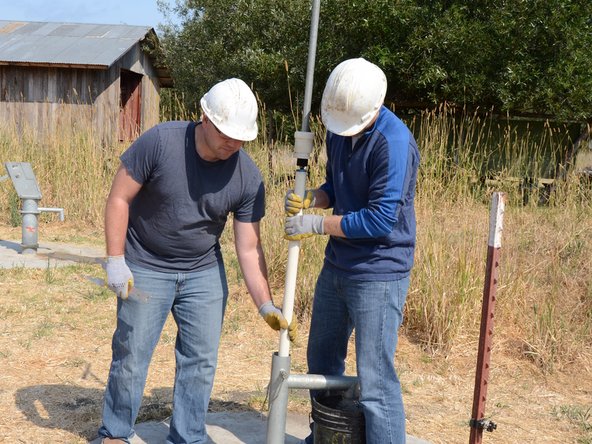
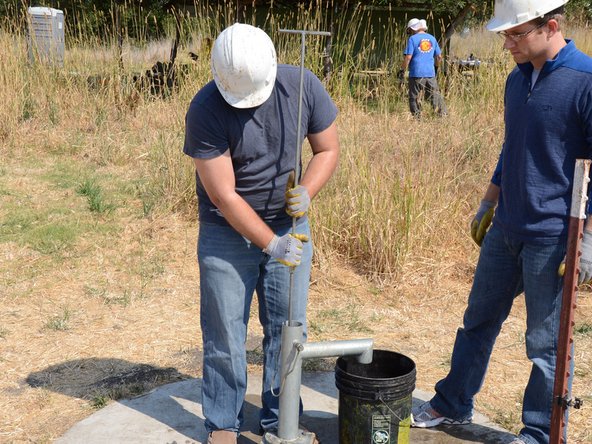
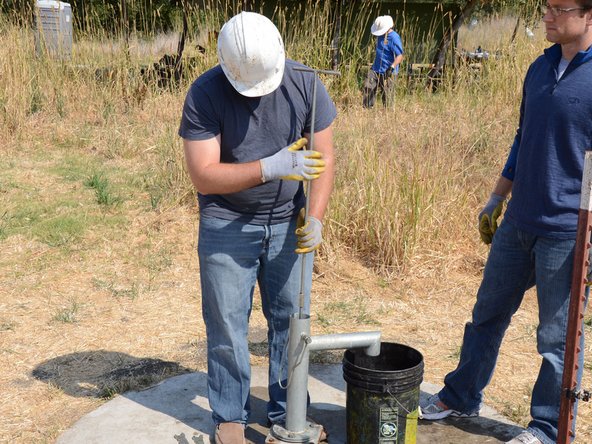
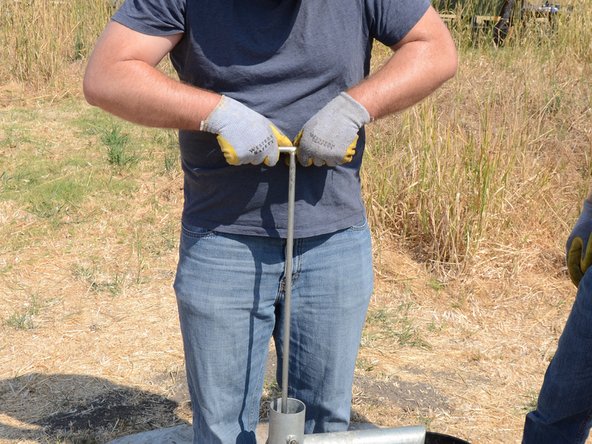
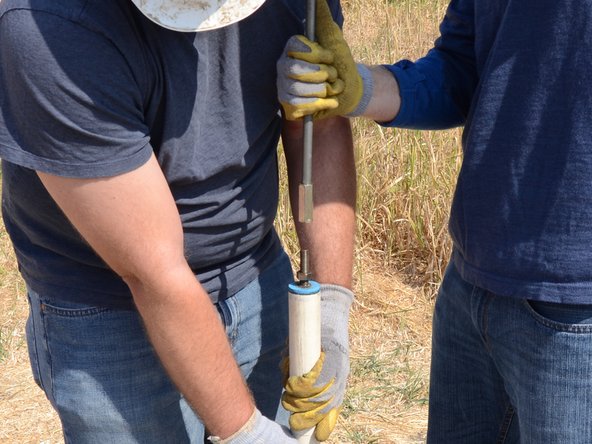
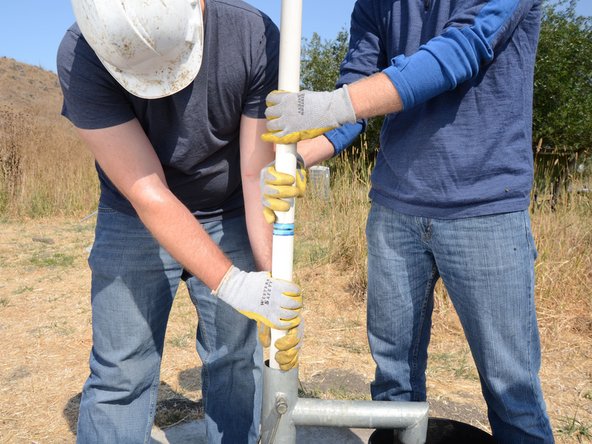
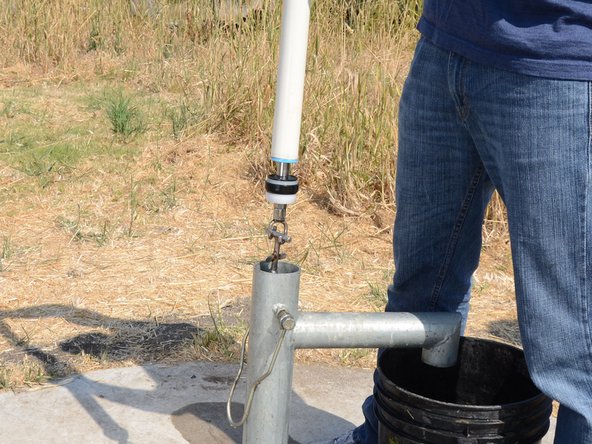
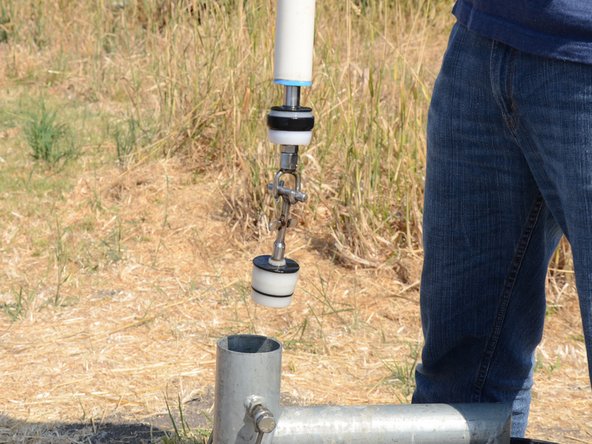
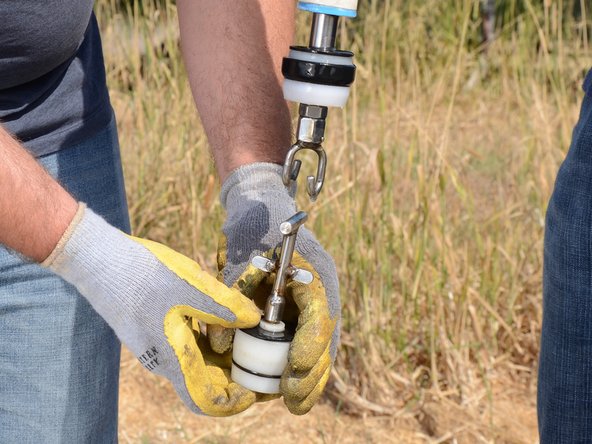
Once the riser main hits the bottom, turn the T-handle while pushing down.
This will hook the foot valve onto the traveling valve, allowing you to pull the two out of the well together.
You should feel some resistance if the foot valve is successfully attached.
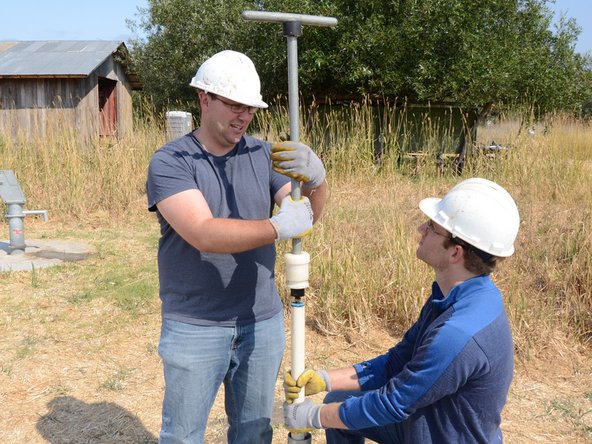
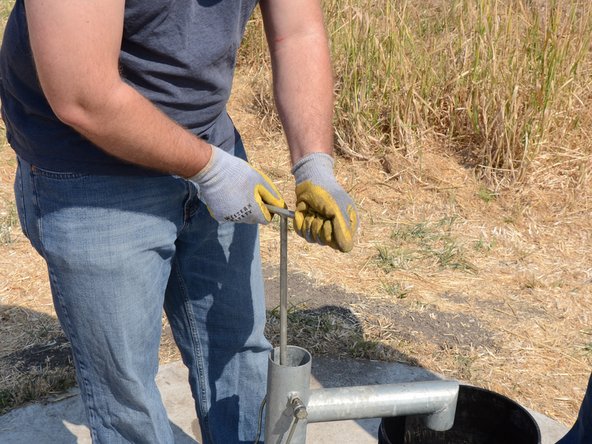
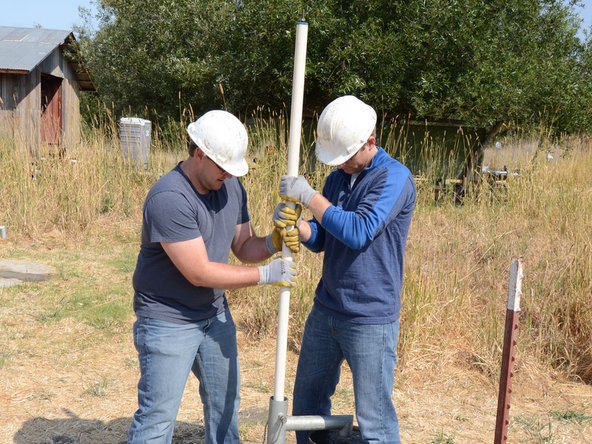
Loosen the jam nut from the base of the T-handle.
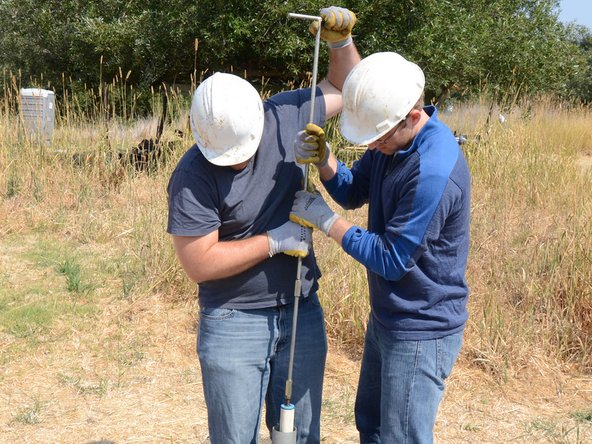
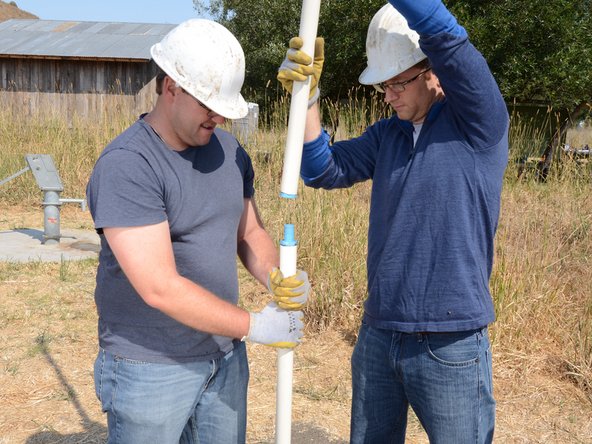
Unscrew the T-handle from the top of the riser main.
Remove the T-handle, making sure to hold the remaining end of the riser main to prevent dropping it down the well.
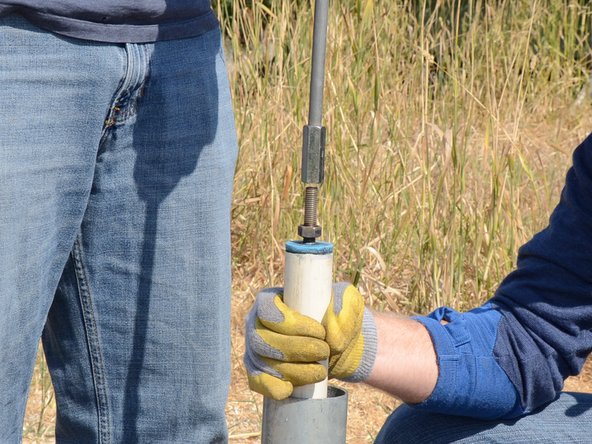
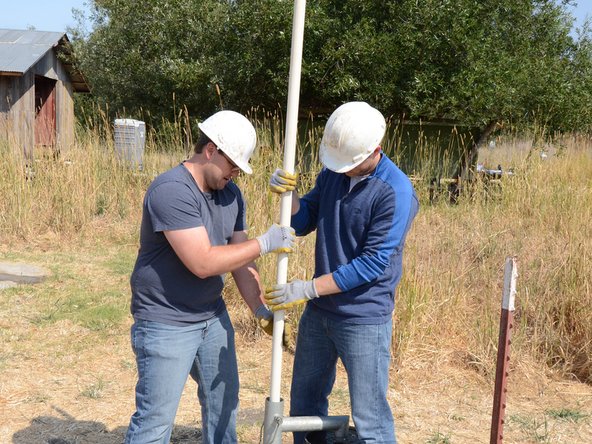
Use two wrenches to loosen the top section of riser main from the lower section.
Unscrew the top section of the riser main.
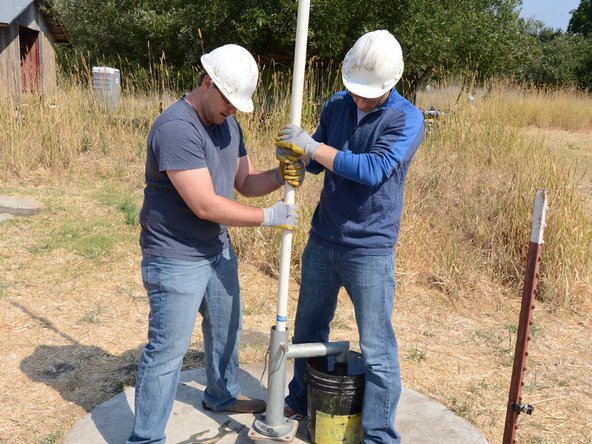
Make sure someone is holding the remaining section of the riser main.
Lay the first section of riser main in a sanitary place to prevent contamination.
Repeat the previous procedure to remove the remaining sections of the riser main from the well.
Lay each new piece in the order it was removed to aid in reassembly.
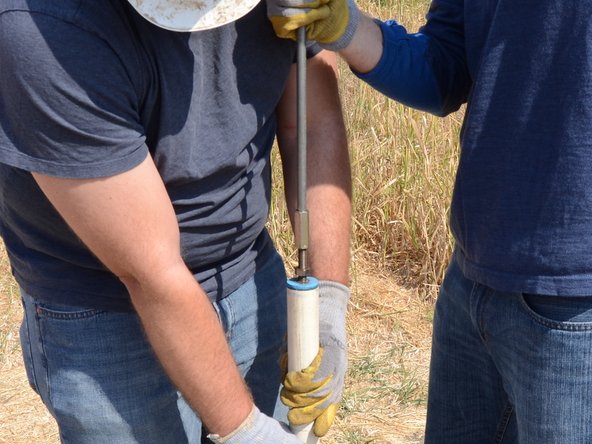
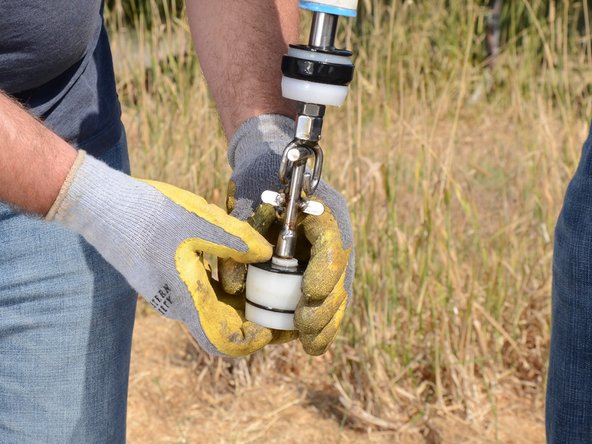
The last section of riser main will have the traveling valve screwed on to the end, and the foot valve hooked onto the traveling valve.
Be careful not to allow the foot valve to release from the hook by pulling slowly on the riser main.
このガイドを埋め込む
サイズを選択し、以下のコードをコピーして、このガイドを小さなウィジェットとしてサイト/フォーラムに埋め込みます。
1つの手順
全ガイド
小サイズ - 600px
中サイズ - 800px
大サイズ - 1200px
プレビュー