はじめに
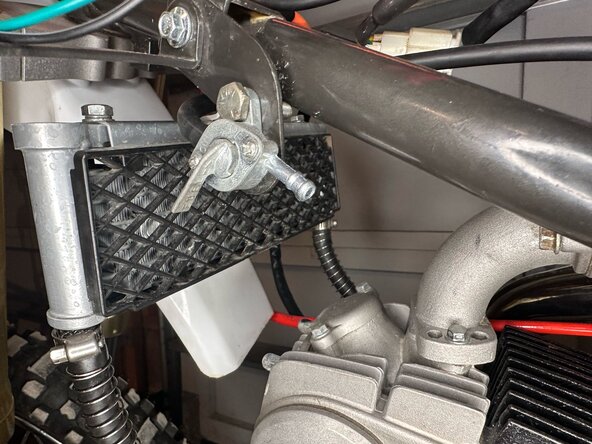
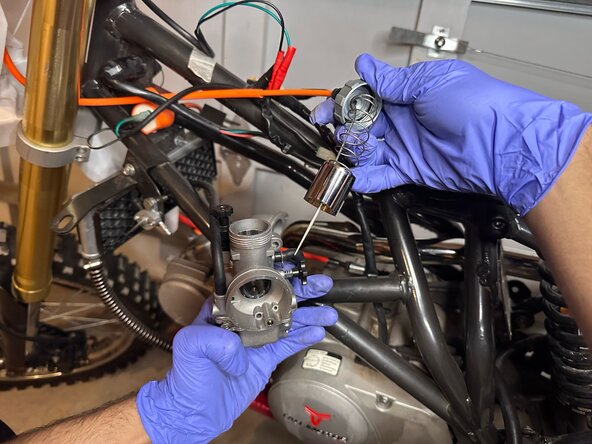
If your 150cc Tao Tao DBX1 dirt bike has compression but won't start, the problem is most likely with the carburetor not feeding the engine gas or the manifold not working correctly. A properly maintained carburetor allows for optimal performance, better fuel efficiency, and a healthier engine.
This guide will show you how to replace the carburetor with a new one. Read the instructions carefully and ask a friend or family member for assistance if needed.
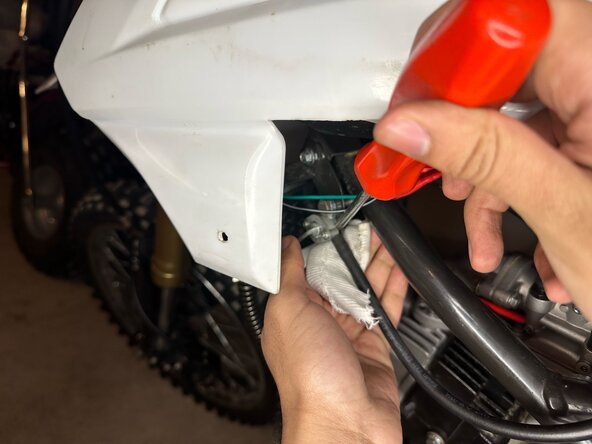
Work on your bike in an open garage, outside, or another open area. Before you begin, make sure the bike is off and has cooled down if you recently went on a ride. Have a towel nearby for any gasoline leaks!
必要な工具と部品
-
-
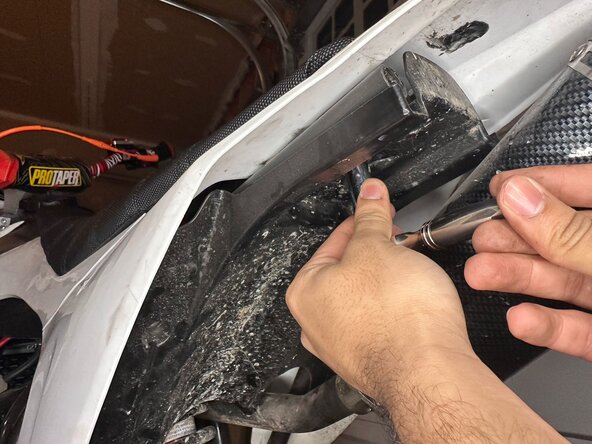
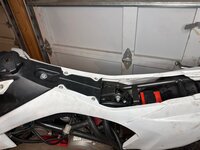
Use a 10mm socket and ratchet to unlock the seat from underneath.
-
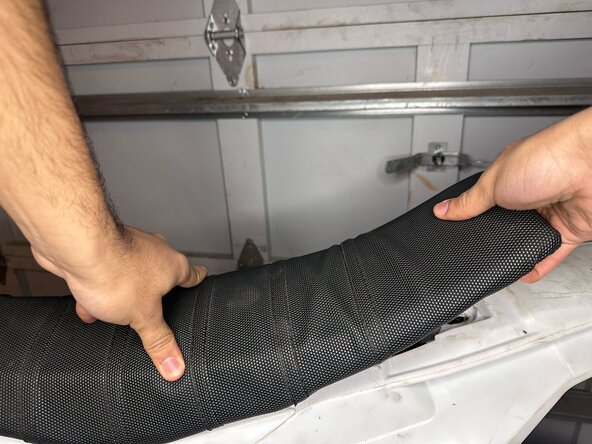
Lift the seat off of the bike.
-
-


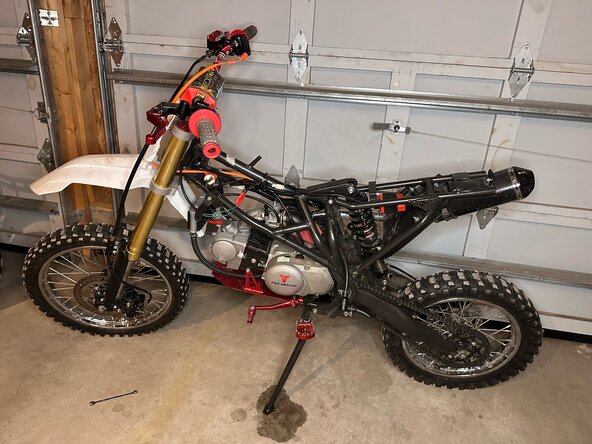


Test your dirt bike to make sure it's in working order.
4 の人々がこのガイドを完成させました。

チーム

York University, Team 4-2, Woodhouse Winter 2025 York University, Team 4-2, Woodhouse Winter 2025人のメンバー
YORK-WOODHOUSE-W25S4G2
2 メンバー
3のガイドは作成済み