メインコンテンツにスキップ

Table setting

必要な工具と部品

  1. Table setting, Accessing the menu: 手順 1、 3の画像 1 Table setting, Accessing the menu: 手順 1、 3の画像 2 Table setting, Accessing the menu: 手順 1、 3の画像 3
    • With the machine on, go to the Quick Settings in the Home Menu.

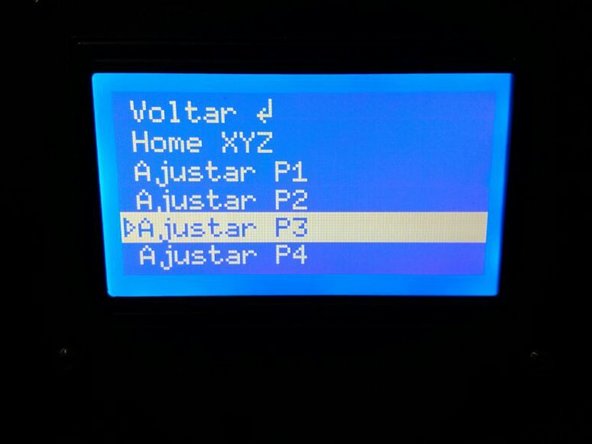
    • Select the "Level Table" option.

    • Select "Home XYZ" so that the head goes to the starting position.

  2. Table setting, Adjustment positions: 手順 2、 2の画像 1 Table setting, Adjustment positions: 手順 2、 2の画像 2
    • The leveling should be performed on the 4 points of the table, as shown in the figure.

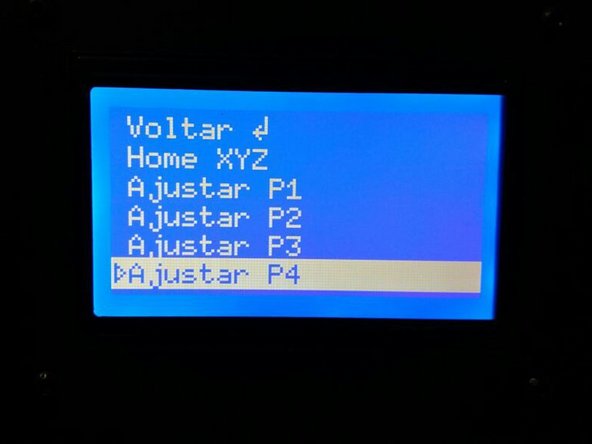
    • Select the "Set P1" option to level the table height at the first point.

  3. Table setting, Adjusting table height: 手順 3、 3の画像 1 Table setting, Adjusting table height: 手順 3、 3の画像 2 Table setting, Adjusting table height: 手順 3、 3の画像 3
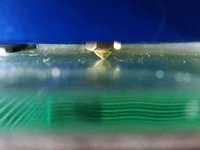
    • The nozzle should be slightly away from the glass (thickness of a sulphite sheet).

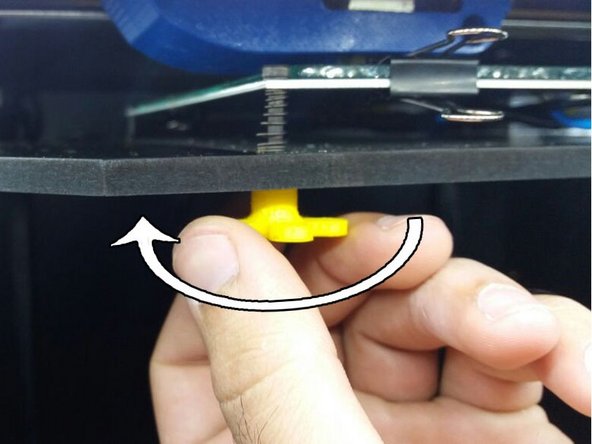
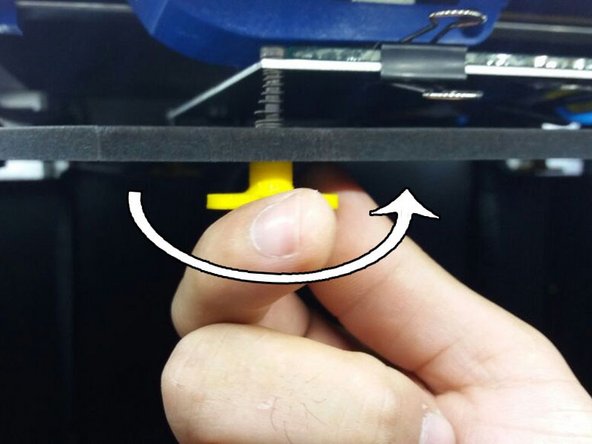
    • To bring the table closer to the nozzle, turn the rosette clockwise.

    • To move the table away from the spout, rotate the rosette counterclockwise.

  4. Table setting, Adjustment of other points: 手順 4、 3の画像 1 Table setting, Adjustment of other points: 手順 4、 3の画像 2 Table setting, Adjustment of other points: 手順 4、 3の画像 3
    • Repeat the procedure for adjusting P1 for the other points.

終わりに

Ready! Your table is level!

以下の翻訳者の皆さんにお礼を申し上げます:

pt en

100%

irlandaさんは世界中で修理する私たちを助けてくれています! あなたも貢献してみませんか?
翻訳を始める ›

作成者

1人の作成者と共同作成されました。

Mousta Impressoras 3D

メンバー登録日: 03/17/17

691 ポイント

5のガイドは作成済み

0 件のコメント

コメントを追加

統計データ:

過去 24時間: 0

過去 7 日: 15

過去 30 日: 16

今までの合計 175