はじめに
Here's a step-by-step tutorial to dismount each piece of the NAS until you reach the motherboard.
These NAS models do not benefit from the modularity of the superior models. So forget about adding any RAM or removing the drives in seconds.
'Note: the interest of this tutorial is however limited.'
Internal drives and fan apart, none of the internal component can be upgraded or added.
The dismantling time is estimated at 45 minutes (a single experiment on the timer). That said, it is certainly achievable in 10/15 minutes.
The photographs were taken with a CANON EOS 7D and using a portable LED studio.
必要な工具と部品
-
-
Here are the different interesting faces of the case: front (led indicator, power button), rear (connectors, fans, power).
-
On the back you'll see the power connector, two USB ports, an RJ45 port and the Kensington slot (K-lock).
-
-
-
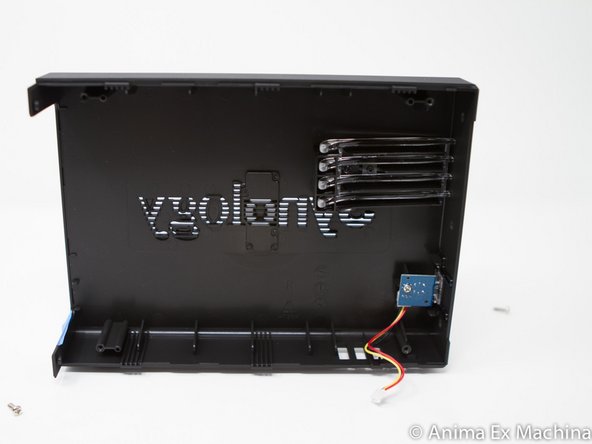
Remove the 2 screws on the back of the case at the top and bottom
-
Slide the cover forward, then slide it out (here, to the left).
-
Insérez ici votre traduction
-
-
-
Remove the 4 screws located on the side of each drive.
-
then just pull the drives out from the bay
-
Insérez ici votre traduction
-
-
-
-
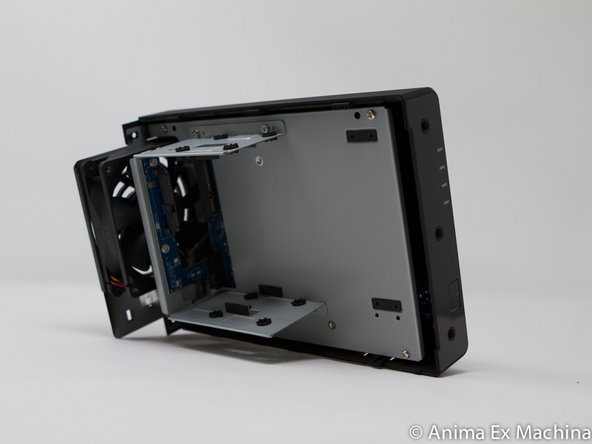
disconnect the fan cable
-
remove the 3 screws holding the motherboard in place.
-


To reassemble your device, follow the instructions in reverse order.
To reassemble your device, follow the instructions in reverse order.
ある他の人がこのガイドを完成しました。
以下の翻訳者の皆さんにお礼を申し上げます:
100%


これらの翻訳者の方々は世界を修理する私たちのサポートをしてくれています。 あなたも貢献してみませんか?
翻訳を始める ›

チーム

コメント 1 件
Excellent tutoriel de démontage du NAS SYNOLOGY DS218Play. C'est assez simple, merci son auteur!
Miguel LGS - 返信