メインコンテンツにスキップ

Syma S107 Gyro Replacement

必要な工具と部品

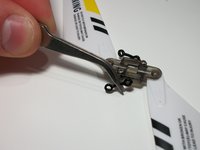
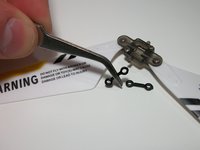
  1. Syma S107 Gyro Replacement, Counterweight Bar: 手順 1、 2の画像 1 Syma S107 Gyro Replacement, Counterweight Bar: 手順 1、 2の画像 2
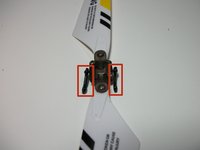
    • Using tweezers, gently remove the two stabilizing links by pulling straight away from the point of connection.

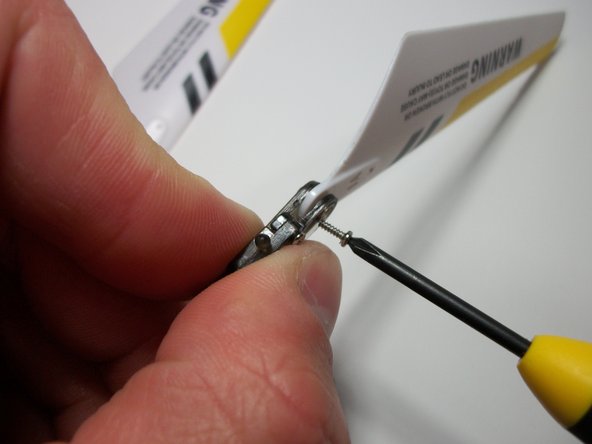
  2. Syma S107 Gyro Replacement: 手順 2、 2の画像 1 Syma S107 Gyro Replacement: 手順 2、 2の画像 2
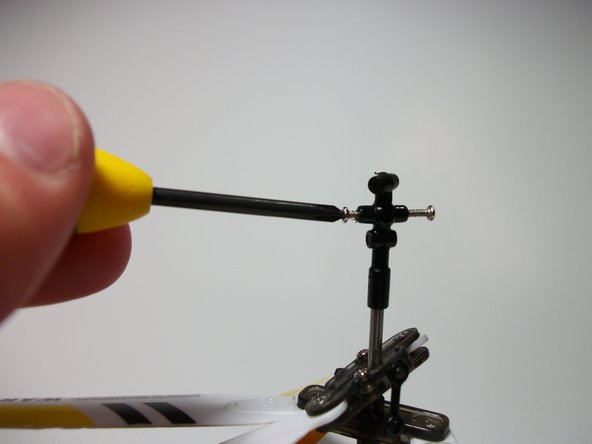
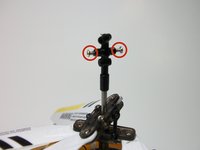
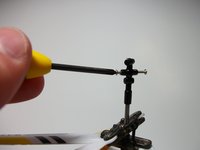
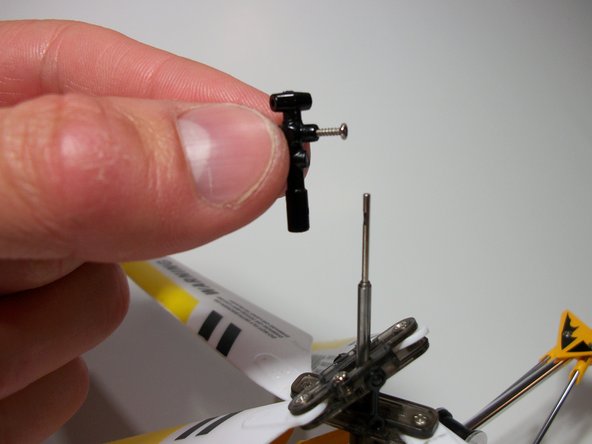
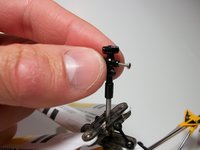
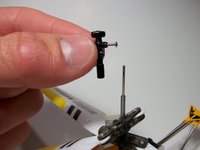
    • Remove the counterweight bar by removing the screw.

    • One 10.1mm Phillips #0.

  3. Syma S107 Gyro Replacement, Gyro Carriage: 手順 3、 2の画像 1 Syma S107 Gyro Replacement, Gyro Carriage: 手順 3、 2の画像 2
    • Remove the gyro carriage by removing the following screws:

    • Two 5.6mm Phillips #0.

    • When reinstalling these screws make sure to line up one screw with the keyway on the main rotor shaft.

  4. Syma S107 Gyro Replacement: 手順 4、 2の画像 1 Syma S107 Gyro Replacement: 手順 4、 2の画像 2
    • Gently remove the broken gyro carriage by pulling up.

    • Remove blade assembly by simply sliding it up and off the shaft.

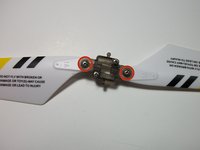
  5. Syma S107 Gyro Replacement, Blade Carriage: 手順 5、 3の画像 1 Syma S107 Gyro Replacement, Blade Carriage: 手順 5、 3の画像 2 Syma S107 Gyro Replacement, Blade Carriage: 手順 5、 3の画像 3
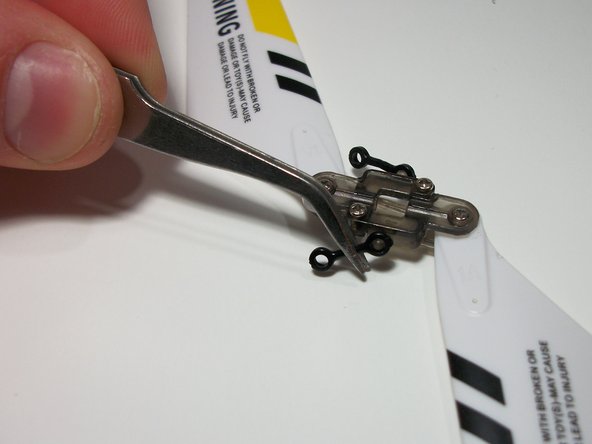
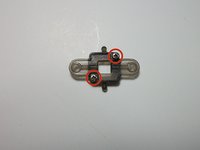
    • Again using tweezers gently remove the stabilizing links from the blade carriage by pulling straight away from the point of connection.

  6. Syma S107 Gyro Replacement: 手順 6、 2の画像 1 Syma S107 Gyro Replacement: 手順 6、 2の画像 2
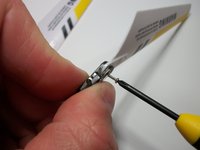
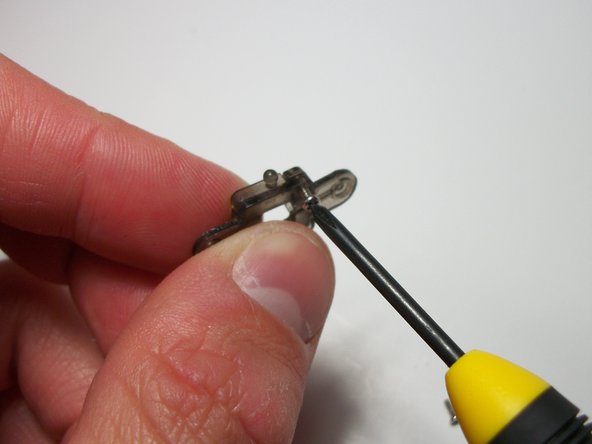
    • Remove the blades from the blade carriage by removing the following screws:

    • Two 4.7mm Phillips #0.

  7. Syma S107 Gyro Replacement: 手順 7、 2の画像 1 Syma S107 Gyro Replacement: 手順 7、 2の画像 2
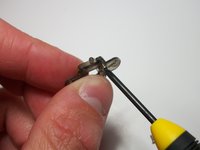
    • Remove the following screws:

    • Two 4.5mm Phillips #0.

    • Make sure to remove any broken plastic pins before reassembling the components.

    • You will have to slide the two halves of the blade carriage over the pins on the gyro carriage first when reassembling.

終わりに

To reassemble your device, follow these instructions in reverse order.

7 の人々がこのガイドを完成させました。

作成者

1人の作成者と共同作成されました。

Christopher Smith

メンバー登録日: 10/11/14

305 ポイント

1ガイドが承認済み

チーム

USF Tampa, Team 1-31, Donnelly Fall 2014 USF Tampa, Team 1-31, Donnelly Fall 2014人のメンバー

USFT-DONNELLY-F14S1G31

1 メンバー

1のガイドは作成済み

6 件のコメント

Thank you for this guide! This has fixed the issue and made a 35 year old boy very happy!

Patrick haymer - 返信

Cheers thanks too this page I fixed problem  great ,  Martin

Martin Worboys - 返信

Same here, incidentally where can I get replacement batteries please? Also have a “Picolo” heli with a bad feedback IC , supposedly this part can also be replaced on some units as its a soldered vertical board on the main.

Andre - 返信

Thank you! Took forever to find an answer to my problem! Now very obvious thanks to you. My sanity is restored! HaHa!

CRC 04/04/2021

Chris - 返信

I’m halfway there and grateful for the directions. But I’m not having any luck removing the broken plastic pins from the blade carriage. I’ve tried using a needle but no luck. Did anyone else come up against this?

Adam Leavesley - 返信

コメントを追加

統計データ:

過去 24時間: 1

過去 7 日: 7

過去 30 日: 33

今までの合計 14,205