メインコンテンツにスキップ

Sylvania SDVD9004 Screen Replacement

必要な工具と部品

  1. Sylvania SDVD9004 Screen Replacement, Back cover: 手順 1、 1の画像 1
    • Remove ten 7mm Phillips #0 screws.

    • Remove four 5mm Phillips #0 screws.

  2. Sylvania SDVD9004 Screen Replacement: 手順 2、 2の画像 1 Sylvania SDVD9004 Screen Replacement: 手順 2、 2の画像 2
    • Flip the device over.

    • Lift the top.

  3. Sylvania SDVD9004 Screen Replacement: 手順 3、 1の画像 1
    • This guide uses incorrect tools. Use an ESD safe tool, such as a nylon spudger, to complete this step.

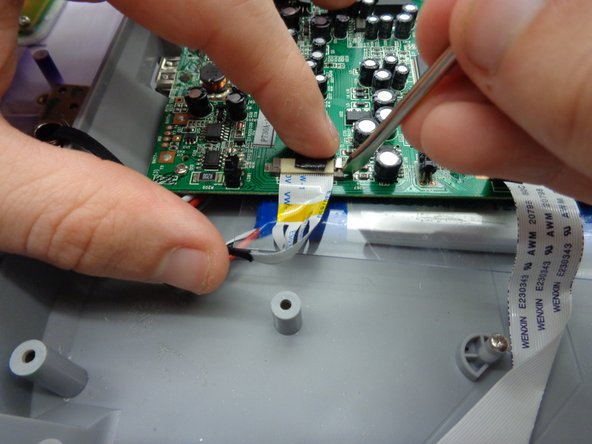
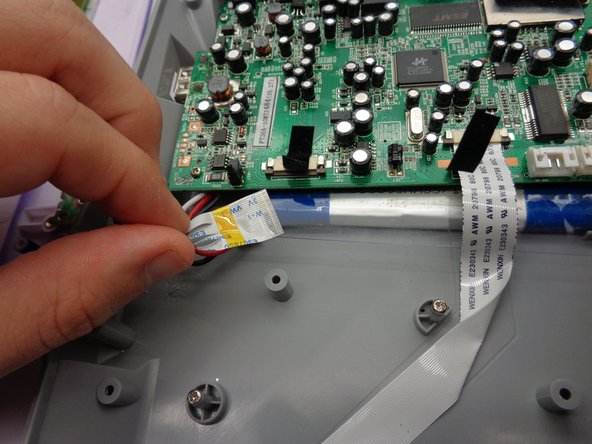
  4. Sylvania SDVD9004 Screen Replacement, Screen: 手順 4、 3の画像 1 Sylvania SDVD9004 Screen Replacement, Screen: 手順 4、 3の画像 2 Sylvania SDVD9004 Screen Replacement, Screen: 手順 4、 3の画像 3
    • Disconnect ribbon

    • This guide uses incorrect tools. Use an ESD safe tool, such as a nylon spudger, to complete this step.

    • Rotate screwdriver to peel sticker from ribbon.

    • Place spudger head behind gray tabs on port.

    • Press outward to disengage tab.

    • Repeat on other side.

    • Slide out ribbon.

  5. Sylvania SDVD9004 Screen Replacement: 手順 5、 2の画像 1 Sylvania SDVD9004 Screen Replacement: 手順 5、 2の画像 2
    • Using Philips head screwdriver, remove the two 7 mm screws.

    • Slide off top panel.

終わりに

To reassemble your device, follow these instructions in reverse order.

作成者

4人の作成者と共同で作成されました。

Sarah Henry

メンバー登録日: 10/31/16

417 ポイント

4のガイドは作成済み

チーム

Baylor, Team 5-10, Williams Fall 2016 Baylor, Team 5-10, Williams Fall 2016人のメンバー

BU-WILLIAMS-F16S5G10

2 メンバー

5のガイドは作成済み

0 件のコメント

コメントを追加

統計データ:

過去 24時間: 1

過去 7 日: 2

過去 30 日: 3

今までの合計 618