メインコンテンツにスキップ

Swann Doorphone Video Intercom Microphone Replacement

必要な工具と部品

  1. Swann Doorphone Video Intercom Microphone Replacement, Microphone: 手順 1、 3の画像 1 Swann Doorphone Video Intercom Microphone Replacement, Microphone: 手順 1、 3の画像 2 Swann Doorphone Video Intercom Microphone Replacement, Microphone: 手順 1、 3の画像 3
    • Flip the monitor of the Swann Doorphone Video Intercom over so that the underside is facing up.

    • Remove the six 2 mm corner screws from the back plate of the monitor using the JIS #0 screwdriver.

  2. Swann Doorphone Video Intercom Microphone Replacement: 手順 2、 2の画像 1 Swann Doorphone Video Intercom Microphone Replacement: 手順 2、 2の画像 2
    • Once the screws are removed, grip the black back plate of the monitor and remove from the monitor.

    • The back plate will still be connected to the monitor with a cord of wires that should not be removed.

  3. Swann Doorphone Video Intercom Microphone Replacement: 手順 3、 3の画像 1 Swann Doorphone Video Intercom Microphone Replacement: 手順 3、 3の画像 2 Swann Doorphone Video Intercom Microphone Replacement: 手順 3、 3の画像 3
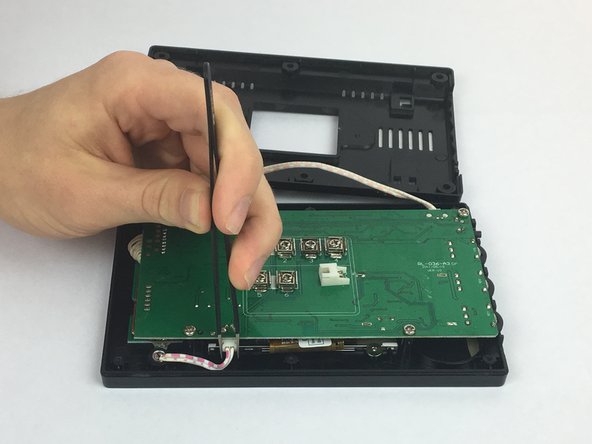
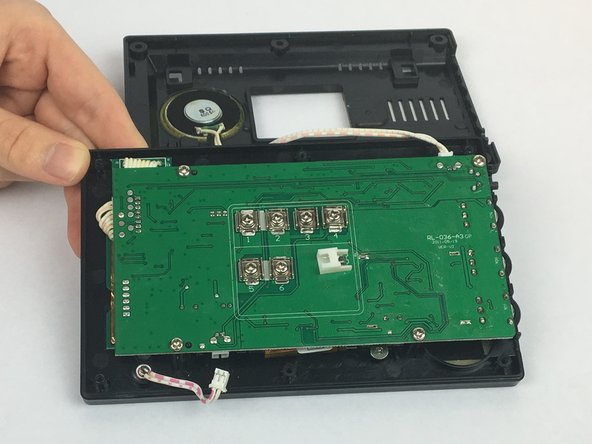
    • Using the precision tweezers, grab the sides of the white connector at the bottom of the green board.

    • Pull the white connector towards you to disconnect the board.

  4. Swann Doorphone Video Intercom Microphone Replacement: 手順 4、 3の画像 1 Swann Doorphone Video Intercom Microphone Replacement: 手順 4、 3の画像 2 Swann Doorphone Video Intercom Microphone Replacement: 手順 4、 3の画像 3
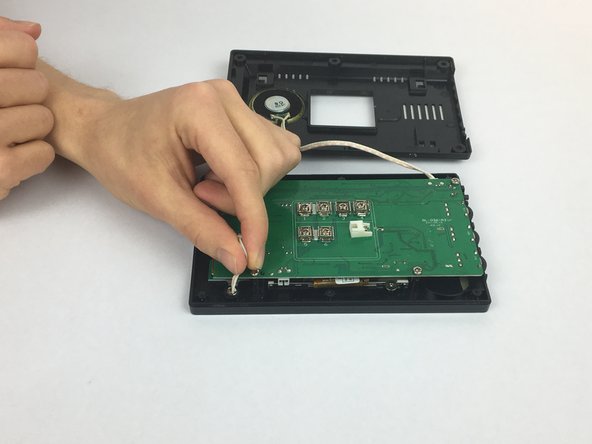
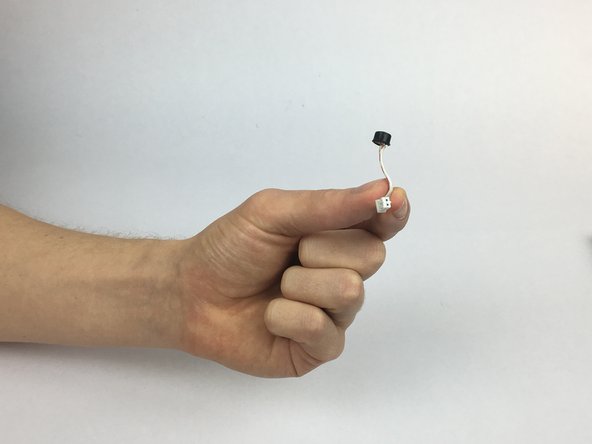
    • Grip the other end of the white connector cable towards the base of the black microphone.

    • Pull gently towards your body to remove the microphone.

終わりに

To reassemble your device, follow these instructions in reverse order.

作成者

3人の作成者と共同で作成されました。

Emily Stenke

メンバー登録日: 02/14/18

555 ポイント

4のガイドは作成済み

チーム

USF Tampa, Team S2-G4, Eyestone Spring 2018 USF Tampa, Team S2-G4, Eyestone Spring 2018人のメンバー

USFT-EYESTONE-S18S2G4

4 メンバー

5のガイドは作成済み

0 件のコメント

コメントを追加

統計データ:

過去 24時間: 0

過去 7 日: 0

過去 30 日: 3

今までの合計 341