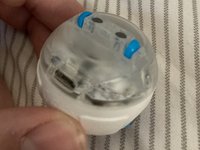
メインコンテンツにスキップ

Sphero Mini Battery Replacement

必要な工具と部品

  1. Sphero Mini Battery Replacement, Remove the shell: 手順 1、 2の画像 1 Sphero Mini Battery Replacement, Remove the shell: 手順 1、 2の画像 2
    • Before you start, you should discharge your Sphero Mini’s battery below 25%. Usually, you can discharge the battery by playing with Sphero for around 45 mins on a full charge. Damaged batteries can start fires.

    • It’s probably a good idea to “Turn Off” your Sphero as well. You can do this from the Play or Edu app.

    • Remove the outer shell by squeezing it until it pops off.

  2. Sphero Mini Battery Replacement, Open the casing: 手順 2、 1の画像 1
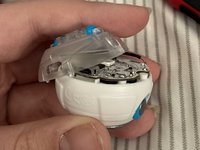
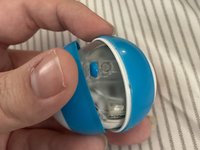
    • Next, you’ll need to open the casing. Unscrew the 2 phillips screws on either side of the idler wheels.

    • Remember to keep track of your screws!

  3. Sphero Mini Battery Replacement, Remove the main board: 手順 3、 2の画像 1 Sphero Mini Battery Replacement, Remove the main board: 手順 3、 2の画像 2
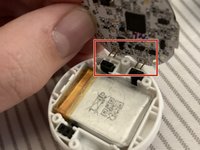
    • The main board is also held in with two screws - go ahead and remove them.

    • You may need to slide the Bluetooth antenna’s sheath out of the way of one of the screws.

    • Again, keep track of your screws! These are a different length than the case screws.

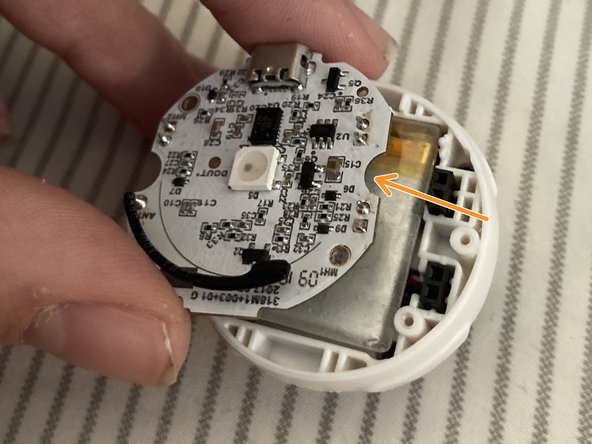
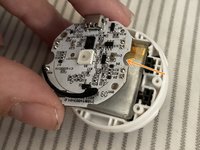
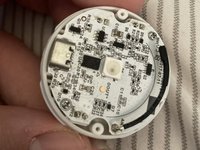
    • Once the screws are out, pull the board directly up.

    • Everything is connected through some pin headers, so don’t worry about disconnecting any ribbon cables.

    • If one of the cables tries to come up with the mainboard, just pull it off and return it to its place.

  4. Sphero Mini Battery Replacement, Remove the battery: 手順 4、 2の画像 1 Sphero Mini Battery Replacement, Remove the battery: 手順 4、 2の画像 2
    • There should be a small plastic sheet adhered to the top of the battery. Gently peel it off - we’re going to use it to lift the battery.

    • This might not be the best way to do it, but it seems to be the easiest for anyone not familiar with this type of stuff.

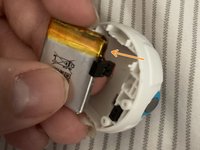
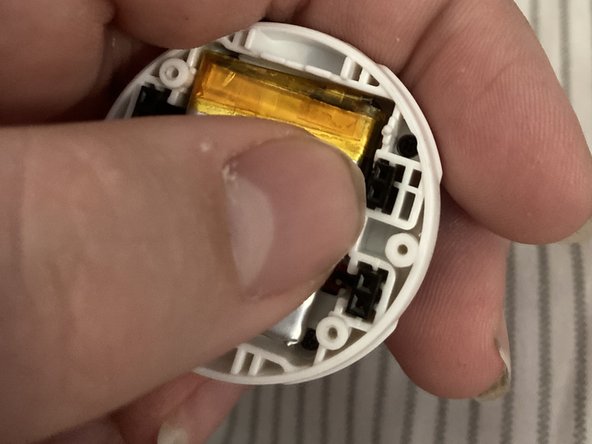
    • Use the plastic sheet to carefully pull upwards at the edge of the yellow tape on the battery. This should help release the small amount of adhesive.

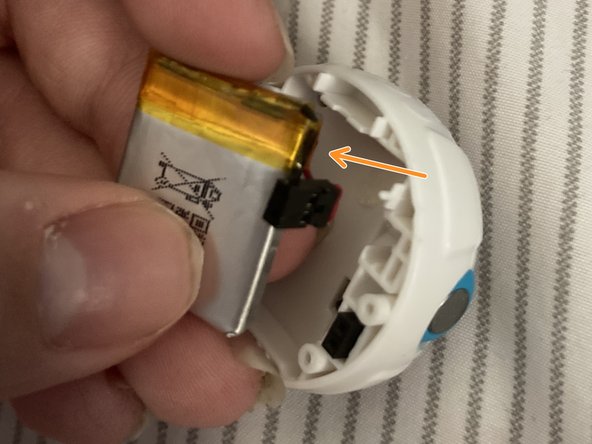
    • Once the adhesive releases, gently pull the battery out of the way.

    • Then, you’ll need to get its connector out of the way. If it’s giving you trouble, try wiggling it a little to coax it out.

  5. Sphero Mini Battery Replacement, Insert the new battery: 手順 5、 2の画像 1 Sphero Mini Battery Replacement, Insert the new battery: 手順 5、 2の画像 2
    • If your battery has adhesive, peel off the protective layer.

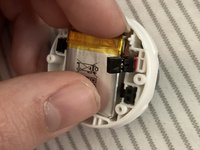
    • Place the new battery into the slot.

    • Push the connector into the slot where the previous one was.

    • Make sure the polarities are in the same orientation as your old battery.

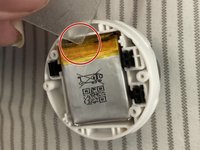
    • Stick that plastic sheet on top of the new battery.

  6. Sphero Mini Battery Replacement, Reinstall the main board: 手順 6、 2の画像 1 Sphero Mini Battery Replacement, Reinstall the main board: 手順 6、 2の画像 2
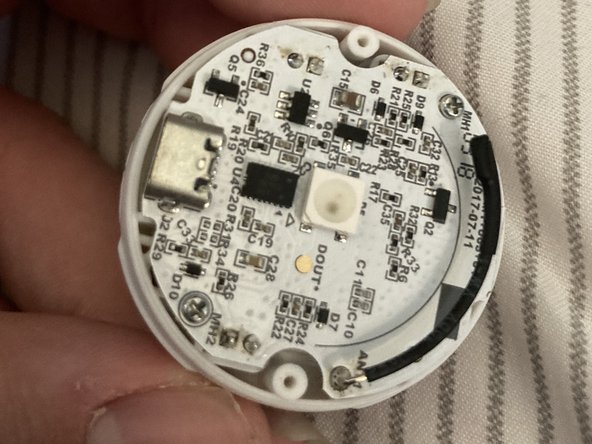
    • Align the pins on the bottom of the board with the connectors below.

    • Push the board down securely.

    • Replace those 2 screws we took out earlier. (They’re the shorter pair in case you forgot).

  7. Sphero Mini Battery Replacement, Put the top case back on: 手順 7、 2の画像 1 Sphero Mini Battery Replacement, Put the top case back on: 手順 7、 2の画像 2
    • This is mostly self-explanatory - just remember to line the hole up with the Micro USB port.

  8. Sphero Mini Battery Replacement, Put the shell back on: 手順 8、 2の画像 1 Sphero Mini Battery Replacement, Put the shell back on: 手順 8、 2の画像 2
    • Again, this is self-explanatory - just pop the main thingimajig between the shell and snap it shut.

終わりに

You did it! Hope this helps you get even more fun out of your Mini.

3 の人々がこのガイドを完成させました。

作成者

2人の作成者と共同で作成されました。

Carter

メンバー登録日: 01/09/21

256 ポイント

1ガイドが承認済み

0 件のコメント

コメントを追加

統計データ:

過去 24時間: 6

過去 7 日: 22

過去 30 日: 63

今までの合計 1,469