メインコンテンツにスキップ

Soundcore Liberty Air Charging Pins Replacement

必要な工具と部品

  1. Soundcore Liberty Air Charging Pins Replacement, Charging Pins: 手順 1、 2の画像 1 Soundcore Liberty Air Charging Pins Replacement, Charging Pins: 手順 1、 2の画像 2
    • Clean the charging pins and case with a cotton swab.

  2. Soundcore Liberty Air Charging Pins Replacement: 手順 2、 3の画像 1 Soundcore Liberty Air Charging Pins Replacement: 手順 2、 3の画像 2 Soundcore Liberty Air Charging Pins Replacement: 手順 2、 3の画像 3
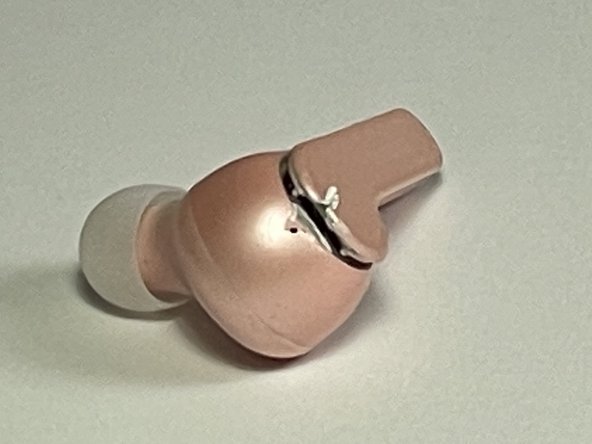
    • Remove the flat cover with a 1/16" punch tool by inserting it into the divot at the top of the earbud.

    • Be careful not to push too hard or upwards.

    • There is a lot of adhesive securing the cover, so using a mild heat will help loosen the adhesive.

  3. Soundcore Liberty Air Charging Pins Replacement: 手順 3、 3の画像 1 Soundcore Liberty Air Charging Pins Replacement: 手順 3、 3の画像 2 Soundcore Liberty Air Charging Pins Replacement: 手順 3、 3の画像 3
    この手順で使用する道具:
    Tweezers
    $3.99
    購入する
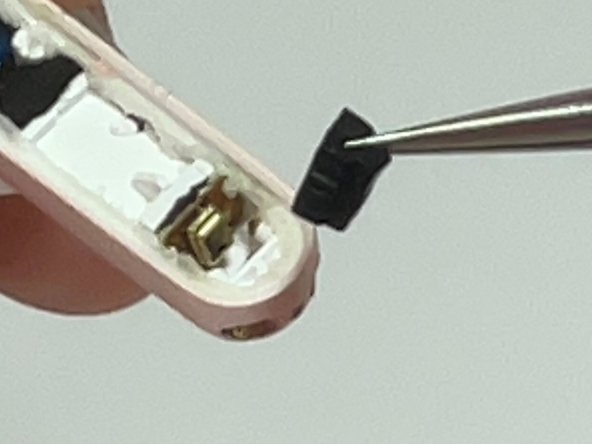
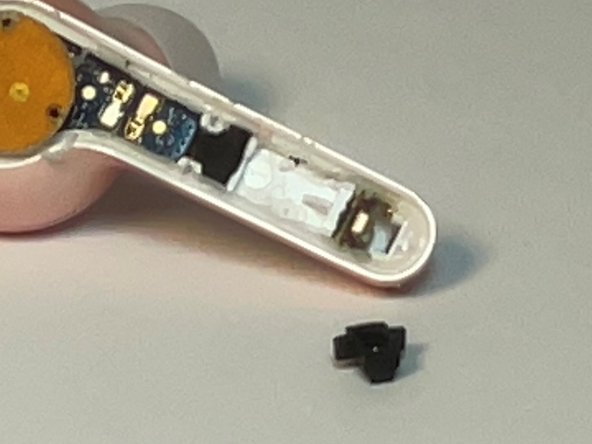
    • Remove the black rubber cross from the bottom of the earbud with angled tweezers.

    • Do not poke through the rubber.

  4. Soundcore Liberty Air Charging Pins Replacement: 手順 4、 3の画像 1 Soundcore Liberty Air Charging Pins Replacement: 手順 4、 3の画像 2 Soundcore Liberty Air Charging Pins Replacement: 手順 4、 3の画像 3
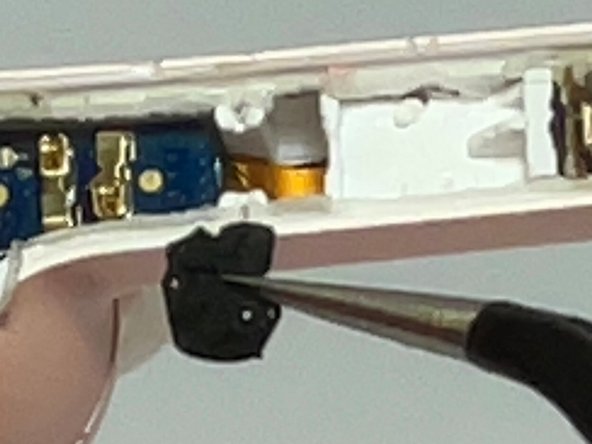
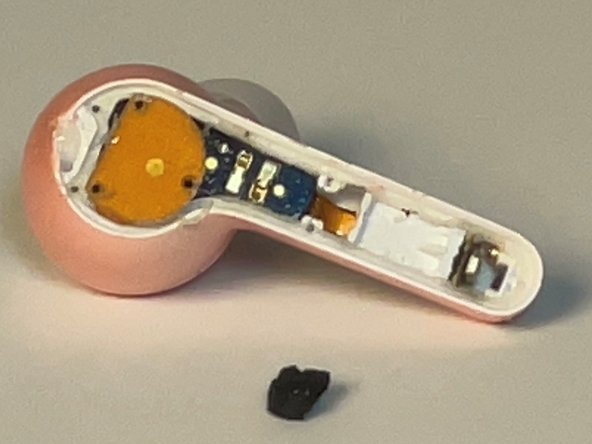
    • Remove the top rubber rectangle with angled tweezers.

  5. Soundcore Liberty Air Charging Pins Replacement: 手順 5、 3の画像 1 Soundcore Liberty Air Charging Pins Replacement: 手順 5、 3の画像 2 Soundcore Liberty Air Charging Pins Replacement: 手順 5、 3の画像 3
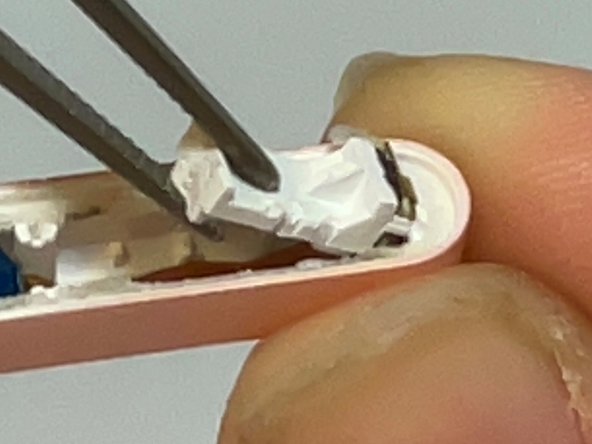
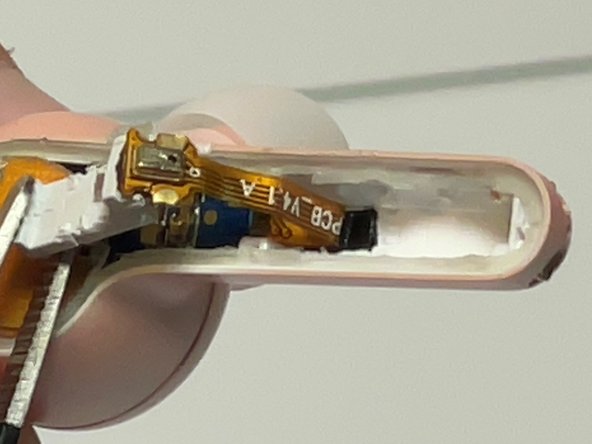
    • Remove the white block from the earbud with blunt tweezers.

  6. Soundcore Liberty Air Charging Pins Replacement: 手順 6、 3の画像 1 Soundcore Liberty Air Charging Pins Replacement: 手順 6、 3の画像 2 Soundcore Liberty Air Charging Pins Replacement: 手順 6、 3の画像 3
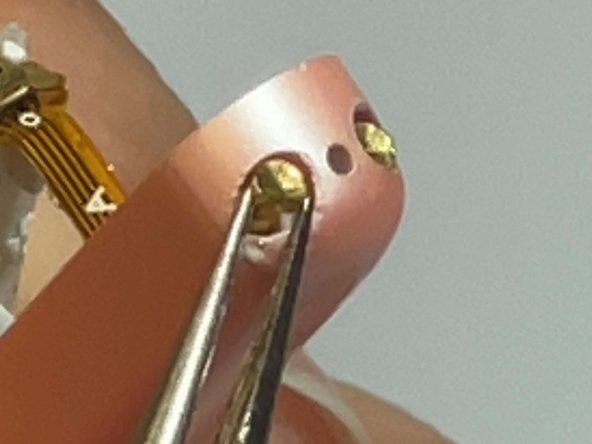
    • Push out charging pins with the 1/16" tool.

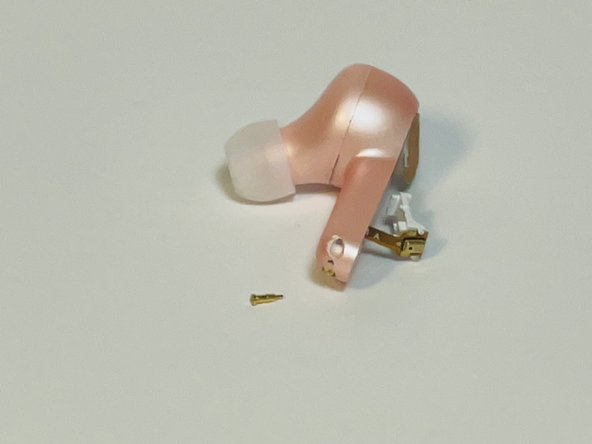
    • Pull out the rest of the charging pin with angled tweezers

  7. Soundcore Liberty Air Charging Pins Replacement: 手順 7、 2の画像 1 Soundcore Liberty Air Charging Pins Replacement: 手順 7、 2の画像 2
    • Replace charging pins with angled tweezers.

終わりに

To reassemble your device, follow these instructions in reverse order. Make sure to add all black rubber squares back in the same position that you removed them in order for them to fit properly. Avoid getting any moisture in or around the device during the repair in order to prevent any type of water damage.

作成者

3人の作成者と共同で作成されました。

Alyssa Punturo

メンバー登録日: 09/21/22

145 ポイント

1ガイドが承認済み

チーム

CSU Fullerton, Team 1-3, Bruce Fall 2022 CSU Fullerton, Team 1-3, Bruce Fall 2022人のメンバー

CSUF-BRUCE-F22S1G3

2 メンバー

1のガイドは作成済み

0 件のコメント

コメントを追加

統計データ:

過去 24時間: 3

過去 7 日: 10

過去 30 日: 34

今までの合計 876