はじめに
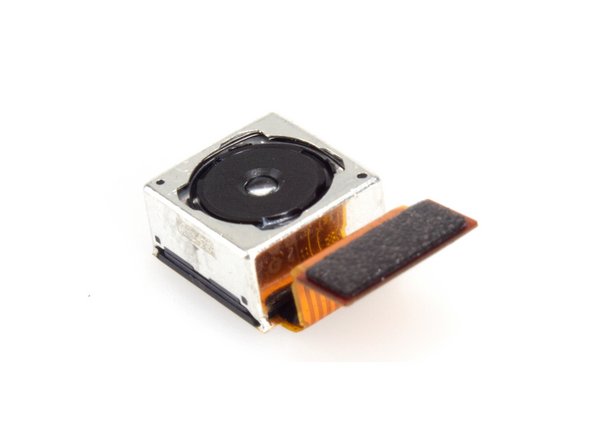
Sony Xperia Z3 Dualのリアカメラの交換用修理ガイドです。
必要な工具と部品
ビデオの概要


このデバイスを再組み立てするには、インストラクションを逆の順番に従って作業を進めてください。
このデバイスを再組み立てするには、インストラクションを逆の順番に従って作業を進めてください。
6 の人々がこのガイドを完成させました。
以下の翻訳者の皆さんにお礼を申し上げます:
100%

Midori Doiさんは世界中で修理する私たちを助けてくれています! あなたも貢献してみませんか?
翻訳を始める ›
2 件のコメント
READ THIS COMMENT BEFORE ATTEMPTING
What this video doesn't show is the sheet of black adhesive that fills the space between the back panel and the internal components and keeps the phone waterproof. It's really tough to remove and it makes getting the back off much more difficult that this video or these pictures would imply. It's entirely possible to do it at home, just be careful and make sure you use guitar picks or plastic prying tools as anything else will scratch and potentially crack the glass panel. If you need to do a screen repair then it's probably worth going to a shop unless you're experienced in repairing waterproof phones because getting the old screen off actually requires breaking it and is so difficult that most repair shops won't do it.
Really this phone made me lose faith in Sony. It breaks SO easily, is impossible to get repaired at most shops, is borderline impossible to fix yourself and has a multitude of issues that you just have to put up with unless you've got the cash to pay up.
I managed to remove the rear cover without a heat gun. I used the ifixit opening tool, and got it in between the outer metal frame and the glass cover, and slid it around the phone. With light pressure it was easy to lift the glass cover slightly without damaging it. I then used the flat end of the spudger to pry the cover from the adhesive on the battery. Replaced the camera as shown, and just stuck the rear cover back on as the adhesive was still intact. Although I will probably replace the rear cover adhesive just to be safe and preserve the waterproof features.