はじめに
Sony Xperia Z3 Compact のミッドフレームの交換
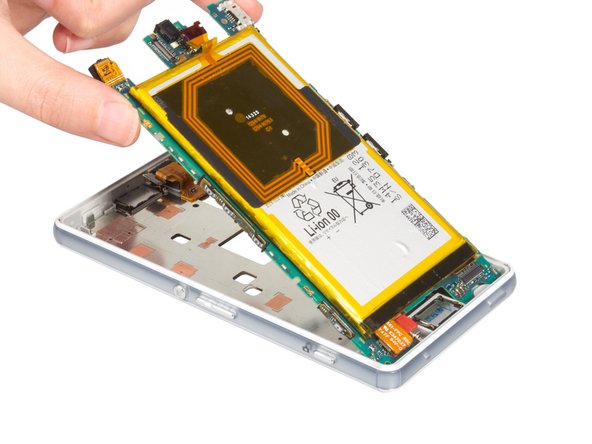
これは、バックパネルとフロントスクリーンを取り外し、メインフレックスを分離し、再び取り付け、そして再び組み立てるという作業です。
必要な工具と部品
-
-
まず始めにヒートガンやドライヤーを使ってデバイスの裏側を温めます。(接着剤を温めて柔らかくします)
-
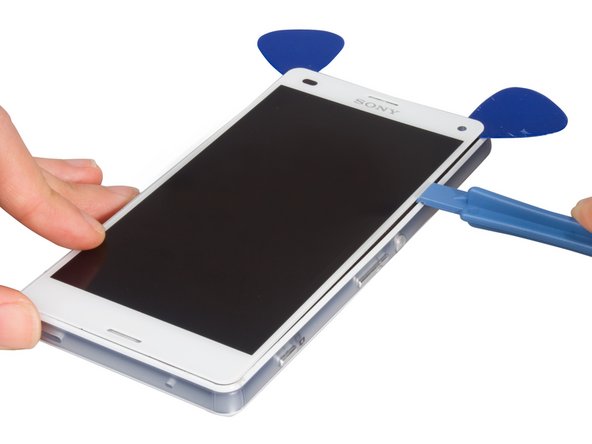
それから吸盤カップを取り付けて引き上げます。引き上げた際に隙間ができたら、ギターピックや開口ピックを差し込んでバックカバーの下に付けられた接着ステッカーを切り込みます。
-
これでバックカバーを取り出せます。
-
-
-
-
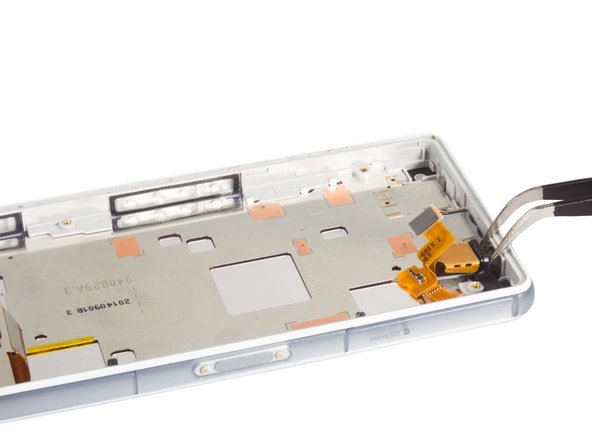
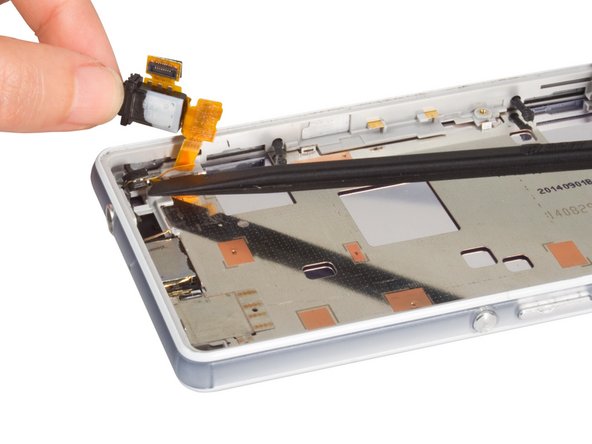
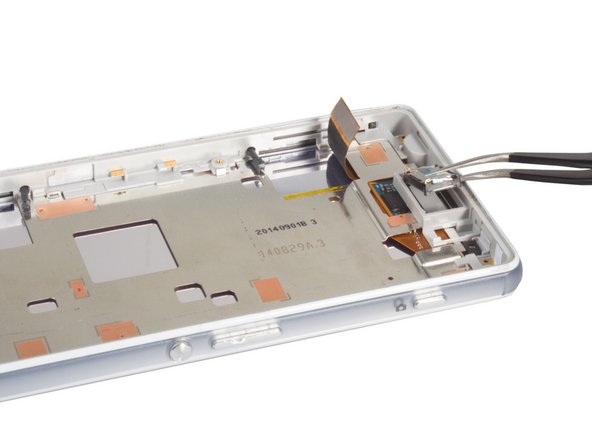
イヤホン付きのLCDスクリーンをミッドフレームから外します。詳細については Sony Xperia Z3 CompactのLCDスクリーンの交換方法をご覧ください。これで新しいミッドフレームでデバイスを再組み立てできます。
-


デバイスを再組み立てする際は、これらのインストラクションを逆の順番に従って作業を進めてください。
デバイスを再組み立てする際は、これらのインストラクションを逆の順番に従って作業を進めてください。
9 の人々がこのガイドを完成させました。
以下の翻訳者の皆さんにお礼を申し上げます:
100%

Midori Doiさんは世界中で修理する私たちを助けてくれています! あなたも貢献してみませんか?
翻訳を始める ›
4 件のコメント
i want to ask what is the purpose of that plastic frame that have some silver paths connecting to the main board, because i accidentally broke it and broke the one path
It is WIFI Antenna connectors
I have same issue too did you fix it?
This is potentially much more complicated, and fiddly, than the guide suggests - depending on where you get the midframe from, there are a number of additional parts that need moving across to the new one - specifically the rubber seals from the buttons, the small microphone channel near the bottom mic, the plastic defuser for the LED next to the headphone socket and the front camera holder. Removing the lower speaker from the midframe is likely to break it, simply down to the glue being used to hold it in. It's worth making sure you have a replacement to hand as they're fairly cheap.
Additionally to re-emphasise, be very careful with removing the mother board, the vibration motor lead is very delicate and easy to tear. Do make sure it's completely freed up before trying to remove the board!