はじめに
Sony Xperia Z2 (D6502, D6503, D6543)限定ーロジックボード(メインボード)の交換方法です。
必要な工具と部品
ビデオの概要
-
-
-
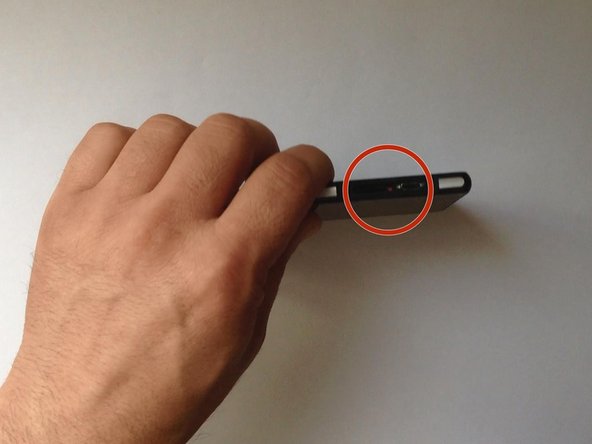
バッテリーのフレックスケーブルの接続を外して、プラスネジを2本外します。
-
リチウムーポリマーバッテリーは3.8V、3200mAhです。
-
バッテリーのバーツ番号: LIS1543ERPC
-
-
-
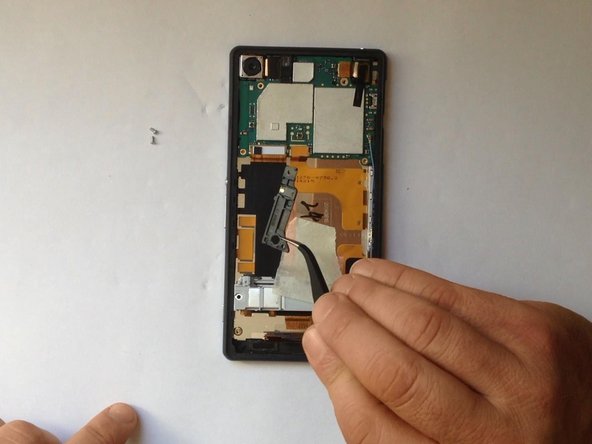
1つずつ下のパーツを外します。
-
マグネット製充電ドッグのフレックスケーブル
-
ボリューム/電源ボタンとマイクフレックスケーブル
-
メインカメラ
-
オーディオジャックとライトセンサーのフレックスケーブル
-
同軸アンテナケーブル
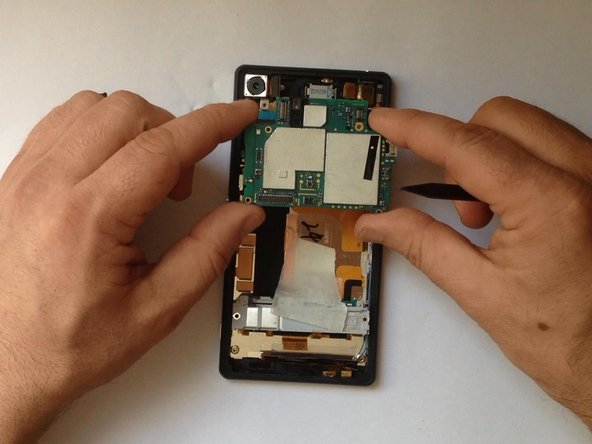
I know it should probably be obvious, but just make sure you’ve removed any MicroSD card and the SIM card tray before trying to lift out the board, as otherwise they’ll prevent it from lifting :)
Also, I had to peel off one side of the strip of black tape at the top right (visible in the photos, but not mentioned)
-


デバイスを再組み立てする際は、これらのインストラクションを逆の順番に従って作業を進めてください。
デバイスを再組み立てする際は、これらのインストラクションを逆の順番に従って作業を進めてください。
19 の人々がこのガイドを完成させました。
以下の翻訳者の皆さんにお礼を申し上げます:
100%

Midori Doiさんは世界中で修理する私たちを助けてくれています! あなたも貢献してみませんか?
翻訳を始める ›

チーム

3 件のコメント
Hi
Do anyone knows where I can buy a logic board for Xperia Z2?
https://www.ebay.com/sch/i.html?_from=R4...
or I bought there
https://ru.aliexpress.com/wholesale?catI...
be careful to find cheaper price and for your model D6503 or D6563…
Are you sure Phillips #00 is the correct size of screwdriver? I had difficulty getting one of the screws to turn (the screwdriver kept slipping), so I tried the other sizes in my iOpener Kit and found that the PH#000 seemed to fit them better, and that screw came straight out with it.