メインコンテンツにスキップ

Sony Xperia Z1 Screen Replacement

必要な工具と部品

  1. Sony Xperia Z1 Screen Replacement, Battery: 手順 1、 1の画像 1
    • Before you begin, use caution while handling a heat gun.

    • With caution to hot temperatures, glide a heat gun over the outer edges of the phone bezel to soften the adhesive securing the back panel to the phone.

  2. Sony Xperia Z1 Screen Replacement: 手順 2、 2の画像 1 Sony Xperia Z1 Screen Replacement: 手順 2、 2の画像 2
    • Apply a suction cup tool to the center of the back panel and gently pull the panel off the back of the phone.

    • If you are experiencing difficulty, use an opening pick to slide into the crack in between the panel and the rest of the phone body to pry off the back.

  3. Sony Xperia Z1 Screen Replacement: 手順 3、 2の画像 1 Sony Xperia Z1 Screen Replacement: 手順 3、 2の画像 2
    • Use the Torx T5 screwdriver to remove the two 3.81mm screws from the corners of the battery.

  4. Sony Xperia Z1 Screen Replacement: 手順 4、 2の画像 1 Sony Xperia Z1 Screen Replacement: 手順 4、 2の画像 2
    • Use the plastic opening tool to gently pry off the two flex connectors from the motherboard. Getting access to one of the connectors requires prying off the other first, so be sure to remove the top connector first.

    • Tip: you may need to use the tweezers to gently hold the top connector out of the way while prying off the bottom connector.

  5. Sony Xperia Z1 Screen Replacement: 手順 5、 1の画像 1
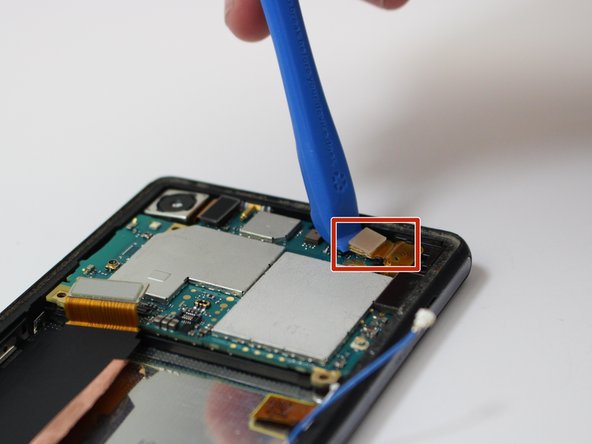
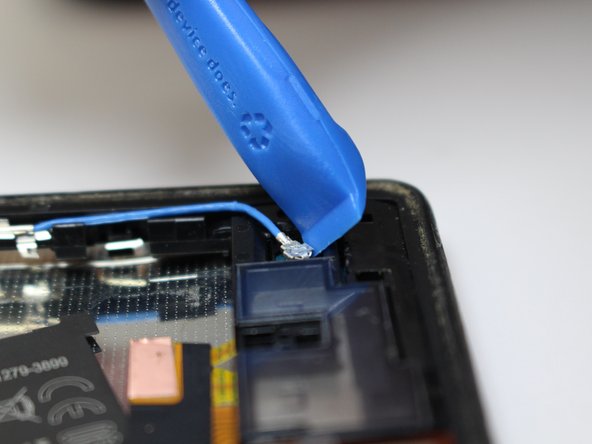
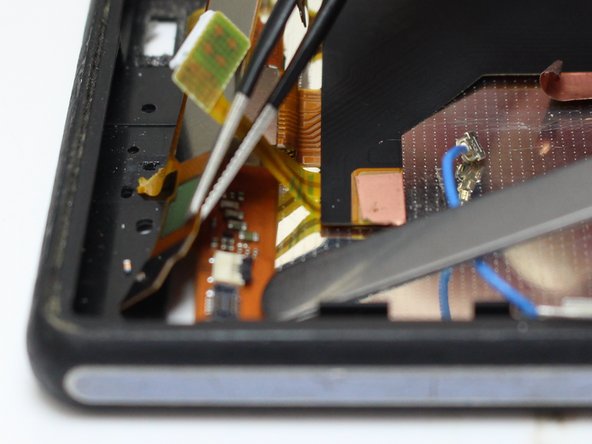
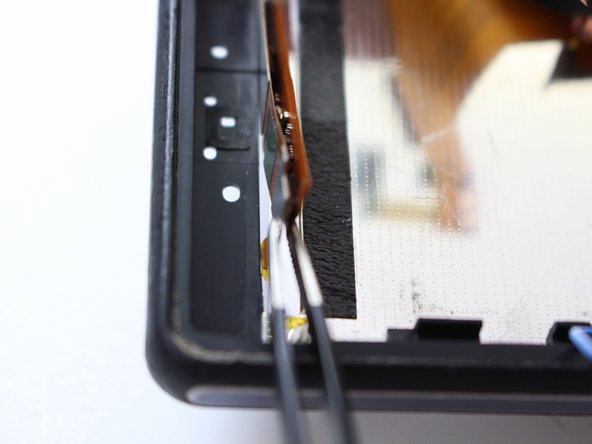
    • Slowly slip the halberd spudger underneath the rest of the orange flex cable to carefully peel the adhesive portion away from the rest of the phone.

  6. Sony Xperia Z1 Screen Replacement: 手順 6、 1の画像 1
    • Use the tweezers to grab the top right corner of battery and carefully lift it up and away from the phone.

  7. Sony Xperia Z1 Screen Replacement: 手順 7、 1の画像 1
    • Once the battery is at a safe enough height, grip the corner of the battery and slowly pull it out of the phone.

    • The old battery can be recycled at any local office supply store that supports recycling used batteries.

  8. Sony Xperia Z1 Screen Replacement, Screen: 手順 8、 1の画像 1
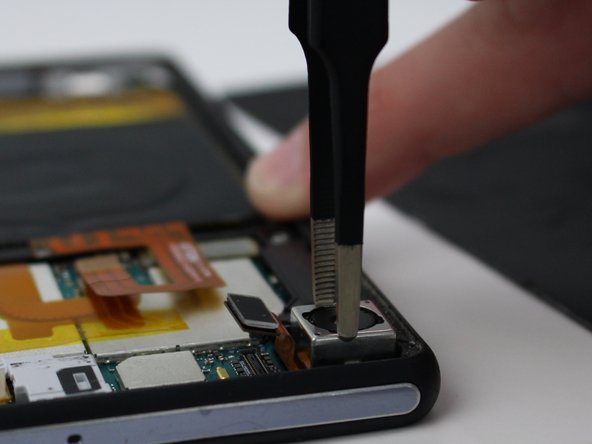
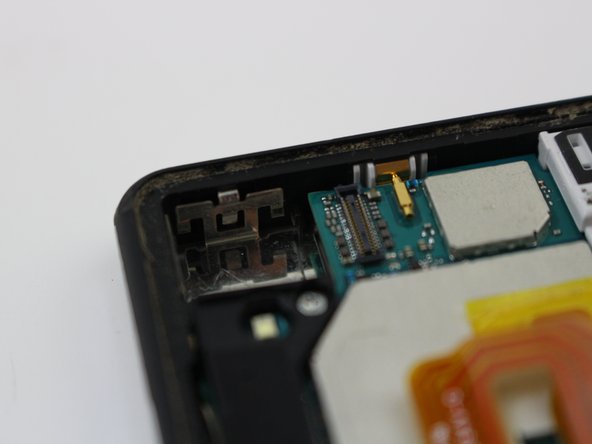
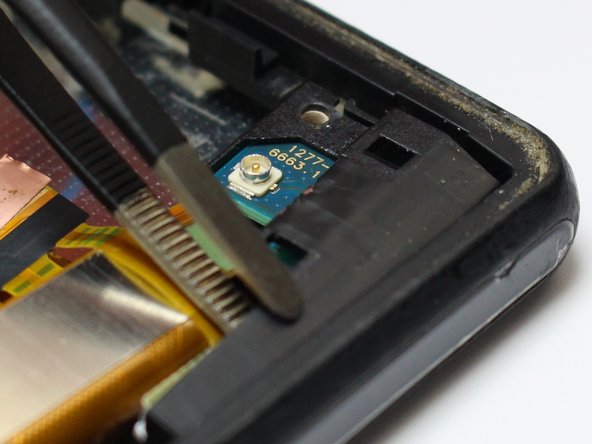
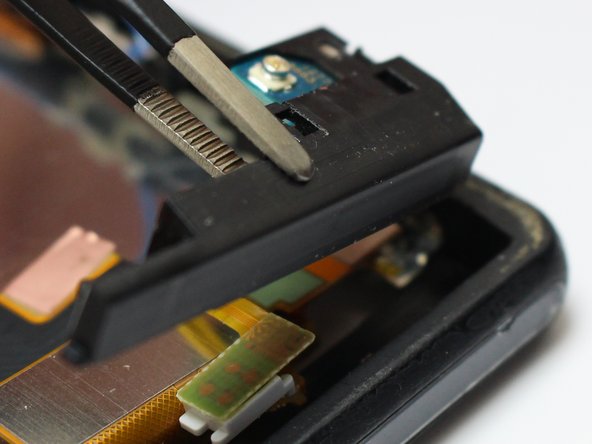
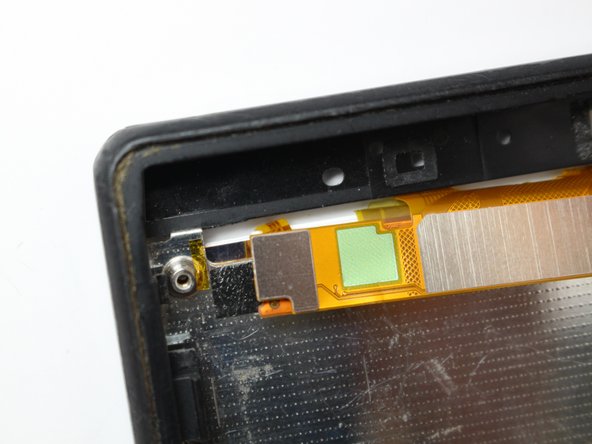
    • Remove the bracket on the left side of the motherboard with a pair of tweezers.

  9. Sony Xperia Z1 Screen Replacement: 手順 9、 2の画像 1 Sony Xperia Z1 Screen Replacement: 手順 9、 2の画像 2
    • Use a pair of tweezers to remove the white plastic cover from the top of the motherboard.

    • Pry up the blue, press-fit coaxial cable from the motherboard with a plastic opening tool.

  10. Sony Xperia Z1 Screen Replacement: 手順 10、 2の画像 1 Sony Xperia Z1 Screen Replacement: 手順 10、 2の画像 2
    • Using an opening tool, disconnect the two press fit connectors from the bottom and top right of the motherboard.

  11. Sony Xperia Z1 Screen Replacement: 手順 11、 3の画像 1 Sony Xperia Z1 Screen Replacement: 手順 11、 3の画像 2 Sony Xperia Z1 Screen Replacement: 手順 11、 3の画像 3
    • Use a plastic opening tool to pry up the camera's press fit connector in the top left corner of the motherboard.

    • Use a pair of tweezers to lift the camera out from the motherboard.

  12. Sony Xperia Z1 Screen Replacement: 手順 12、 3の画像 1 Sony Xperia Z1 Screen Replacement: 手順 12、 3の画像 2 Sony Xperia Z1 Screen Replacement: 手順 12、 3の画像 3
    • Using a plastic spudger, lift the motherboard upwards in order to separate it from the phone.

    • The images depict a metal spudger being used, which poses a potential to damage the motherboard. We recommend using an ESD-safe tool instead.

    • As the motherboard is lifted up, grab it with a pair of tweezers and lift it out of the phone.

  13. Sony Xperia Z1 Screen Replacement: 手順 13、 3の画像 1 Sony Xperia Z1 Screen Replacement: 手順 13、 3の画像 2 Sony Xperia Z1 Screen Replacement: 手順 13、 3の画像 3
    • Use an opening tool to disconnect the small white cable from the top left corner of the motherboard.

    • Remove the two screws from the daughterboard with a Torx T5 screwdriver.

  14. Sony Xperia Z1 Screen Replacement: 手順 14、 3の画像 1 Sony Xperia Z1 Screen Replacement: 手順 14、 3の画像 2 Sony Xperia Z1 Screen Replacement: 手順 14、 3の画像 3
    • Detach the other end of the blue coaxial cable with a plastic opening tool.

    • Start to pry up the daughterboard using a plastic spudger, taking caution not to sever any of the attached ribbon cables.

    • Although the images depict the use of a metal spudger to pry up the daughterboard, we recommend using an ESD-safe tool instead to reduce the risk of damage to the componentry.

  15. Sony Xperia Z1 Screen Replacement: 手順 15、 3の画像 1 Sony Xperia Z1 Screen Replacement: 手順 15、 3の画像 2 Sony Xperia Z1 Screen Replacement: 手順 15、 3の画像 3
    • Lift up the daughterboard, holding it out of the way, but not removing it completely yet.

    • Pull out the black plastic bracket from the corner of the device with a pair of tweezers.

  16. Sony Xperia Z1 Screen Replacement: 手順 16、 3の画像 1 Sony Xperia Z1 Screen Replacement: 手順 16、 3の画像 2 Sony Xperia Z1 Screen Replacement: 手順 16、 3の画像 3
    • Disconnect all of the press fit connectors from the circuit board beneath the daughterboard using a plastic opening tool.

  17. Sony Xperia Z1 Screen Replacement: 手順 17、 3の画像 1 Sony Xperia Z1 Screen Replacement: 手順 17、 3の画像 2 Sony Xperia Z1 Screen Replacement: 手順 17、 3の画像 3
    • Now turn the phone back over to begin removing the screen. Using a heat gun, if possible, heat all edges of the screen in order to loosen the adhesive.

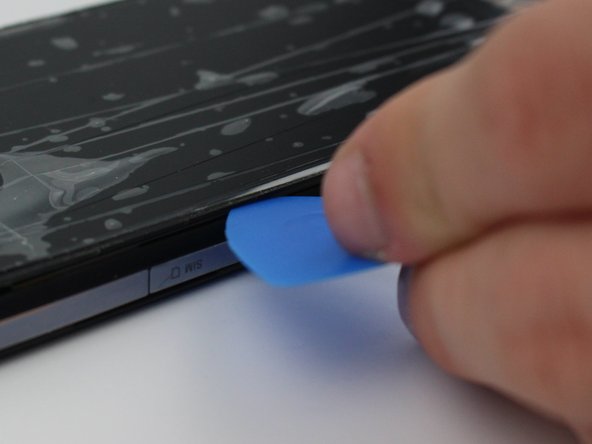
    • Next, use an opening pick to begin prying the screen from the device. Make sure to be careful, as it is common for the screen to shatter when removing it. Once removed, note where it is connected.

  18. Sony Xperia Z1 Screen Replacement: 手順 18、 3の画像 1 Sony Xperia Z1 Screen Replacement: 手順 18、 3の画像 2 Sony Xperia Z1 Screen Replacement: 手順 18、 3の画像 3
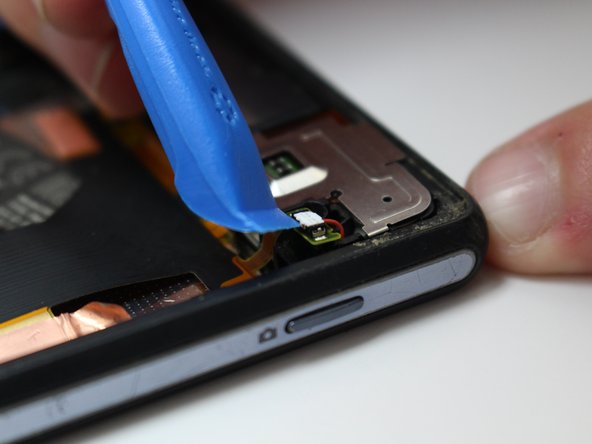
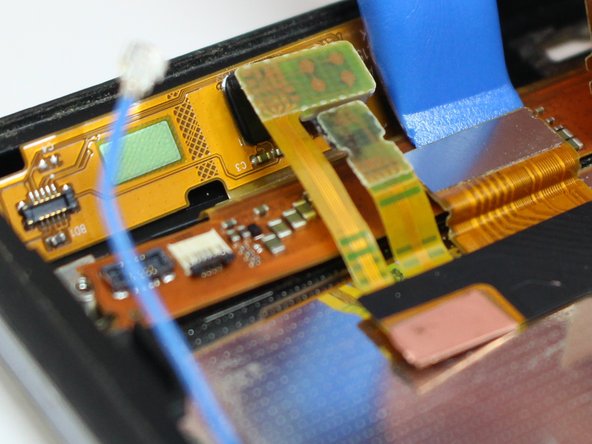
    • Turn your attention back to the inside of the device, where there is one group of cables connected to the display on the front of the phone. Maneuver these cables, as shown, through the hole so that the screen and cables can be removed from the device. The screen and attached cables will now detach from the phone.

終わりに

To reassemble your device, follow these instructions in reverse order. Note: don’t forget to reinstall new adhesive strips to the front and back cover, only after removing all of the old adhesive.

ある他の人がこのガイドを完成しました。

作成者

1人の作成者と共同作成されました。

Tate Lambert

メンバー登録日: 01/30/20

193 ポイント

1ガイドが承認済み

0 件のコメント

コメントを追加

統計データ:

過去 24時間: 0

過去 7 日: 5

過去 30 日: 34

今までの合計 1,624