メインコンテンツにスキップ

Sony Xperia J Camera Replacement

必要な工具と部品

  1. Sony Xperia J Camera  Replacement, External Features: 手順 1、 1の画像 1
    • You will need a Torx T5 screwdriver, plastic opening tool, and a pincet for this operation.

  2. Sony Xperia J Camera  Replacement: 手順 2、 1の画像 1
    • Find the little bracket on the bottom left of the phone (when looking at it upside down) and use the opening tool to pry off the back cover.

  3. Sony Xperia J Camera  Replacement: 手順 3、 1の画像 1
    この手順で使用する道具:
    Tweezers
    $4.99
    購入する
    • Remove the silicone cover by squeezing it with the tweezers, there is not much pressure needed.

  4. Sony Xperia J Camera  Replacement: 手順 4、 3の画像 1 Sony Xperia J Camera  Replacement: 手順 4、 3の画像 2 Sony Xperia J Camera  Replacement: 手順 4、 3の画像 3
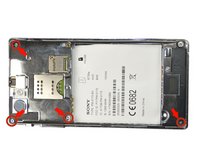
    • Using the Torx T5 screwdriver remove the four 4.74mm screws.

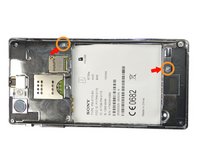
    • Then remove the two 3.13mm screws

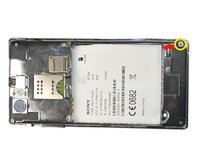
    • Lastly remove 5.90mm screw.

  5. Sony Xperia J Camera  Replacement: 手順 5、 3の画像 1 Sony Xperia J Camera  Replacement: 手順 5、 3の画像 2 Sony Xperia J Camera  Replacement: 手順 5、 3の画像 3
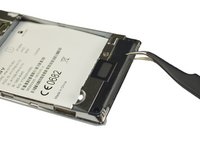
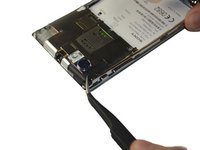
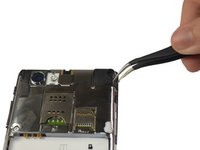
    • Using the tweezers remove the black plate at the bottom of the phone. First insert the tweezers tip at the intersection between the black plate and phone, then just pull the plate up.

    • Repeat the same steps to remove the black plates located at the top left, and top right of the phone.

  6. Sony Xperia J Camera  Replacement: 手順 6、 1の画像 1
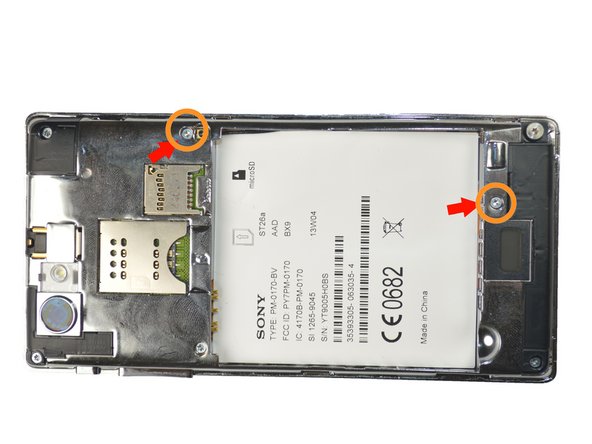
    • After removing the top left black plate, you will find another 3.13mm screw. Just remove it by using the screwdriver.

  7. Sony Xperia J Camera  Replacement: 手順 7、 1の画像 1
    • Place the plastic opening tool in-between the black external case of the phone and the silver case, then move it along the edges of the phone to detach the plates.

  8. Sony Xperia J Camera  Replacement, Removing Parts: 手順 8、 1の画像 1
    この手順で使用する道具:
    Tweezers
    $4.99
    購入する
    • Using the tweezers remove the clip located at the top of the phone. It should snap right off without too much pressure.

  9. Sony Xperia J Camera  Replacement: 手順 9、 1の画像 1
    • Then remove the sticky pad located at the left of the phone using he tweezers.

  10. Sony Xperia J Camera  Replacement, Removing Parts: 手順 10、 3の画像 1 Sony Xperia J Camera  Replacement, Removing Parts: 手順 10、 3の画像 2 Sony Xperia J Camera  Replacement, Removing Parts: 手順 10、 3の画像 3
    • Using the tweezers lift the plate out of the clamps, from left to right.

    • Then remove the whole plate off the phone.

    • The plate might be a little sticky due to the glue used when assembling the phone.

  11. Sony Xperia J Camera  Replacement, Removing Parts: 手順 11、 1の画像 1
    • Using the tweezers, slowly peel the white sticker off from the top right corner to the left bottom corner.

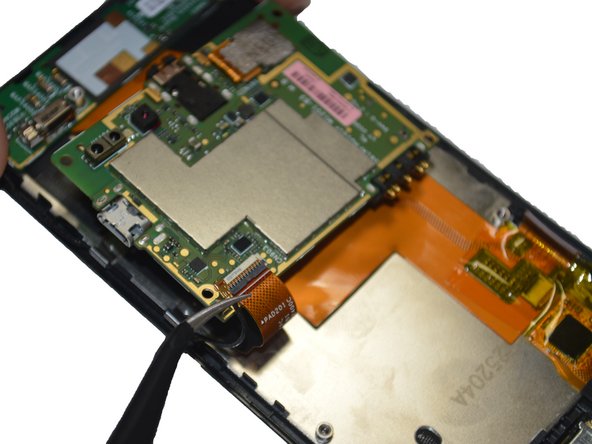
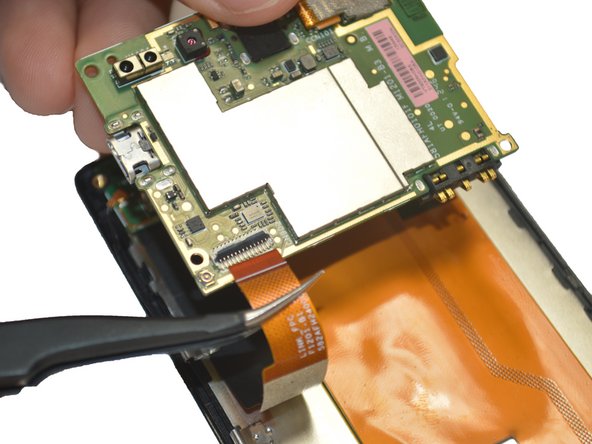
  12. Sony Xperia J Camera  Replacement, Removing Parts: 手順 12、 3の画像 1 Sony Xperia J Camera  Replacement, Removing Parts: 手順 12、 3の画像 2 Sony Xperia J Camera  Replacement, Removing Parts: 手順 12、 3の画像 3
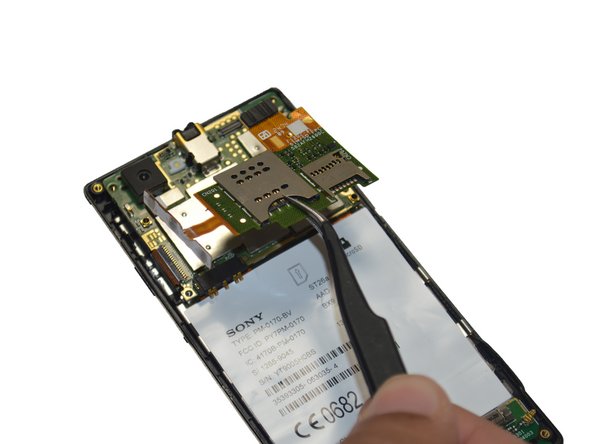
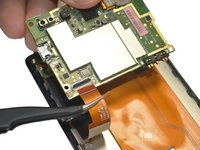
    • Once the sticker is off, unclip the clip on the top left side(below the camera). Then slide out the wide orange cable below the clip.

    • Then lift up the board carefully and remove the clip and cable on the back.

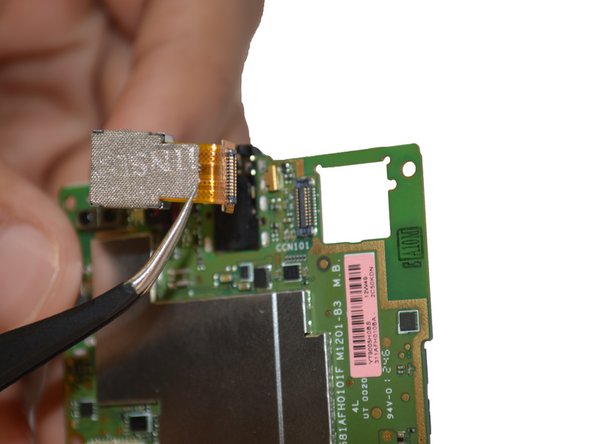
  13. Sony Xperia J Camera  Replacement, Removing the Camera: 手順 13、 2の画像 1 Sony Xperia J Camera  Replacement, Removing the Camera: 手順 13、 2の画像 2
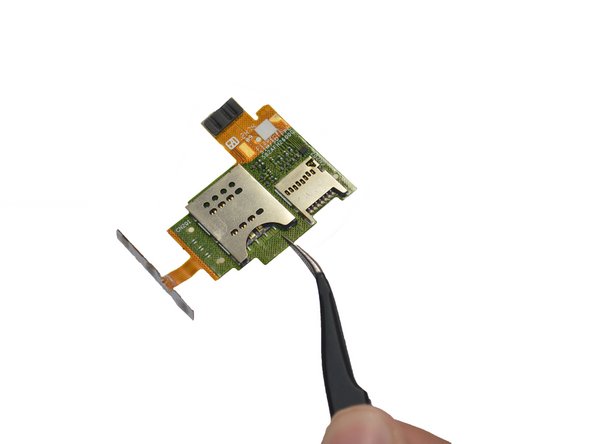
    • Pop the camera out using your fingers, and then unclip it off the board using tweezers.

終わりに

To reassemble your device, follow these instructions in reverse order.

2 の人々がこのガイドを完成させました。

作成者

3人の作成者と共同で作成されました。
Arlind

メンバー登録日: 01/21/15

899 ポイント

5のガイドは作成済み

チーム

USF Tampa, Team 4-3, Brown Winter 2015 USF Tampa, Team 4-3, Brown Winter 2015人のメンバー

USFT-BROWN-W15S4G3

3 メンバー

6のガイドは作成済み

0 件のコメント

コメントを追加

統計データ:

過去 24時間: 1

過去 7 日: 2

過去 30 日: 9

今までの合計 663