メインコンテンツにスキップ

Sony Vaio VPCW21FX Fan Replacement

アーカイブされたガイド
このガイドは将来的な使用のためにのみ保存されてます。ご自身の修理作業には更新バージョンをご利用ください。

必要な工具と部品

  1. Sony Vaio VPCW21FX Fan Replacement, Battery: 手順 1、 1の画像 1
    • Make sure your device is powered off and unplugged to avoid electric shock.

    • Place your device upside down with the bottom panel facing upwards.

    • Orient the device so the battery is away from you as shown

  2. Sony Vaio VPCW21FX Fan Replacement: 手順 2、 2の画像 1 Sony Vaio VPCW21FX Fan Replacement: 手順 2、 2の画像 2
    • Unlock the battery by sliding the lock switch to the right.

    • Locate the release latch. Slide the latch to the left to remove the battery from your laptop.

    • Be sure to lift up on the battery while you slide the latch to the left.

  3. Sony Vaio VPCW21FX Fan Replacement: 手順 3、 2の画像 1 Sony Vaio VPCW21FX Fan Replacement: 手順 3、 2の画像 2
    • Remove the battery from your laptop.

  4. Sony Vaio VPCW21FX Fan Replacement, Headphone Jack: 手順 4、 2の画像 1 Sony Vaio VPCW21FX Fan Replacement, Headphone Jack: 手順 4、 2の画像 2
    • Place the laptop upside down with the bottom panel facing upwards.

    • Locate the screw that holds the small panel covering your laptop's Ram. This panel should be in the dead center of your laptop.

    • Unscrew the screw and remove the panel.

  5. Sony Vaio VPCW21FX Fan Replacement: 手順 5、 1の画像 1
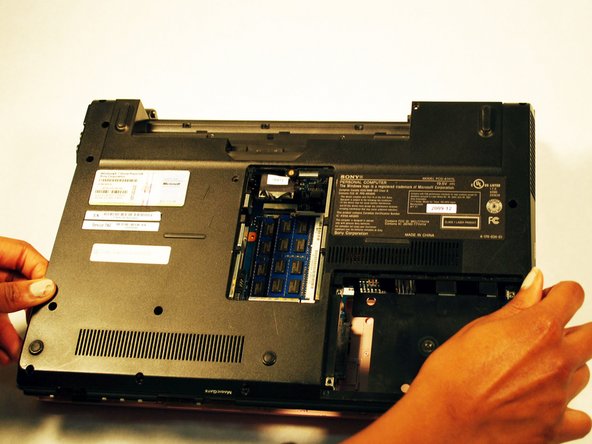
    • Before you move away from where your RAM is located, be sure to unplug the wire labeled To MB. If you do not unplug this, the back panel you are trying to remove will not come off.

  6. Sony Vaio VPCW21FX Fan Replacement: 手順 6、 3の画像 1 Sony Vaio VPCW21FX Fan Replacement: 手順 6、 3の画像 2 Sony Vaio VPCW21FX Fan Replacement: 手順 6、 3の画像 3
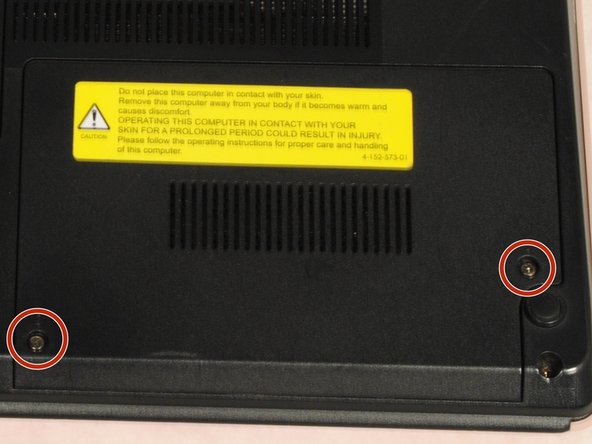
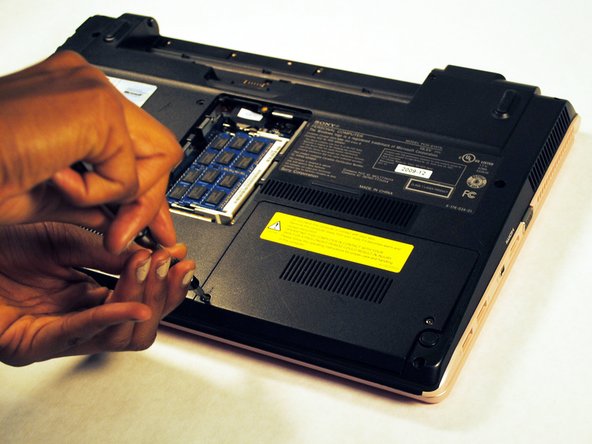
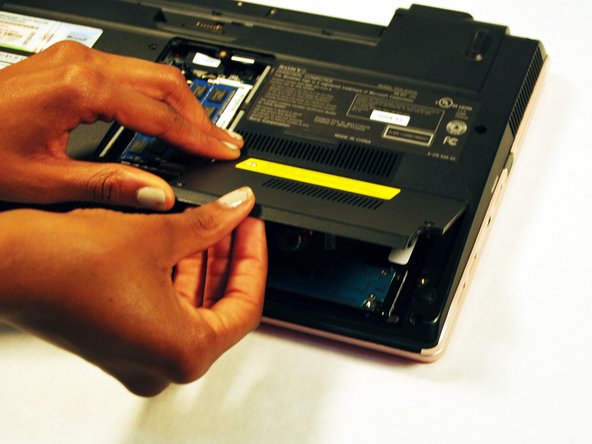
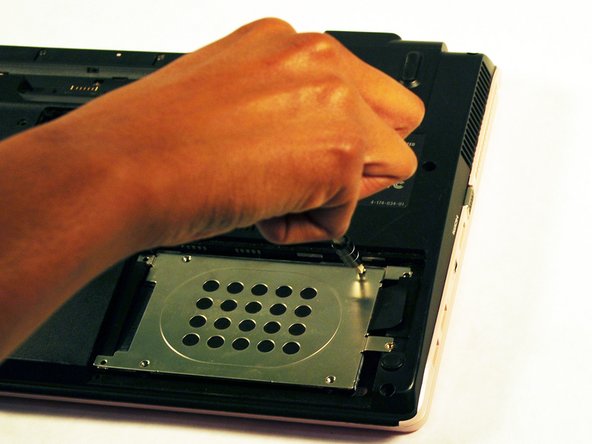
    • Next, locate the panel covering your laptop's hard drive. This panel should be located on the lower right hand side of your laptop.

    • Unscrew the cover on the hard drive.

    • Remove the hard drive cover.

  7. Sony Vaio VPCW21FX Fan Replacement: 手順 7、 3の画像 1 Sony Vaio VPCW21FX Fan Replacement: 手順 7、 3の画像 2 Sony Vaio VPCW21FX Fan Replacement: 手順 7、 3の画像 3
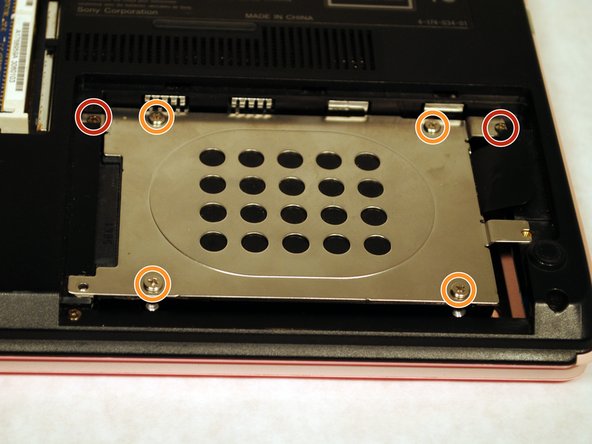
    • Remove screws.

    • Remove screws and remove panel.

  8. Sony Vaio VPCW21FX Fan Replacement: 手順 8、 3の画像 1 Sony Vaio VPCW21FX Fan Replacement: 手順 8、 3の画像 2 Sony Vaio VPCW21FX Fan Replacement: 手順 8、 3の画像 3
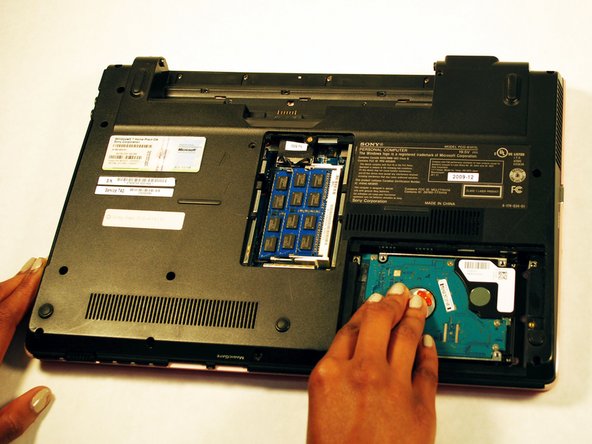
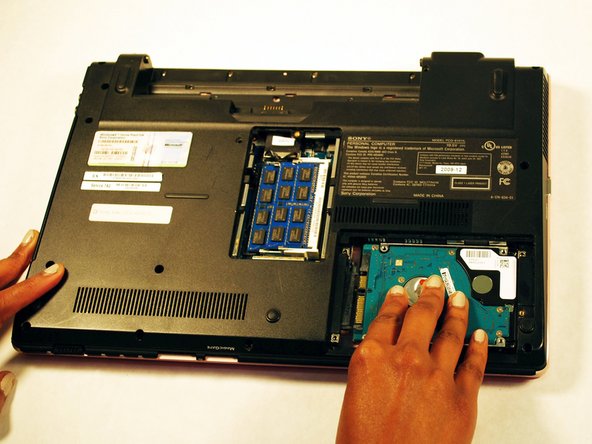
    • Remove the hard drive by gently pressing down on it and sliding it to the right.

    • Remember to have a clean work space to place the parts you take off your laptop. It'd be embarrassing to forget to reassemble a part or have a screw or two left over.

  9. Sony Vaio VPCW21FX Fan Replacement: 手順 9、 3の画像 1 Sony Vaio VPCW21FX Fan Replacement: 手順 9、 3の画像 2 Sony Vaio VPCW21FX Fan Replacement: 手順 9、 3の画像 3
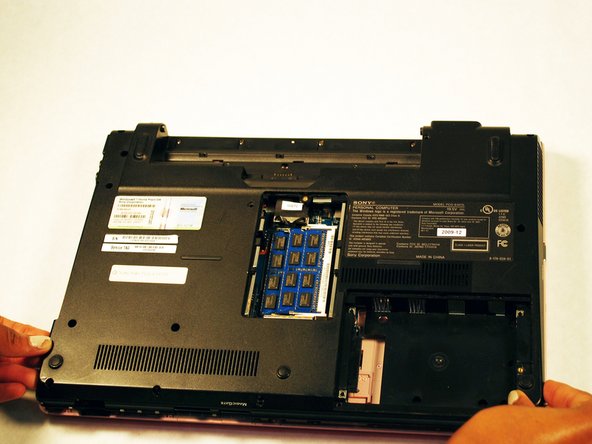
    • Remove the screws holding the rest of the outside panel down.

    • Gently lift the panel up to remove it once all the screws have been removed.

  10. Sony Vaio VPCW21FX Fan Replacement: 手順 10、 3の画像 1 Sony Vaio VPCW21FX Fan Replacement: 手順 10、 3の画像 2 Sony Vaio VPCW21FX Fan Replacement: 手順 10、 3の画像 3
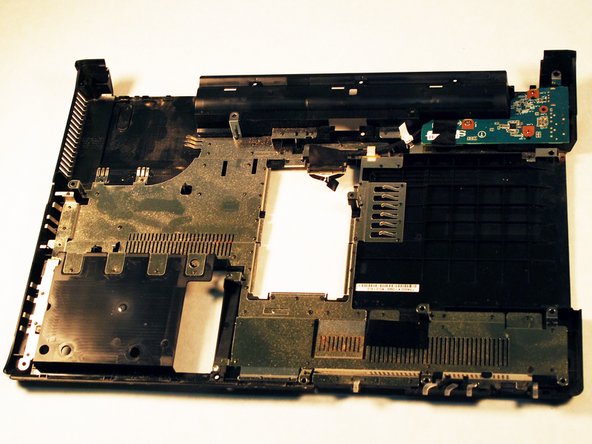
    • Once the back panel has been removed, set the rest of your laptop to the side and place the panel you just removed in front of you.

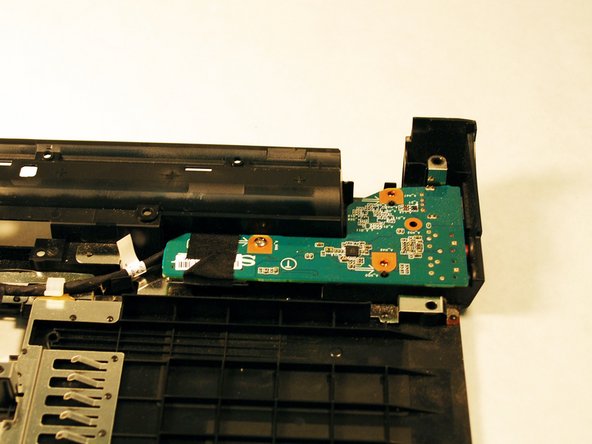
    • Locate the headphone jack, which will be in the top right hand corner of the panel. The headphone jack board is a bright green, you can't miss it.

  11. Sony Vaio VPCW21FX Fan Replacement: 手順 11、 2の画像 1 Sony Vaio VPCW21FX Fan Replacement: 手順 11、 2の画像 2
    • Remove the screws holding the headphone jack board down.

  12. Sony Vaio VPCW21FX Fan Replacement: 手順 12、 2の画像 1 Sony Vaio VPCW21FX Fan Replacement: 手順 12、 2の画像 2
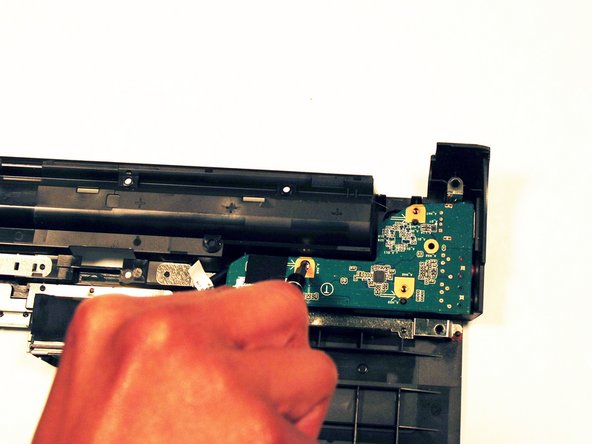
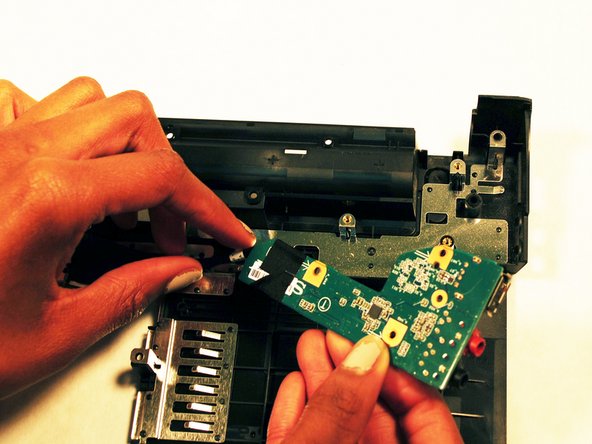
    • Gently pull the board to remove it.

  13. Sony Vaio VPCW21FX Fan Replacement, Fan: 手順 13、 2の画像 1 Sony Vaio VPCW21FX Fan Replacement, Fan: 手順 13、 2の画像 2
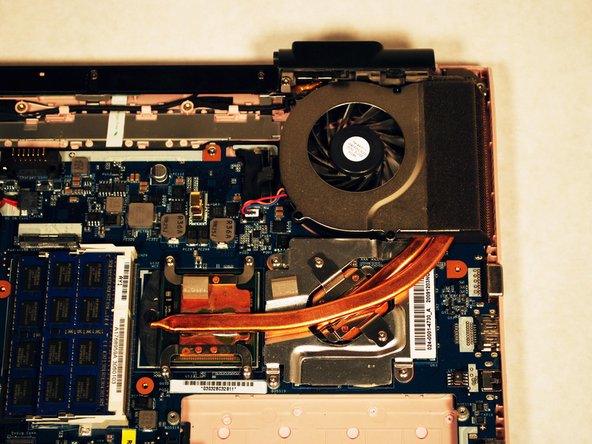
    • Locate the fan on the top right hand corner of your laptop.

  14. Sony Vaio VPCW21FX Fan Replacement: 手順 14、 2の画像 1 Sony Vaio VPCW21FX Fan Replacement: 手順 14、 2の画像 2
    • Remove screws.

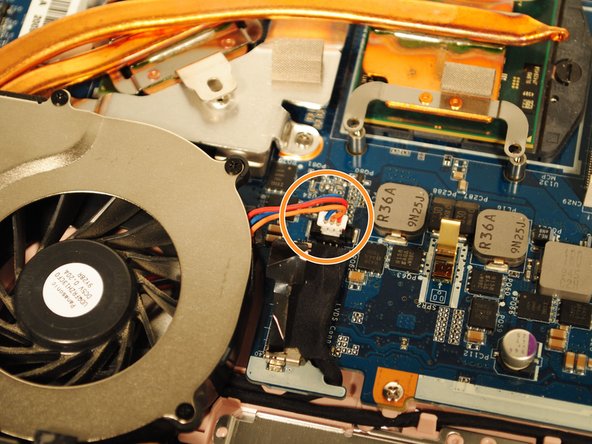
    • Unplug the wires connecting the fan and the motherboard.

  15. Sony Vaio VPCW21FX Fan Replacement: 手順 15、 1の画像 1
    • Gently pick up the fan to remove it.

終わりに

To reassemble your device, follow these instructions in reverse order.

ある他の人がこのガイドを完成しました。

作成者

4人の作成者と共同で作成されました。

Summer

メンバー登録日: 10/10/16

250 ポイント

2のガイドは作成済み

チーム

Sam Houston State, Team 12-6, Blackburne Fall 2016 Sam Houston State, Team 12-6, Blackburne Fall 2016人のメンバー

SHSU-BLACKBURNE-F16S12G6

3 メンバー

5のガイドは作成済み

コメント 1 件

thank you, sir!!!

Robin Watson - 返信

コメントを追加

統計データ:

過去 24時間: 0

過去 7 日: 2

過去 30 日: 12

今までの合計 1,270