メインコンテンツにスキップ

Sony Vaio VPCW211AX Hard Drive Replacement

必要な工具と部品

  1. Sony Vaio VPCW211AX Hard Drive Replacement, Flat: 手順 1、 1の画像 1
    • Start with the laptop face up on a flat surface.

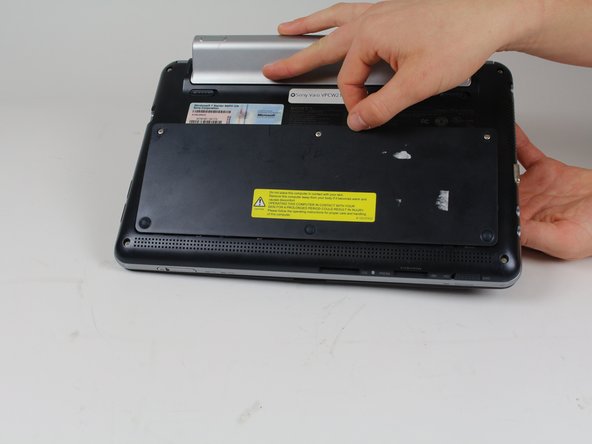
  2. Sony Vaio VPCW211AX Hard Drive Replacement, Flip: 手順 2、 1の画像 1
    • Flip the laptop so the bottom side up.

  3. Sony Vaio VPCW211AX Hard Drive Replacement: 手順 3、 2の画像 1 Sony Vaio VPCW211AX Hard Drive Replacement: 手順 3、 2の画像 2
    • Use a Phillips #0 screwdriver to unscrew the three screws from the HDD panel on the bottom of the laptop.

    • Remove the panel.

  4. Sony Vaio VPCW211AX Hard Drive Replacement, Remove Hard Drive: 手順 4、 1の画像 1
    • In the red box, marked on the picture, is where the brand new hard drive would go, carefully slide the new part in and you are finished with this guide.

終わりに

To reassemble your device, follow these instructions in reverse order.

2 の人々がこのガイドを完成させました。

作成者

2人の作成者と共同で作成されました。

Giselle Dougan

メンバー登録日: 01/31/18

760 ポイント

5のガイドは作成済み

0 件のコメント

コメントを追加

統計データ:

過去 24時間: 1

過去 7 日: 5

過去 30 日: 8

今までの合計 760