はじめに
Sony Vaio VGN-S260の上部ケースを外すための修理ガイドです。
必要な工具と部品
-
-
-
キーボード周辺のグレーの外郭を押してください。
-
スパッジャーを使って、慎重にキーボードを持ち上げます。
There are 2 spring-held latches, one above the F4 and one above the F12. Push a latch up into the frame of the keyboard, then lift the keyboard gently in that area so the latch doesn't spring back. Then push the other latch and the keyboard will be released.
-
-
-
Vaioのロゴが底面に当たります。
-
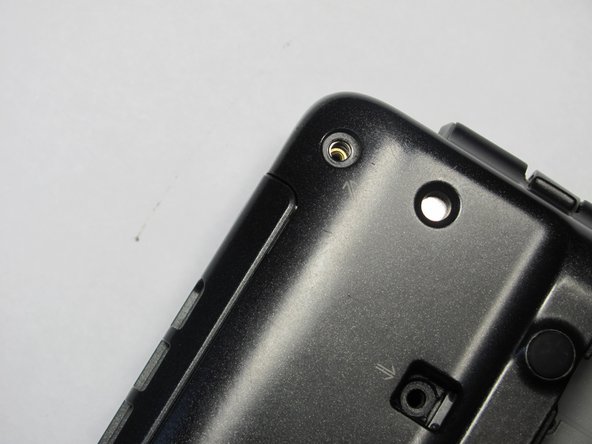
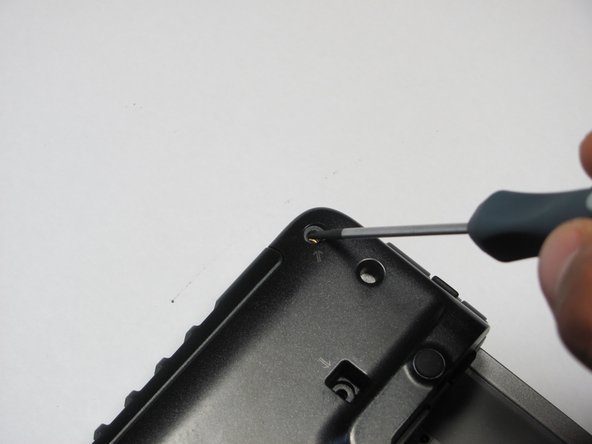
下部に付いている、合計8本のネジを確認して外します。
There are 2 more screws on the bottom, one in the middle of the front next to the flash stick socket, and one under the memory door.
-
-
-
ラップトップを裏返して、Vaioロゴが底面に来るようにします。
-
スパッジャーを使って、上部ケースをこじ開けます。
-
上部ケースとマザーボードに繋がっているワイヤを外します。
There are also 5 screws from the top of the uppercasing.
The are 4 cables to remove: flat cable for the power and S buttons at top center; flat cable for the touchpad at bottom center; and 2 twisted pairs for the speakers.
The speaker cable socket is very delicate. If all you are getting at is the CPU or the hard drive, it may be enough to disconnect the flat cables and gently rotate the uppercasing shifting it left to allow access to the right-hand side with the CPU fan and the hard drive.
The top panel has cutouts that allow the cables to be disconnected before the top of the case is removed. The two flat cables are not clamped and can be pulled vertically out of their connectors. The delicate speaker cables are connected to the motherboard with plugs which can be gently levered up out of their sockets.
-


このデバイスを再組み立てするには、インストラクションを逆の順番に従って作業を進めてください。
このデバイスを再組み立てするには、インストラクションを逆の順番に従って作業を進めてください。
2 の人々がこのガイドを完成させました。
以下の翻訳者の皆さんにお礼を申し上げます:
100%

Midori Doiさんは世界中で修理する私たちを助けてくれています! あなたも貢献してみませんか?
翻訳を始める ›

チーム

Cal Poly, Team 16-4, Maness Spring 2010 Cal Poly, Team 16-4, Maness Spring 2010人のメンバー
CPSU-MANESS-S10S16G4
4 メンバー
30のガイドは作成済み