-
-
ラップトップを裏返すと、Vaioのロゴが下向きになります。
-
バッテリーがある上部を確認して、バッテリーのロックを外して取り出します。
-
スライドしてアンロックタブを、解錠の位置に移します。
-
リリースタブを矢印の方向にスライドします。
-
-
-
-
-
-
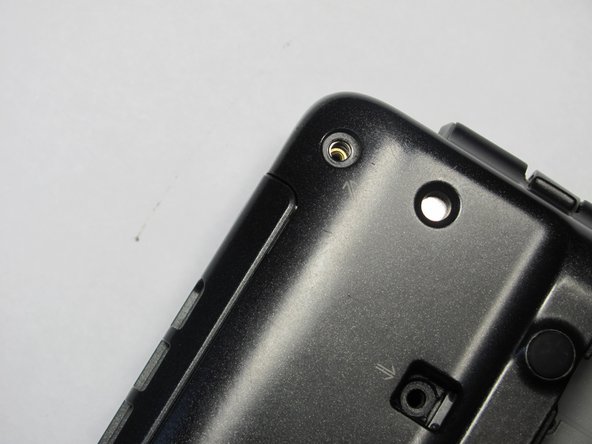
ラップトップを裏返して、Vaioロゴが底面に来るようにします。
-
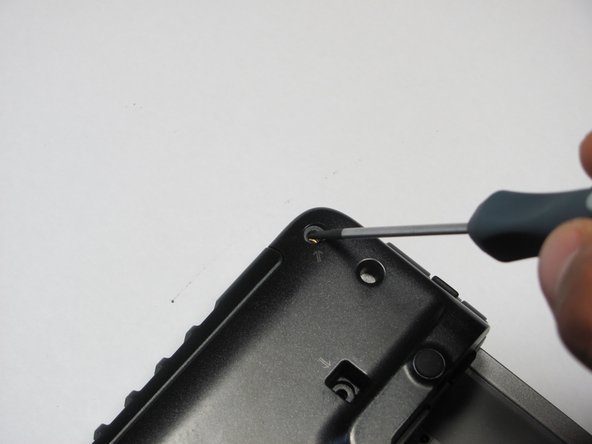
スパッジャーを使って、上部ケースをこじ開けます。
-
あまり高く持ち上げ過ぎないでください。上部ケースは下のワイヤと接続したままの状態です。
-
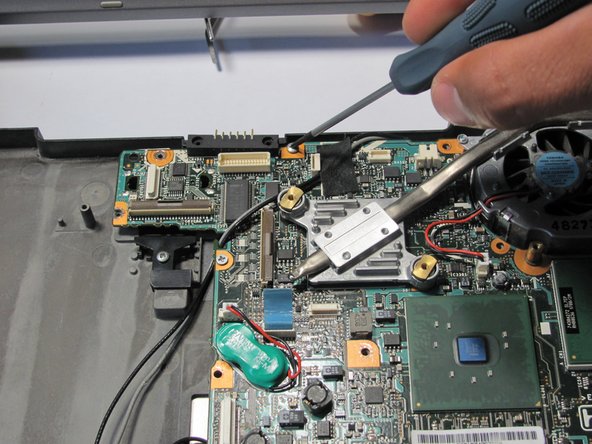
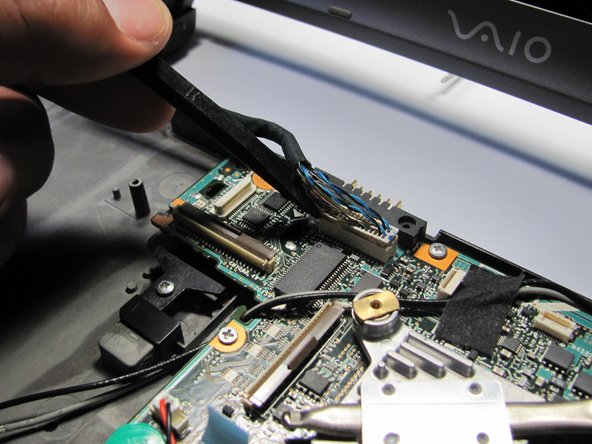
上部ケースとマザーボードに繋がっているワイヤを外します。
-
-
-
-
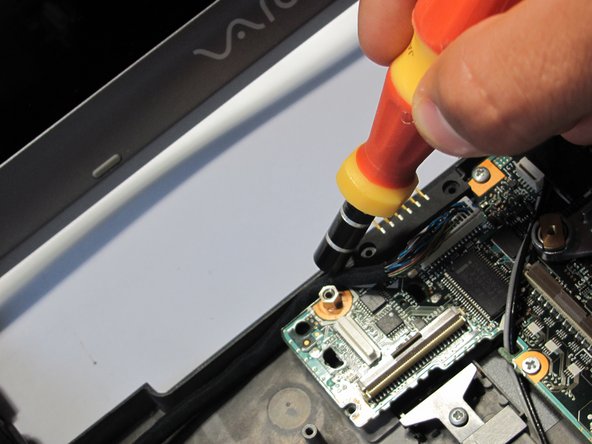
Locate the yellow power adapter.
-
Follow its wire to white logic board connector.
-
Pull out the wire from white logic board connector.
-
-
-
-
-
-
-
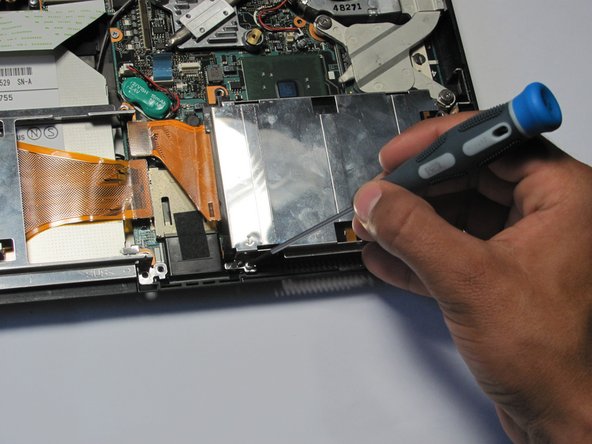
光学ドライブの上の茶色のロッキングタブの位置を確認します。
-
リボンが緩まるまで茶色のロッキングタブを持ち上げます。
-
光学ドライブをコンピューターからゆっくりとスライドしながら外します。
-
-
-
-
-
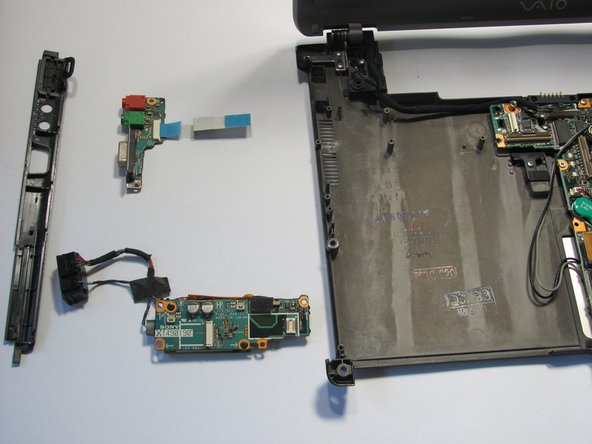
Gently lift the motherboard from the laptop.
-
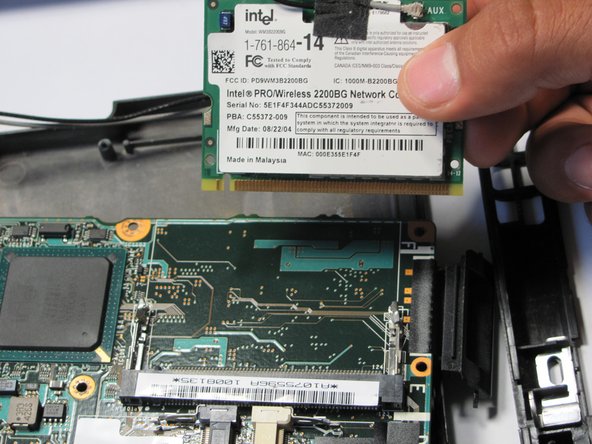
The motherboard will be attached to the network wireless chip, which is also attached to the base of the laptop.
-
Remove the chip by popping the tabs on the side.
-
Slide out the network card.
-
You are now free to take the motherboard away from the base.
このガイドを埋め込む
サイズを選択し、以下のコードをコピーして、このガイドを小さなウィジェットとしてサイト/フォーラムに埋め込みます。
プレビュー