この修理ガイドは変更されています。最新の未承認バージョンに切り替えます。
はじめに
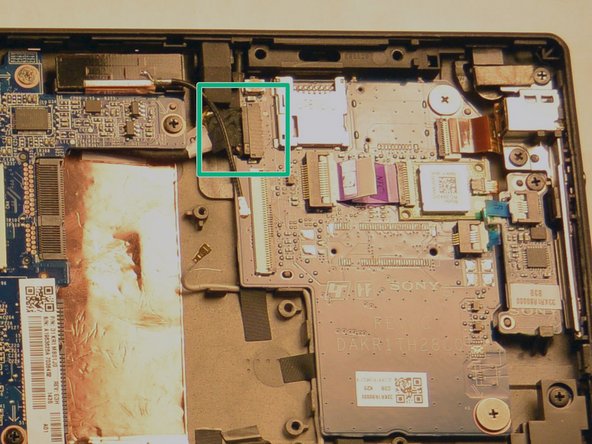
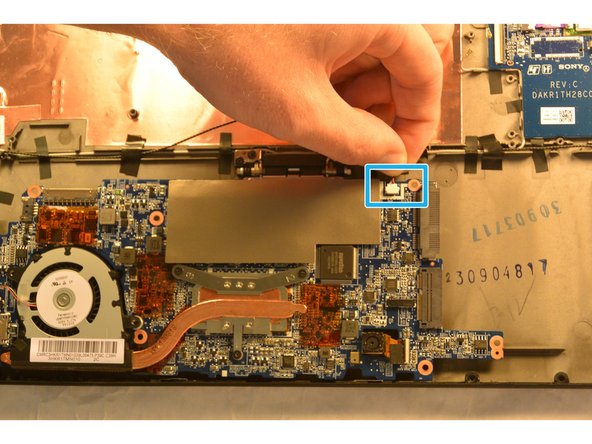
The motherboard is where the magic happens. It is home to the CPU, the RAM and everything that's needed for those components to work, including fans and power delivery. If you've spilled a beverage onto your device or left it out in the rain, a motherboard swap is likely needed due to the sensitivity of the components. This is the hardest guide for this device since there are many screws and cables connected to this component.
必要な工具と部品
-
-
Begin by opening the HDMI/USB port cover on the left edge.
-
Remove the three #000 headed, 3 mm long screws located underneath the port cover.
-
-


To reassemble your device, follow these instructions in reverse order.
To reassemble your device, follow these instructions in reverse order.
3 の人々がこのガイドを完成させました。
チーム

IUPUI, Team 1-2, Harley Fall 2015 IUPUI, Team 1-2, Harley Fall 2015人のメンバー
IUPUI-HARLEY-F15S1G2
4 メンバー
20のガイドは作成済み