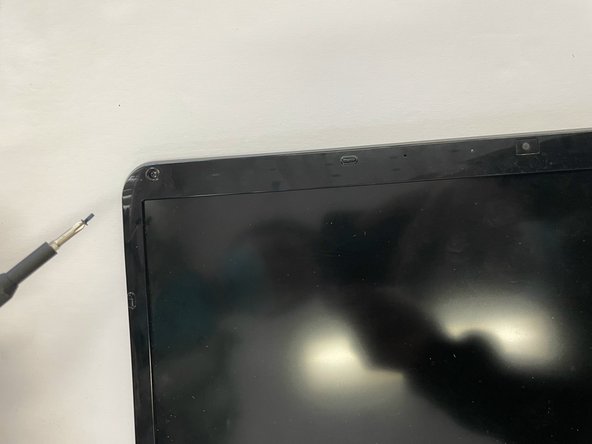
メインコンテンツにスキップ

Sony Vaio SVE171C11L Display Replacement

必要な工具と部品

  1. Sony Vaio SVE171C11L Display Replacement, Battery: 手順 1、 1の画像 1
    • Turn the laptop over so its underside is facing upwards and visible.

  2. Sony Vaio SVE171C11L Display Replacement: 手順 2、 1の画像 1
    • Once you flip the laptop over, make sure the right tab is pushed upwards to unlock it.

    • Use your left hand to push up the left tab to release the battery.

  3. Sony Vaio SVE171C11L Display Replacement: 手順 3、 1の画像 1
    • After the battery is released, locate the small gap where the battery and the shell meet. Then lift the gap up and rotate the battery up and away from yourself.

  4. Sony Vaio SVE171C11L Display Replacement: 手順 4、 1の画像 1
    • Pull the battery away.

  5. Sony Vaio SVE171C11L Display Replacement, Hard Drive: 手順 5、 1の画像 1
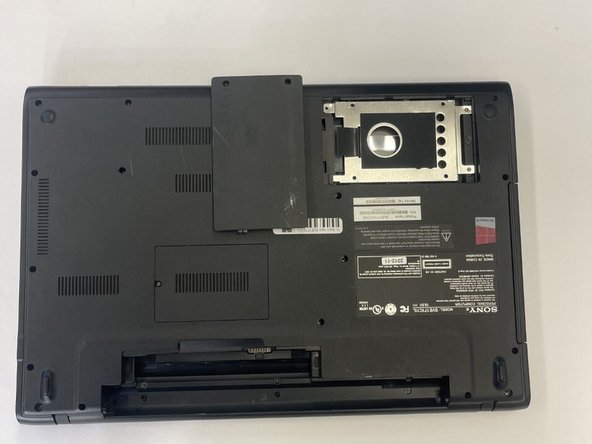
    • Use a Phillips #00 screwdriver to remove the two screws that secure the hard drive cover.

  6. Sony Vaio SVE171C11L Display Replacement: 手順 6、 2の画像 1 Sony Vaio SVE171C11L Display Replacement: 手順 6、 2の画像 2
    • After the screw have been removed, pop the hard drive cover open.

  7. Sony Vaio SVE171C11L Display Replacement: 手順 7、 1の画像 1
    • Use a Phillips #00 screwdriver to remove the 3 screws that secure the hard drive.

  8. Sony Vaio SVE171C11L Display Replacement: 手順 8、 1の画像 1
    • When finished removing the screws, use your fingers to hold the blue ribbon attached from the hard drive to remove it from laptop

  9. Sony Vaio SVE171C11L Display Replacement, Display: 手順 9、 1の画像 1
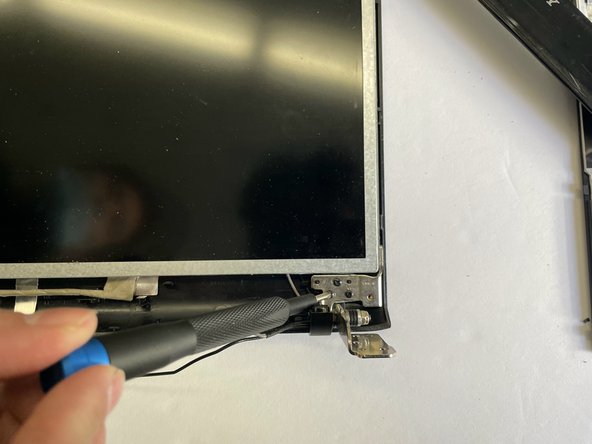
    • There are two hinges that connect the display to the body of the laptop

    • Unscrew two 9mm screws and two 4mm screws that are on both hinges.

  10. Sony Vaio SVE171C11L Display Replacement: 手順 10、 1の画像 1
    • Remove the display cable by pulling upward.

  11. Sony Vaio SVE171C11L Display Replacement: 手順 11、 1の画像 1
    • Remove the display from the bottom of the laptop.

  12. Sony Vaio SVE171C11L Display Replacement: 手順 12、 2の画像 1 Sony Vaio SVE171C11L Display Replacement: 手順 12、 2の画像 2
    • Remove the four 5mm screws on the corners of the display case.

  13. Sony Vaio SVE171C11L Display Replacement: 手順 13、 1の画像 1
    • Use the pick around the case to help detach them.

  14. Sony Vaio SVE171C11L Display Replacement: 手順 14、 2の画像 1 Sony Vaio SVE171C11L Display Replacement: 手順 14、 2の画像 2
    • Remove the three 2mm screws that are on each hinge.

  15. Sony Vaio SVE171C11L Display Replacement: 手順 15、 1の画像 1
    • Remove the display from its case.

終わりに

To reassemble your device, follow these instructions in reverse order.

作成者

4人の作成者と共同で作成されました。

Edward Briseno

メンバー登録日: 09/26/22

896 ポイント

6のガイドは作成済み

チーム

CSU Los Angeles, Team 6-3, Adachi Fall 2022 CSU Los Angeles, Team 6-3, Adachi Fall 2022人のメンバー

CSULA-ADACHI-F22S6G3

3 メンバー

12のガイドは作成済み

0 件のコメント

コメントを追加

統計データ:

過去 24時間: 1

過去 7 日: 2

過去 30 日: 8

今までの合計 248