メインコンテンツにスキップ

このバージョンは誤った内容を含んでいる可能性があります。最新の承認済みスナップショットに切り替えてください。

必要な工具と部品

  1. この手順は未翻訳です。 翻訳を手伝う。

    : 手順 1、 1の画像 1
    • Position the laptop screen-side down as shown.

    • In this position the battery housing will be located on the right hand side.

  2. この手順は未翻訳です。 翻訳を手伝う。

    : 手順 2、 1の画像 1
    • Lift the panel up and then out to gain access to the battery.

  3. この手順は未翻訳です。 翻訳を手伝う。

    : 手順 3、 1の画像 1
    • Use the indentations to pull the old battery out.

  4. この手順は未翻訳です。 翻訳を手伝う。

    : 手順 4、 1の画像 1
    • The battery is now removed and it is safe to move on to uninstalling other components.

  5. この手順は未翻訳です。 翻訳を手伝う。

    : 手順 5、 3の画像 1 : 手順 5、 3の画像 2 : 手順 5、 3の画像 3
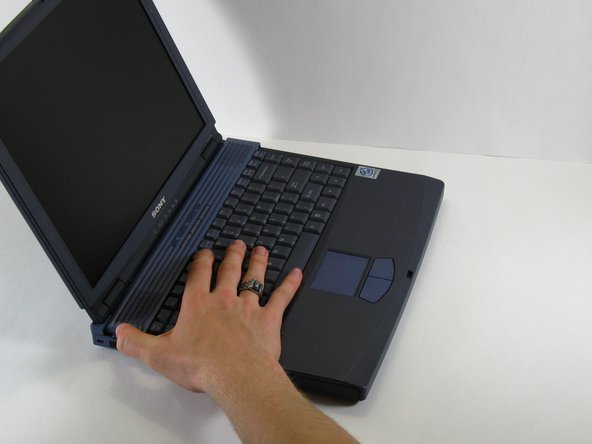
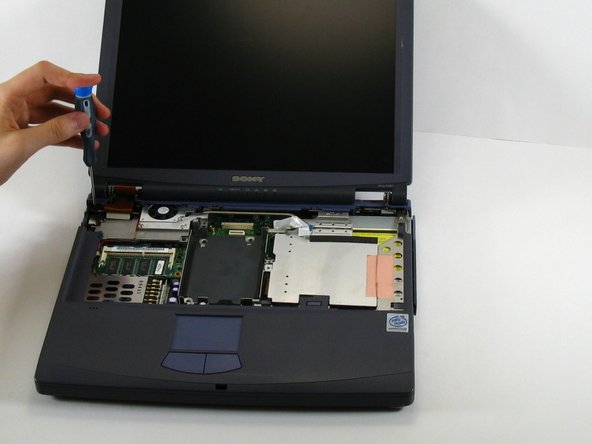
    • There are two screws on the left hand side of the laptop near the IR (Infared remote) receiver (see image). Remove them using a Phillips #00 Screwdriver.

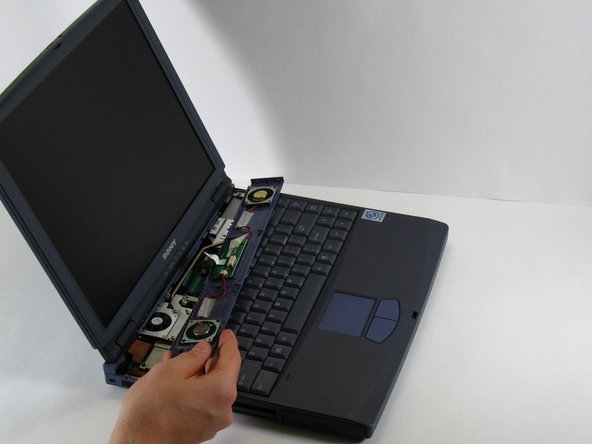
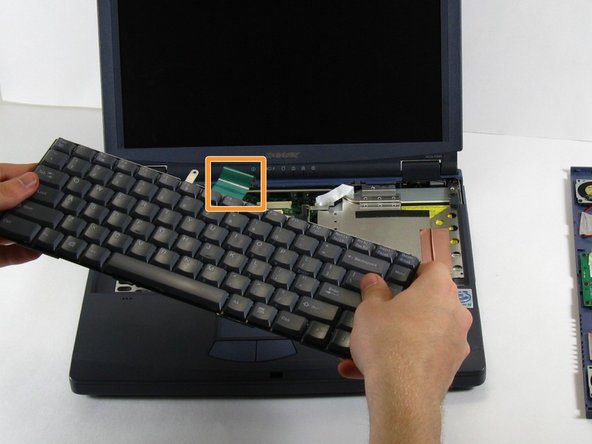
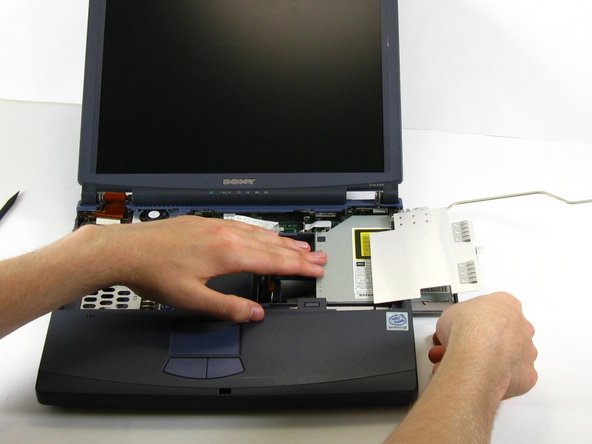
    • Slide the speaker panel towards the left, then carefully flip it over onto the keyboard.

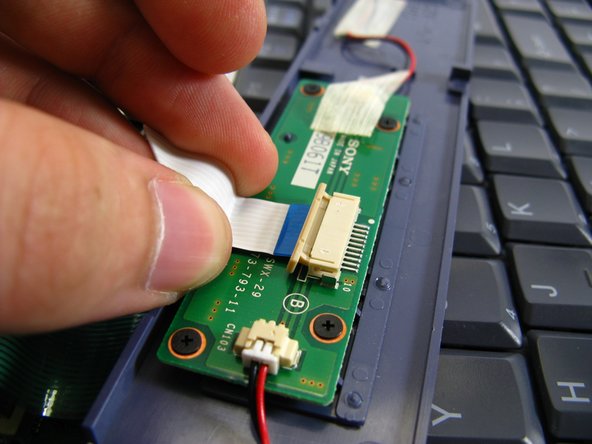
    • Make sure not to pull the speaker panel away from the computer just yet - it is still connected!

  6. この手順は未翻訳です。 翻訳を手伝う。

    : 手順 6、 3の画像 1 : 手順 6、 3の画像 2 : 手順 6、 3の画像 3
    • On the inside of the speaker panel, using a spudger, push the beige tab in the direction of the ribbon. It should only move a small amount.

    • Remove the ribbon by gently pulling on it, there should be little or no resistance.

    • Now the speaker panel can be set aside.

  7. この手順は未翻訳です。 翻訳を手伝う。

    : 手順 7、 2の画像 1 : 手順 7、 2の画像 2
    • Remove the metal screw that will be located at the red circle.

    • Pull on the green strip, and the keyboard should come free easily.

  8. この手順は未翻訳です。 翻訳を手伝う。

    : 手順 8、 2の画像 1 : 手順 8、 2の画像 2
    • Remove the three screws surrounding the fan.

    • Take off the guard that you just unscrewed.

    • Carefully flip over the heat pipe and the metal sheet connected to it.

  9. この手順は未翻訳です。 翻訳を手伝う。

    : 手順 9、 3の画像 1 : 手順 9、 3の画像 2 : 手順 9、 3の画像 3
    • Remove the three screws from the heat tube cover.

    • Carefully remove the cover.

  10. この手順は未翻訳です。 翻訳を手伝う。

    : 手順 10、 2の画像 1 : 手順 10、 2の画像 2
    • Use a spudger to pry the ribbon connected to the optical drive.

    • Slide the optical drive free of the enclosure.

ゴール

作成者

9人の作成者と共同で作成されました。

ahintz

メンバー登録日: 04/21/10

28 ポイント

8のガイドは作成済み

チーム

Cal Poly, Team 16-3, Maness Spring 2010 Cal Poly, Team 16-3, Maness Spring 2010人のメンバー

CPSU-MANESS-S10S16G3

3 メンバー

8のガイドは作成済み

0 件のコメント

コメントを追加

統計データ:

過去 24時間: 4

過去 7 日: 7

過去 30 日: 15

今までの合計 1,783