There are two screws on the left hand side of the laptop near the IR (Infared remote) receiver (see image). Remove them using a Phillips #00 Screwdriver.
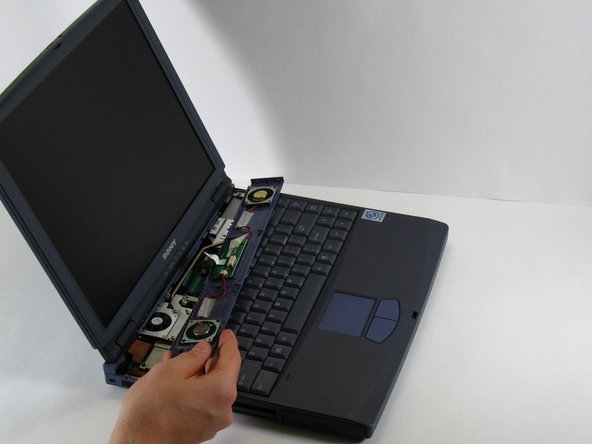
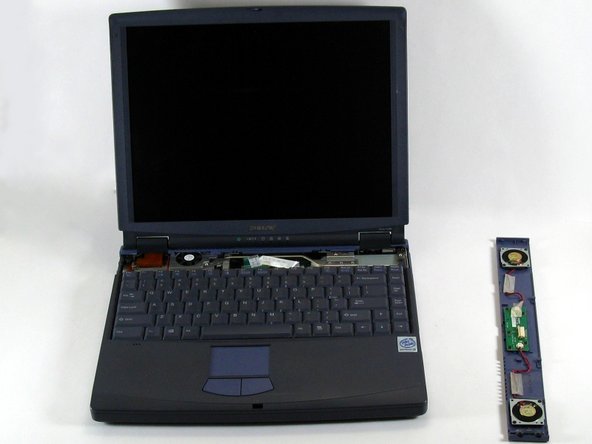
Slide the speaker panel towards the left, then carefully flip it over onto the keyboard.
Make sure not to pull the speaker panel away from the computer just yet - it is still connected!
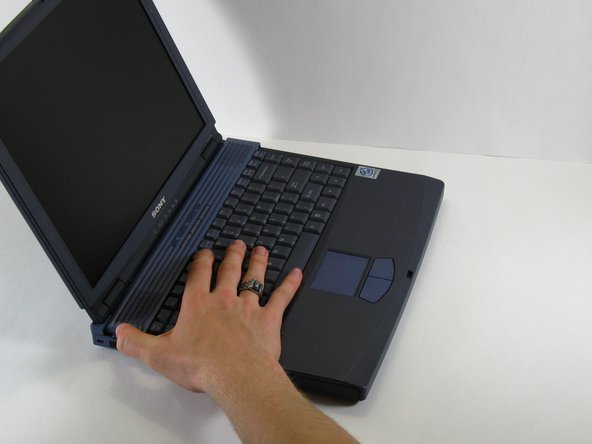
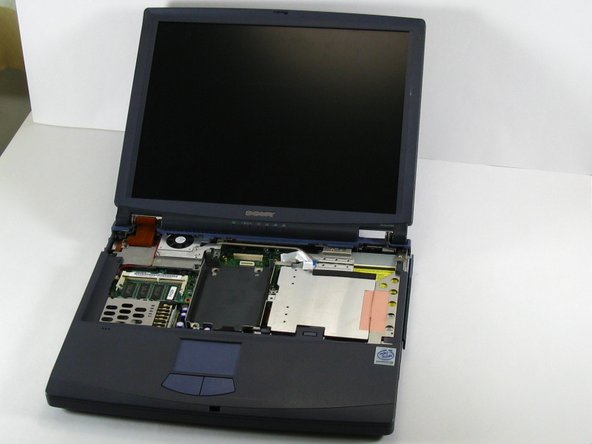
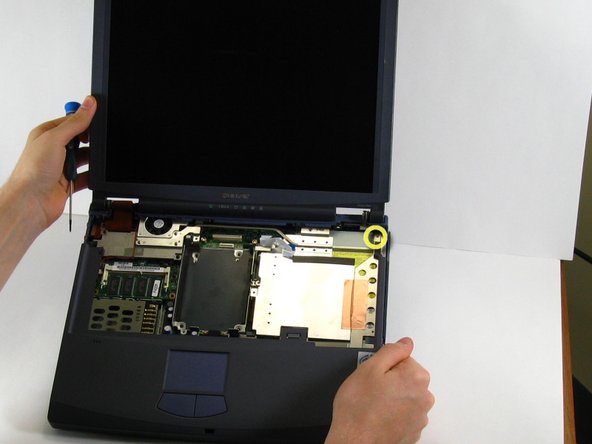
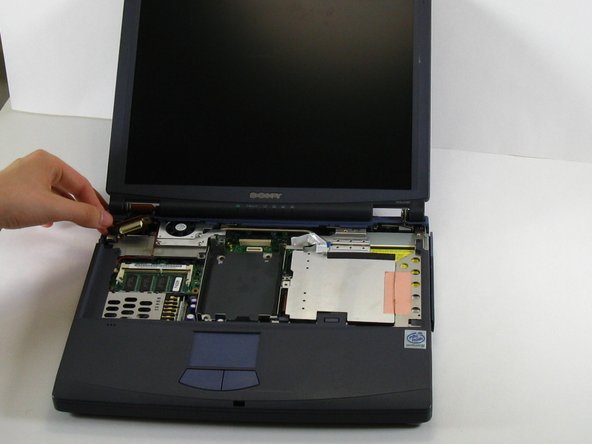
With the computer facing you open its lid carefully, so that the computer looks like this.
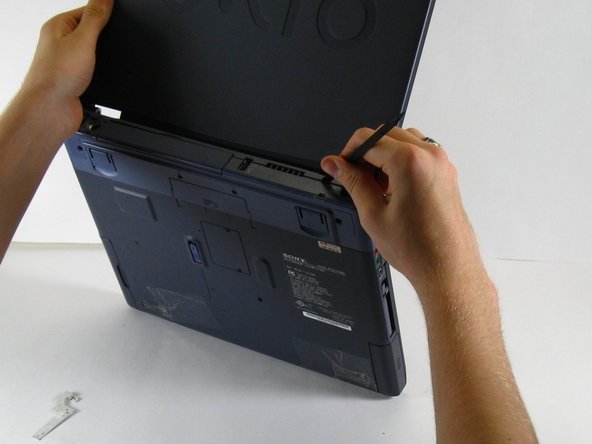
Because you are removing screws from the hinge, be especially careful to not damage the hinge or the screen when opening the laptop. Be slow about opening it and make sure that the display doesn't fall out.
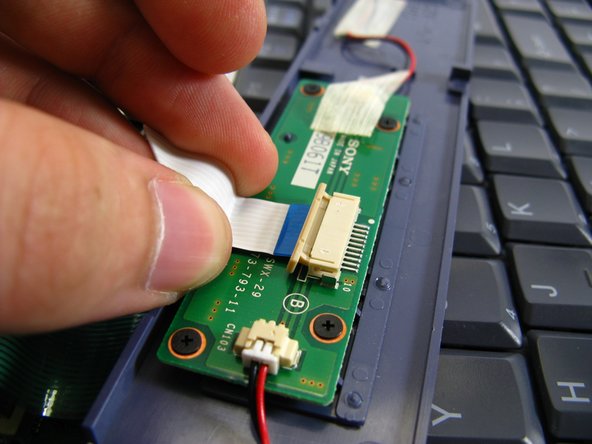
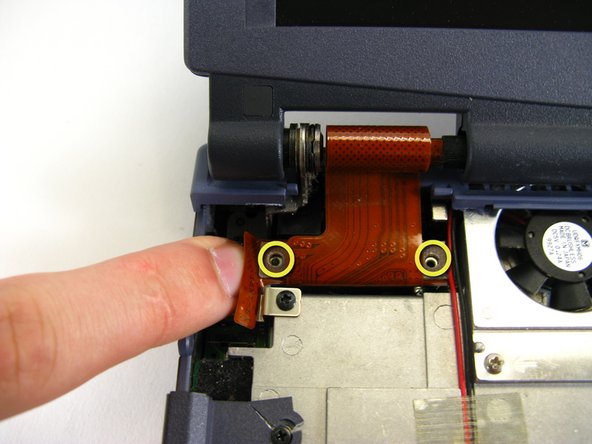
Remove the two screws holding the ribbon cable in place (pictured here without screws).
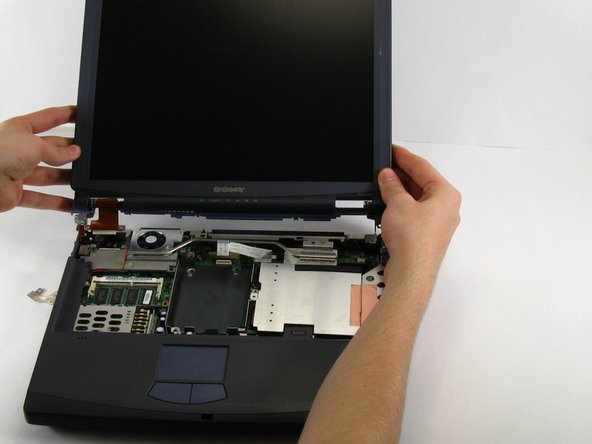
Tilt the display backwards. Grip the display from its base to reduce torque.
Use a spudger to pry the upper part of the back panel by pushing in the tabs located along its length.
This step is particularly tricky during reassembly, as the plastic must be perfectly aligned or it will not snap in. If it does not snap in correctly, the screen won't fit properly.