メインコンテンツにスキップ

Sony Vaio VPCEB11FM Hard Drive Replacement

必要な工具と部品

  1. Sony Vaio VPCEB11FM Hard Drive Replacement, Battery: 手順 1、 1の画像 1
    • Power down and disconnect the laptop from power supply.

    • Using your fingers, unlock the tab by pushing on the slide.

  2. Sony Vaio VPCEB11FM Hard Drive Replacement: 手順 2、 1の画像 1
    • While holding the release slide, use your thumb to lift the lip of the battery to pull it out.

  3. Sony Vaio VPCEB11FM Hard Drive Replacement: 手順 3、 1の画像 1
    • Pull the battery out.

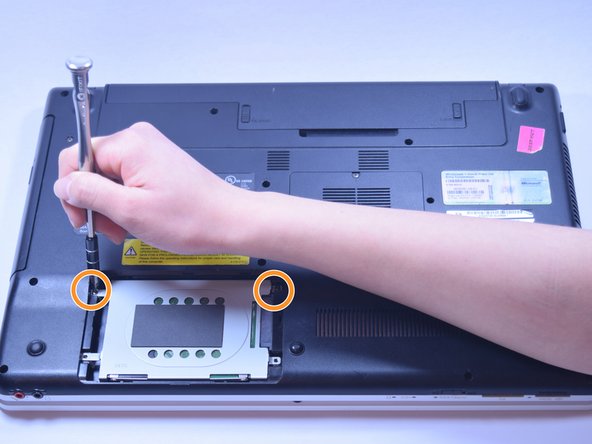
  4. Sony Vaio VPCEB11FM Hard Drive Replacement, Hard Drive: 手順 4、 2の画像 1 Sony Vaio VPCEB11FM Hard Drive Replacement, Hard Drive: 手順 4、 2の画像 2
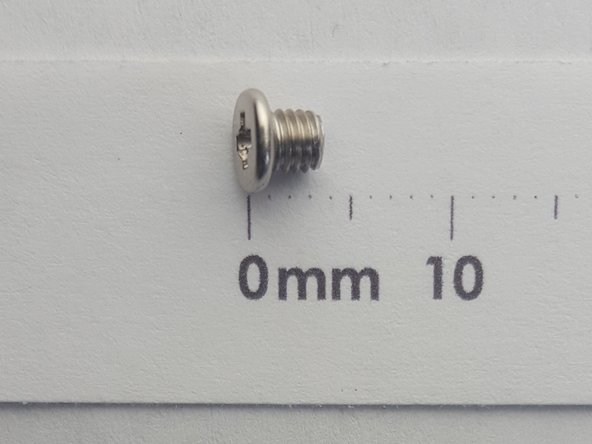
    • Using the Phillips #01 Screwdriver, remove the two 7mm screws.

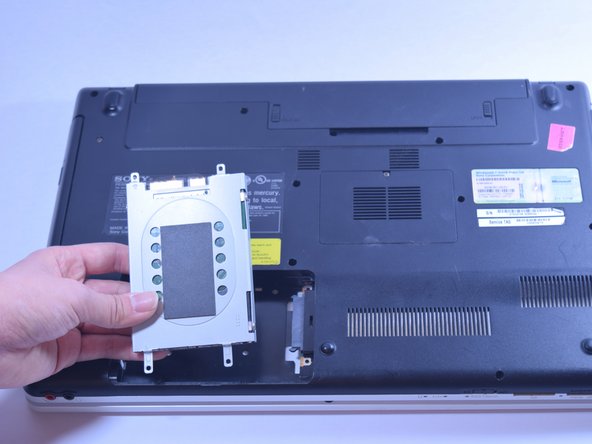
  5. Sony Vaio VPCEB11FM Hard Drive Replacement: 手順 5、 3の画像 1 Sony Vaio VPCEB11FM Hard Drive Replacement: 手順 5、 3の画像 2 Sony Vaio VPCEB11FM Hard Drive Replacement: 手順 5、 3の画像 3
    • Use your fingers to pry the cover upward.

    • Unscrew the two 7mm screws.

    • Pull the plastic tab in the direction of the arrow to take out.

  6. Sony Vaio VPCEB11FM Hard Drive Replacement: 手順 6、 2の画像 1 Sony Vaio VPCEB11FM Hard Drive Replacement: 手順 6、 2の画像 2
    • Lift plug side first.

    • Remove all the way.

  7. Sony Vaio VPCEB11FM Hard Drive Replacement: 手順 7、 3の画像 1 Sony Vaio VPCEB11FM Hard Drive Replacement: 手順 7、 3の画像 2 Sony Vaio VPCEB11FM Hard Drive Replacement: 手順 7、 3の画像 3
    • Skip to next step if accessing other components.

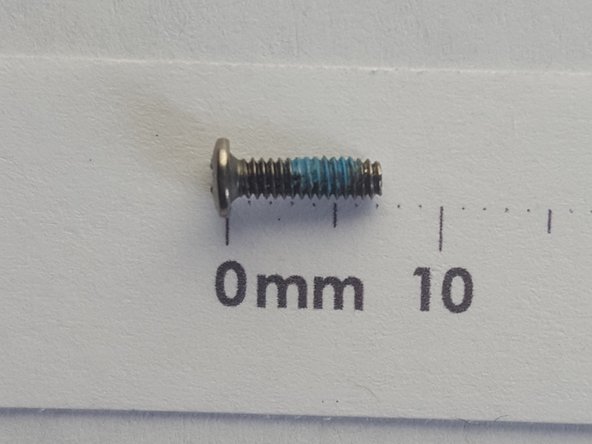
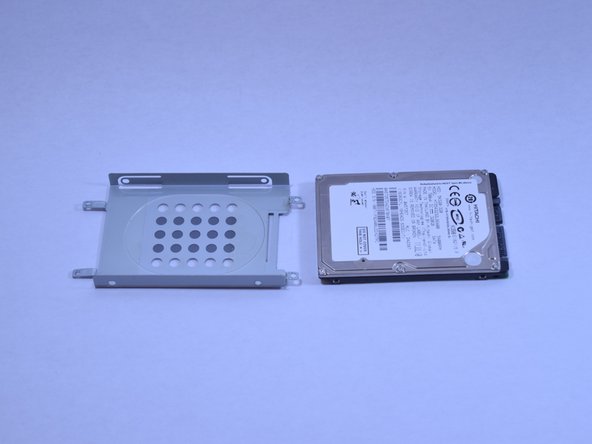
    • Remove the 3mm screws with the Phillips #1 Screwdriver from hard drive bracket.

終わりに

To reassemble your device, follow these instructions in reverse order.

2 の人々がこのガイドを完成させました。

作成者

7人の作成者と共同で作成されました。

Maxine Filcher

メンバー登録日: 01/30/17

1,135 ポイント

8のガイドは作成済み

チーム

UW Tacoma, Team 1-5, Rose Winter 2017 UW Tacoma, Team 1-5, Rose Winter 2017人のメンバー

UWT-ROSE-W17S1G5

4 メンバー

16のガイドは作成済み

0 件のコメント

コメントを追加

統計データ:

過去 24時間: 1

過去 7 日: 10

過去 30 日: 29

今までの合計 3,973