メインコンテンツにスキップ

Sony Vaio PCG-3C2L Hard Drive Replacement

必要な工具と部品

  1. Sony Vaio PCG-3C2L Hard Drive Replacement, Battery: 手順 1、 1の画像 1
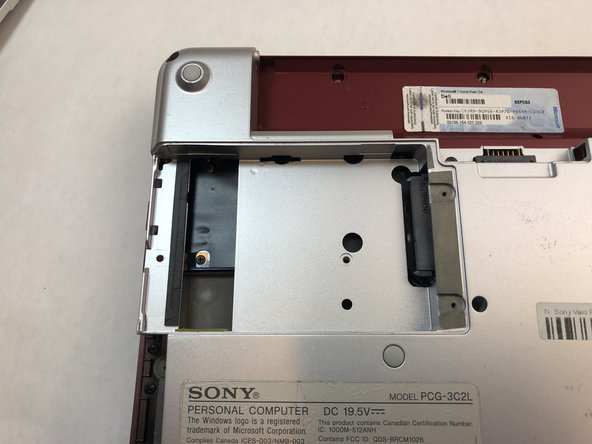
    • Turn your computer over so the bottom is facing up.

    • The battery should be in the top on the back of the computer.

  2. Sony Vaio PCG-3C2L Hard Drive Replacement: 手順 2、 2の画像 1 Sony Vaio PCG-3C2L Hard Drive Replacement: 手順 2、 2の画像 2
    • Initially, the "lock" button should be pushed all the way to the left. To unlock the battery, move the lock button from the left to the right.

  3. Sony Vaio PCG-3C2L Hard Drive Replacement: 手順 3、 1の画像 1
    • After unlocking the battery, hold the "release" button and push to the left.

  4. Sony Vaio PCG-3C2L Hard Drive Replacement: 手順 4、 3の画像 1 Sony Vaio PCG-3C2L Hard Drive Replacement: 手順 4、 3の画像 2 Sony Vaio PCG-3C2L Hard Drive Replacement: 手順 4、 3の画像 3
    • Keep the "release" button pressed.

    • Use the iFixit opening tool (or your hands) to lift the battery up.

  5. Sony Vaio PCG-3C2L Hard Drive Replacement, Hard Drive: 手順 5、 1の画像 1
    • Place the laptop so that the bottom is facing up.

  6. Sony Vaio PCG-3C2L Hard Drive Replacement: 手順 6、 1の画像 1
    • Using a Phillips #0 screwdriver, remove the two 3.5mm screws on the hard drive cover.

  7. Sony Vaio PCG-3C2L Hard Drive Replacement: 手順 7、 2の画像 1 Sony Vaio PCG-3C2L Hard Drive Replacement: 手順 7、 2の画像 2
    • Using a Phillips #0 screwdriver, remove the three 8mm screws on the hard drive casing.

    • Remove the black hard drive casing by pulling it off.

  8. Sony Vaio PCG-3C2L Hard Drive Replacement: 手順 8、 3の画像 1 Sony Vaio PCG-3C2L Hard Drive Replacement: 手順 8、 3の画像 2 Sony Vaio PCG-3C2L Hard Drive Replacement: 手順 8、 3の画像 3
    • Remove the hard drive by carefully sliding it out.

終わりに

To reassemble your device, follow these instructions in reverse order.

作成者

3人の作成者と共同で作成されました。

Chloe Nelson

メンバー登録日: 09/16/19

252 ポイント

2のガイドは作成済み

チーム

0 件のコメント

コメントを追加

統計データ:

過去 24時間: 0

過去 7 日: 1

過去 30 日: 15

今までの合計 703