メインコンテンツにスキップ
リペアコミュニティに参加 - アカウントの作成

Sony VAIO PCG-933A Fan Replacement

必要な工具と部品

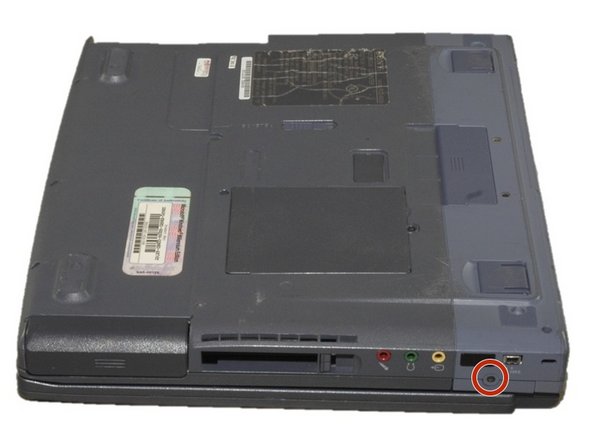
    1. Sony VAIO PCG-933A Fan Replacement, Battery: 手順 1、 2の画像 1 Sony VAIO PCG-933A Fan Replacement, Battery: 手順 1、 2の画像 2
      • Turn the laptop upside down so that the top is sitting on a flat surface.

      • If you are looking at the bottom of the laptop the battery is located on the front right side of the laptop; the opposite side from the floppy disk drive.

      FixBotに聞いてみる

      コメントを追加

    2. Sony VAIO PCG-933A Fan Replacement: 手順 2、 3の画像 1 Sony VAIO PCG-933A Fan Replacement: 手順 2、 3の画像 2 Sony VAIO PCG-933A Fan Replacement: 手順 2、 3の画像 3
      • As shown by the arrow, slide the plastic cover up and then pull out and downwards.

      • You should now be able to pull the battery out.

      FixBotに聞いてみる

      コメントを追加

    1. Sony VAIO PCG-933A Fan Replacement, Keyboard: 手順 3、 1の画像 1
      • Remove the four 16 mm screws bordering the edge of the laptop using a Phillips #0 screwdriver.

      FixBotに聞いてみる

      コメントを追加

    2. Sony VAIO PCG-933A Fan Replacement: 手順 4、 2の画像 1 Sony VAIO PCG-933A Fan Replacement: 手順 4、 2の画像 2
      • Remove the 4mm screw on the right rear side of the laptop next to the audio ports using a Phillips #0 screwdriver.

      • This will release the speaker grille.

      FixBotに聞いてみる

      コメントを追加

    3. Sony VAIO PCG-933A Fan Replacement: 手順 5、 1の画像 1
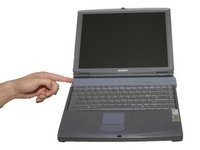
      • Flip the computer so the key board is facing up.

      FixBotに聞いてみる

      コメントを追加

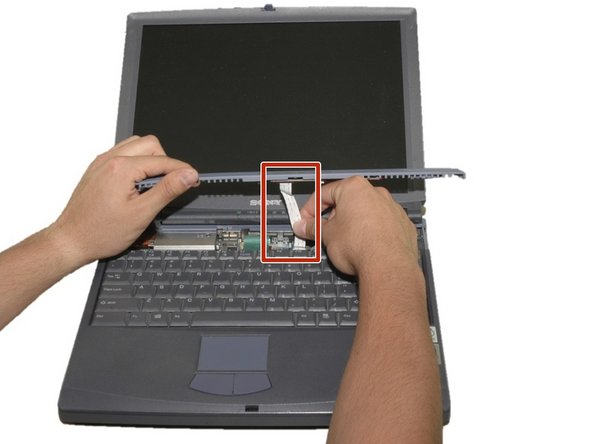
    4. Sony VAIO PCG-933A Fan Replacement: 手順 6、 3の画像 1 Sony VAIO PCG-933A Fan Replacement: 手順 6、 3の画像 2 Sony VAIO PCG-933A Fan Replacement: 手順 6、 3の画像 3
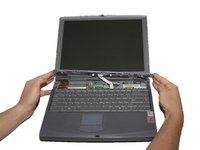
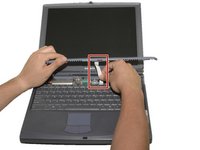
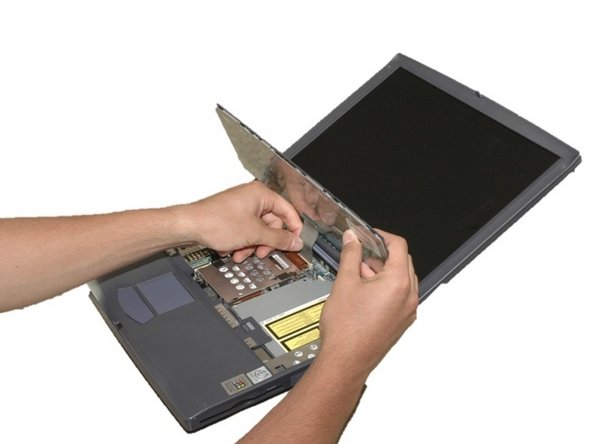
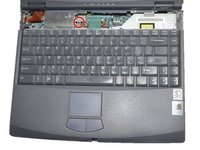
      • Slide the blue speaker grille (located above the keyboard) to the right and gently pull upward. The grille will still be connected by a white electrical strip.

      • Carefully pull out the white electrical strip. By doing this you will remove the speaker grille.

      FixBotに聞いてみる

      コメントを追加

    5. Sony VAIO PCG-933A Fan Replacement: 手順 7、 3の画像 1 Sony VAIO PCG-933A Fan Replacement: 手順 7、 3の画像 2 Sony VAIO PCG-933A Fan Replacement: 手順 7、 3の画像 3
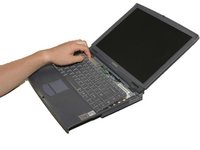
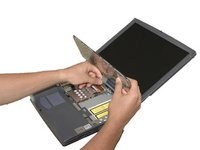
      • Remove the 4mm screw in the center using a Phillips screwdriver.

      • Carefully and slowly pull the green strip straight up (away from the laptop) to disconnect it. Make sure not to pull too hard to avoid breaking.

      • The keyboard can now be removed.

      FixBotに聞いてみる

      コメントを追加

    1. Sony VAIO PCG-933A Fan Replacement, Fan: 手順 8、 3の画像 1 Sony VAIO PCG-933A Fan Replacement, Fan: 手順 8、 3の画像 2 Sony VAIO PCG-933A Fan Replacement, Fan: 手順 8、 3の画像 3
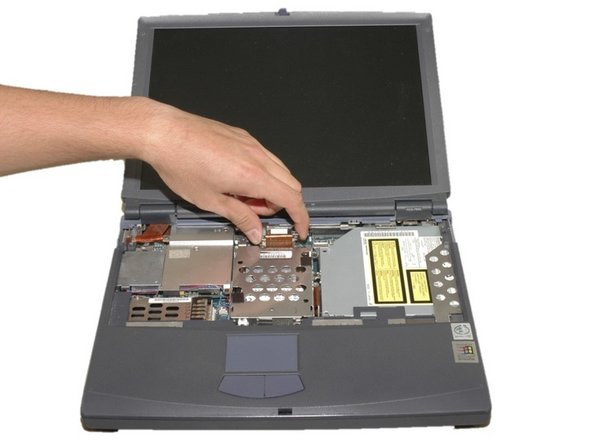
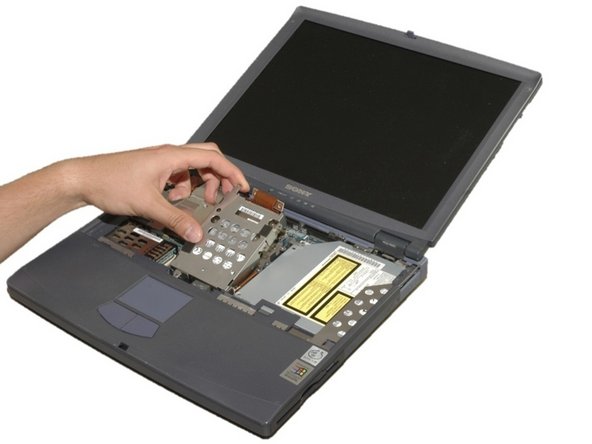
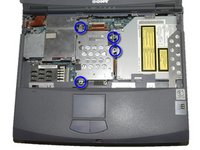
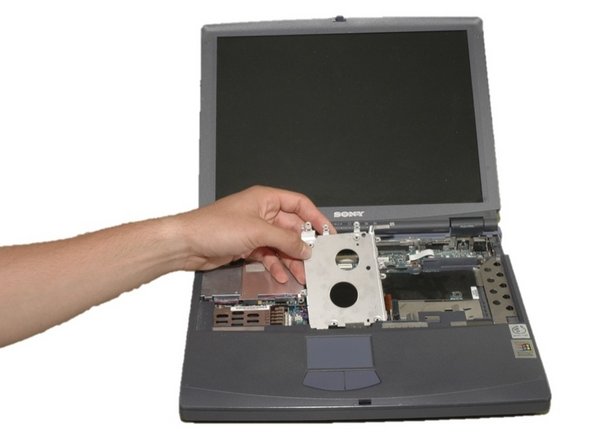
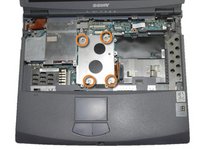
      • Remove the four 4mm Phillips screws around the hard drive.

      • WARNING: DVD drive is now loose as well

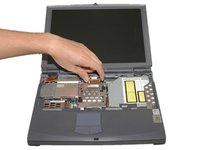
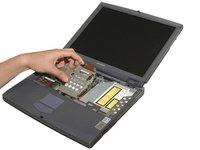
      • Carefully lift the hard drive cage out.

      • Carefully disconnect the copper strip to pull out the hard drive.

      FixBotに聞いてみる

      コメントを追加

    2. Sony VAIO PCG-933A Fan Replacement: 手順 9、 2の画像 1 Sony VAIO PCG-933A Fan Replacement: 手順 9、 2の画像 2
      • With the hard drive removed, unscrew the four 6mm brass colored, Phillips screws under the hard drive cage.

      • This will allow you to remove the hard drive mounting bracket.

      FixBotに聞いてみる

      コメントを追加

    3. Sony VAIO PCG-933A Fan Replacement: 手順 10、 1の画像 1
      • Remove the three 6mm brass colored, Phillips screws that hold the fan cage in place.

      FixBotに聞いてみる

      コメントを追加

    4. Sony VAIO PCG-933A Fan Replacement: 手順 11、 2の画像 1 Sony VAIO PCG-933A Fan Replacement: 手順 11、 2の画像 2
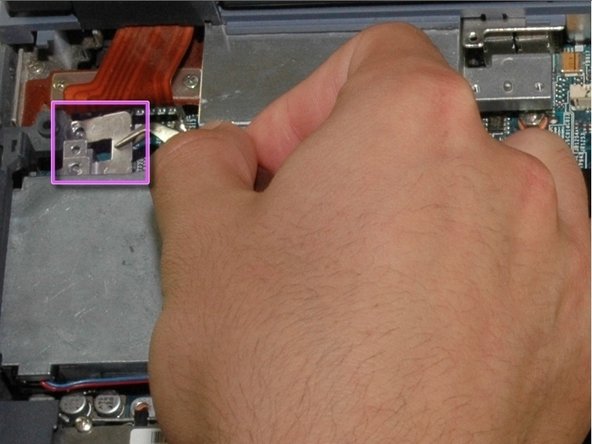
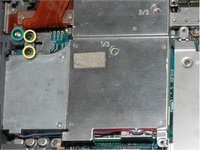
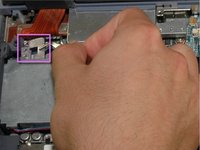
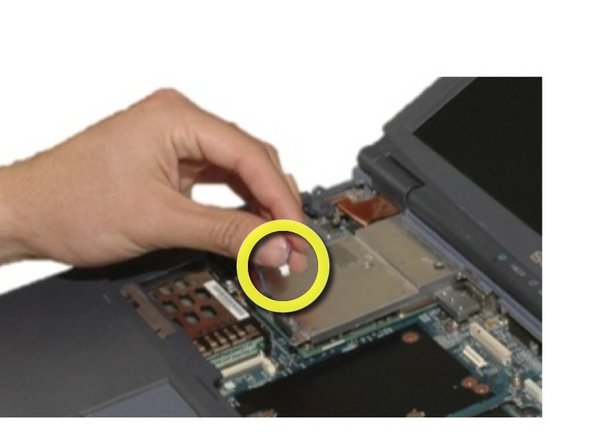
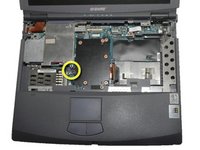
      • Remove the two 4mm black, Phillips screws shown here.

      • Remove the 18mm silver, Phillips screw shown here.

      • Now remove the silver tab.

      FixBotに聞いてみる

      コメントを追加

    5. Sony VAIO PCG-933A Fan Replacement: 手順 12、 2の画像 1 Sony VAIO PCG-933A Fan Replacement: 手順 12、 2の画像 2
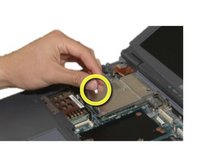
      • Remove the blue and red fan power cords.

      FixBotに聞いてみる

      コメントを追加

    6. Sony VAIO PCG-933A Fan Replacement: 手順 13、 2の画像 1 Sony VAIO PCG-933A Fan Replacement: 手順 13、 2の画像 2
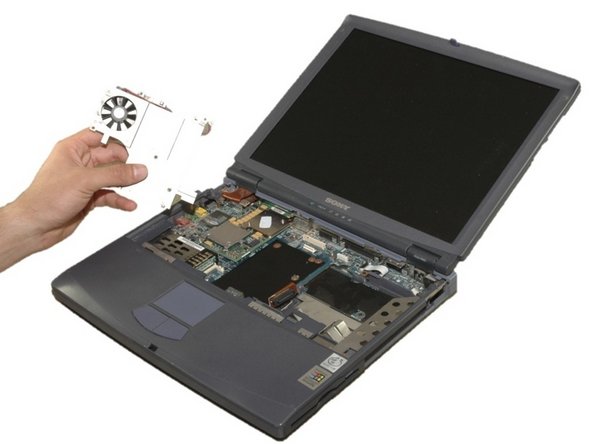
      • Carefully pull up and out on the metal heat sink and fan bracket.

      • The fan can now be cleaned or replaced.

      FixBotに聞いてみる

      コメントを追加

終わりに

To reassemble your device, follow these instructions in reverse order.

キャンセル: このガイドを終了できませんでした。

ある他の人がこのガイドを完成しました。

作成者

5人の作成者と共同で作成されました。

Sara Lillard

メンバー登録日: 04/11/11

165 ポイント

8のガイドは作成済み

チーム

Cal Poly, Team 12-36, Maness Spring 2011 Cal Poly, Team 12-36, Maness Spring 2011人のメンバー

CPSU-MANESS-S11S12G36

4 メンバー

24のガイドは作成済み

0件のガイドコメント

コメントを追加

統計データ:

過去 24時間: 3

過去 7 日: 15

過去 30 日: 42

今までの合計 2,867