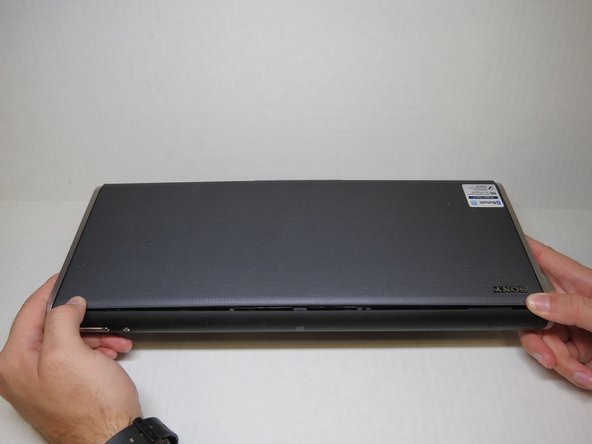
メインコンテンツにスキップ

Sony SRS-BTX500 Speaker Replacement

必要な工具と部品

  1. Sony SRS-BTX500 Speaker Replacement, Battery: 手順 1、 3の画像 1 Sony SRS-BTX500 Speaker Replacement, Battery: 手順 1、 3の画像 2 Sony SRS-BTX500 Speaker Replacement, Battery: 手順 1、 3の画像 3
    • Locate the four rubber grips on the bottom of the speaker. Use the plastic opening tool to remove the grips, exposing the underlying screws.

  2. Sony SRS-BTX500 Speaker Replacement: 手順 2、 2の画像 1 Sony SRS-BTX500 Speaker Replacement: 手順 2、 2の画像 2
    • Using a Phillips #1 screwdriver, remove the four 5mm screws that were underneath the four rubber grips.

  3. Sony SRS-BTX500 Speaker Replacement: 手順 3、 3の画像 1 Sony SRS-BTX500 Speaker Replacement: 手順 3、 3の画像 2 Sony SRS-BTX500 Speaker Replacement: 手順 3、 3の画像 3
    • Use the plastic opening tool to run along the outside edges of the speaker. Pry along the seams until you can remove the side panel of the speaker, exposing the battery.

  4. Sony SRS-BTX500 Speaker Replacement: 手順 4、 3の画像 1 Sony SRS-BTX500 Speaker Replacement: 手順 4、 3の画像 2 Sony SRS-BTX500 Speaker Replacement: 手順 4、 3の画像 3
    • Use the plastic opening tool to remove the battery from casing.

    • Unclasp the battery from the speaker. Remove and replace.

  5. Sony SRS-BTX500 Speaker Replacement, Motherboard: 手順 5、 3の画像 1 Sony SRS-BTX500 Speaker Replacement, Motherboard: 手順 5、 3の画像 2 Sony SRS-BTX500 Speaker Replacement, Motherboard: 手順 5、 3の画像 3
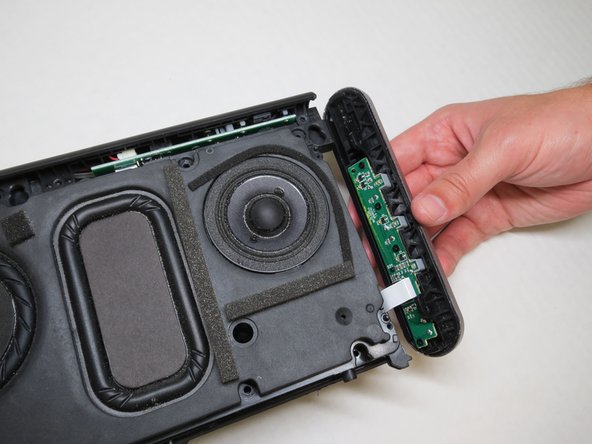
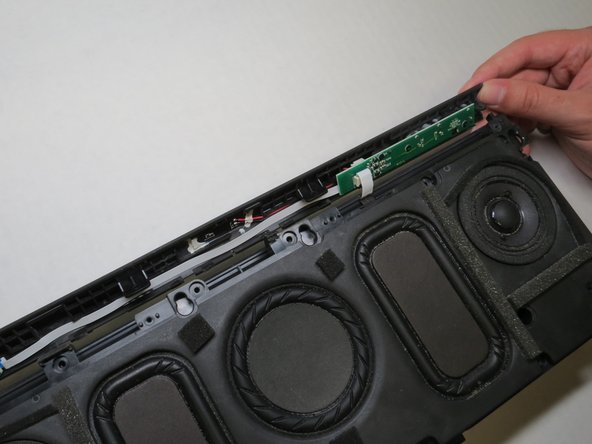
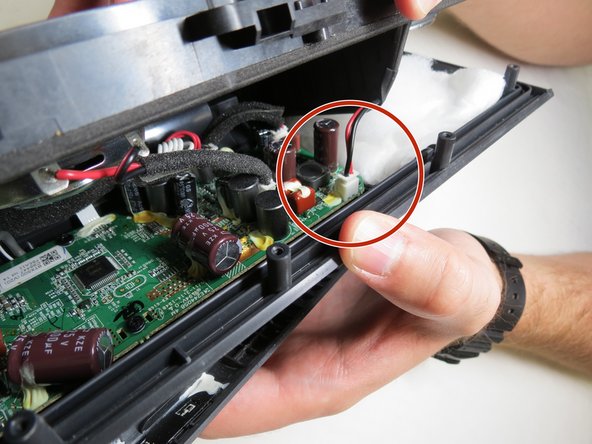
    • With the front of the speaker facing you, run the plastic opening tool along the bottom of the speaker. Then push the face of the speaker at both ends before lifting it off.

  6. Sony SRS-BTX500 Speaker Replacement: 手順 6、 3の画像 1 Sony SRS-BTX500 Speaker Replacement: 手順 6、 3の画像 2 Sony SRS-BTX500 Speaker Replacement: 手順 6、 3の画像 3
    • Remove the two covers on the left and right with the small plastic opening tool to expose hidden screws.

    • Use a Phillips #1 screwdriver to remove the 14 indicated screws size 7mm.

    • Use a Phillips #1 screwdriver to remove the 8 indicated screws size 5mm.

  7. Sony SRS-BTX500 Speaker Replacement: 手順 7、 3の画像 1 Sony SRS-BTX500 Speaker Replacement: 手順 7、 3の画像 2 Sony SRS-BTX500 Speaker Replacement: 手順 7、 3の画像 3
    • Lift off the casing on the left, right, and top of the speaker.

  8. Sony SRS-BTX500 Speaker Replacement: 手順 8、 3の画像 1 Sony SRS-BTX500 Speaker Replacement: 手順 8、 3の画像 2 Sony SRS-BTX500 Speaker Replacement: 手順 8、 3の画像 3
    • Pull apart the speaker from the top. Unplug the indicated exposed wire that connects the speakers and the motherboard.

    • After the first wire is disconnected, separate the other connecting wires.

  9. Sony SRS-BTX500 Speaker Replacement, Speaker: 手順 9、 3の画像 1 Sony SRS-BTX500 Speaker Replacement, Speaker: 手順 9、 3の画像 2 Sony SRS-BTX500 Speaker Replacement, Speaker: 手順 9、 3の画像 3
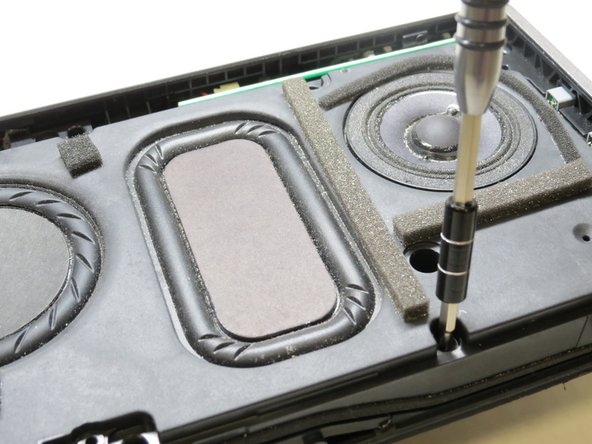
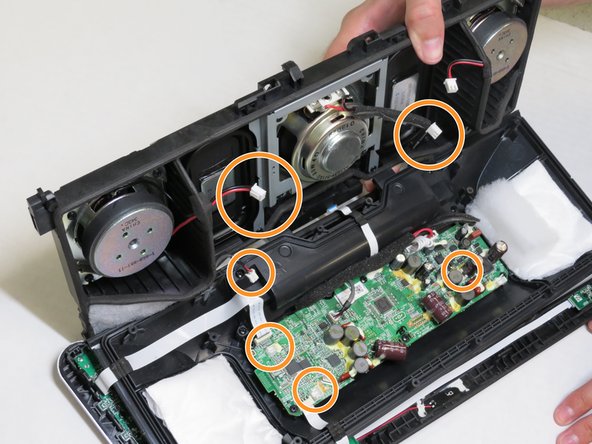
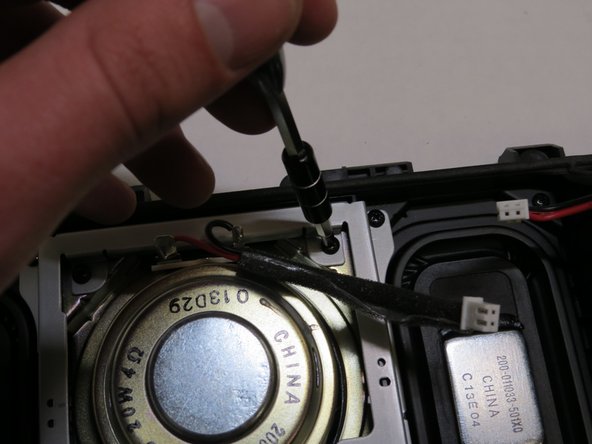
    • Locate the broken speaker, and using a Philips #1 screwdriver, remove the four 7 mm screws to release the speaker from its position.

    • If replacing the center speaker, four additional 7 mm screws must be removed as indicated.

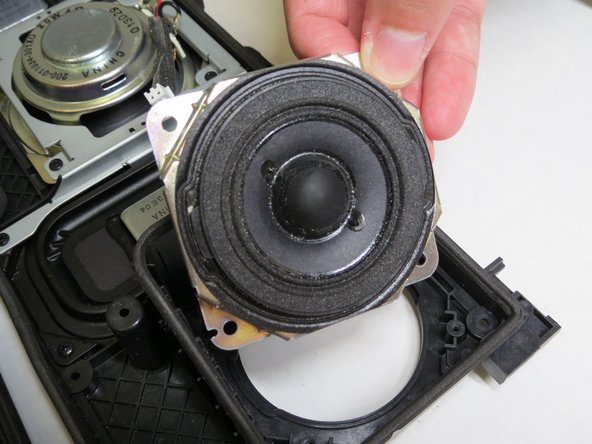
    • Replace it with the new speaker you have in your possession.

終わりに

To reassemble your device, follow these instructions in reverse order.

2 の人々がこのガイドを完成させました。

作成者

2人の作成者と共同で作成されました。

Sydney Legeer

メンバー登録日: 01/31/16

239 ポイント

1ガイドが承認済み

チーム

University of Alabama, Team 1-5, Sydow campbell Spring 2016 University of Alabama, Team 1-5, Sydow campbell Spring 2016人のメンバー

UA-SYDOW CAMPBELL-S16S1G5

3 メンバー

2のガイドは作成済み

0 件のコメント

コメントを追加

統計データ:

過去 24時間: 0

過去 7 日: 4

過去 30 日: 20

今までの合計 2,493