メインコンテンツにスキップ

Sony RMT-D197A Battery Contactor Repair

必要な工具と部品

  1. Sony RMT-D197A Battery Contactor Repair, Sony RMT-D197A Battery Contactor Repair: 手順 1、 2の画像 1 Sony RMT-D197A Battery Contactor Repair, Sony RMT-D197A Battery Contactor Repair: 手順 1、 2の画像 2
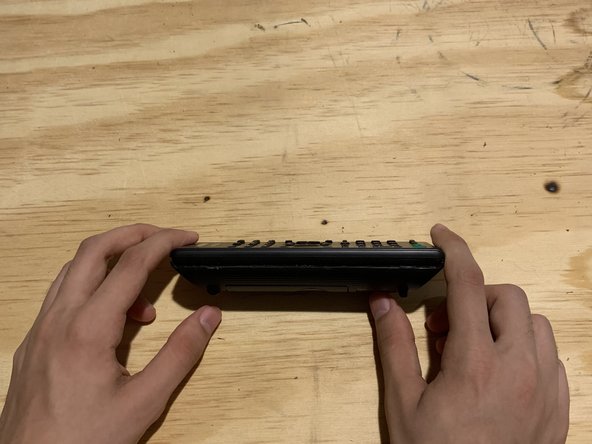
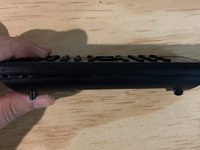
    • Place the remote on a solid, sturdy surface.

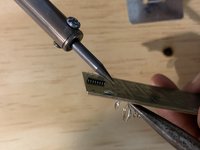
    • Use a putty knife to gently pry open the remote.

  2. Sony RMT-D197A Battery Contactor Repair: 手順 2、 2の画像 1 Sony RMT-D197A Battery Contactor Repair: 手順 2、 2の画像 2
    • Remove the front panel from the remote.

  3. Sony RMT-D197A Battery Contactor Repair: 手順 3、 1の画像 1
    • Wear safety glasses and use caution when handling a hot soldering iron.

    • Use the soldering iron to gently desolder the damaged battery contactor.

    • Keep in mind the battery contactor can easily break so make sure to be gentle with the soldering iron.

  4. Sony RMT-D197A Battery Contactor Repair: 手順 4、 2の画像 1 Sony RMT-D197A Battery Contactor Repair: 手順 4、 2の画像 2
    • Use a pair of tweezers to remove the spring from the contactor.

  5. Sony RMT-D197A Battery Contactor Repair: 手順 5、 1の画像 1
    • Use the soldering iron to melt solder onto the empty hole.

    • Make sure to accurately place the spring into the correct position.

  6. Sony RMT-D197A Battery Contactor Repair: 手順 6、 2の画像 1 Sony RMT-D197A Battery Contactor Repair: 手順 6、 2の画像 2
    • Reattach the two halves of the remote.

  7. Sony RMT-D197A Battery Contactor Repair: 手順 7、 1の画像 1
    • Insert batteries and try out your remote.

ゴール

3 の人々がこのガイドを完成させました。

作成者

1人の作成者と共同作成されました。

Ahmed Sultan

メンバー登録日: 09/10/21

193 ポイント

1ガイドが承認済み

チーム

York University, Team 2-10, O'Regan Fall 2021 York University, Team 2-10, O'Regan Fall 2021人のメンバー

YORK-O'REGAN-F21S2G10

1 メンバー

2のガイドは作成済み

コメント 1 件

As the remote is already disassembled, I took the opportunity to clean the contacts for all the buttons using alcohol.

Jason Lee - 返信

コメントを追加

統計データ:

過去 24時間: 0

過去 7 日: 1

過去 30 日: 9

今までの合計 398