メインコンテンツにスキップ

Sony PlayStation Camera Microphone Array Replacement

必要な工具と部品

  1. Sony PlayStation Camera Microphone Array Replacement, Microphone Array: 手順 1、 2の画像 1 Sony PlayStation Camera Microphone Array Replacement, Microphone Array: 手順 1、 2の画像 2
    • Separate the camera from the camera stand to gain access to the bottom of the camera.

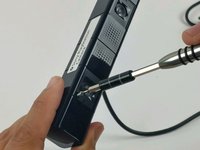
  2. Sony PlayStation Camera Microphone Array Replacement: 手順 2、 2の画像 1 Sony PlayStation Camera Microphone Array Replacement: 手順 2、 2の画像 2
    • With the PH000 sized screwdriver, remove the two 6.5mm Phillips #000 screws located under the stand connection point, where the cable enters the case.

  3. Sony PlayStation Camera Microphone Array Replacement: 手順 3、 1の画像 1
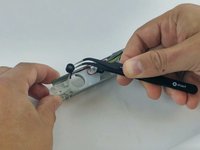
    • Using tweezers, remove the cap holding the cable grommet in place.

  4. Sony PlayStation Camera Microphone Array Replacement: 手順 4、 1の画像 1
    • Using the tweezers, remove both poly-carbonate lens coverplates.

    • Lift the coverplates slowly, to ensure they do not crack, or break.

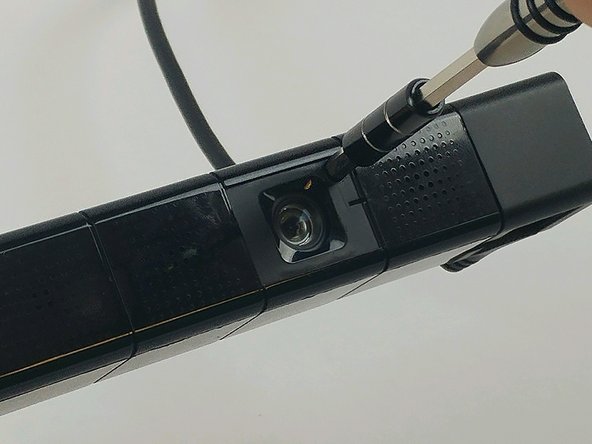
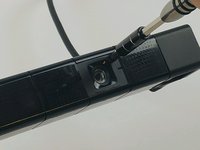
  5. Sony PlayStation Camera Microphone Array Replacement: 手順 5、 2の画像 1 Sony PlayStation Camera Microphone Array Replacement: 手順 5、 2の画像 2
    • Using the PH0 sized screwdriver, remove two 3.2mm Phillips #0 screws, located under the coverplates.

  6. Sony PlayStation Camera Microphone Array Replacement: 手順 6、 1の画像 1
    • Using extreme care, separate the front of the case, from the back with a metal spudger, or pry tool. The case will scratch easily.

    • The case joints can be hard to spot. They appear as a very fine line in the plastic. Start with light pressure until the seam parts, allowing the pry tool to work.

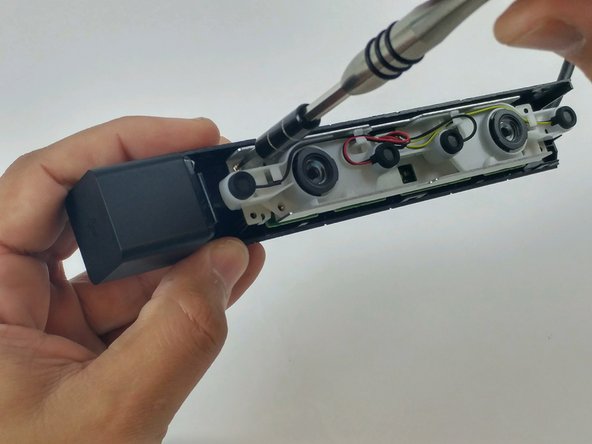
  7. Sony PlayStation Camera Microphone Array Replacement: 手順 7、 2の画像 1 Sony PlayStation Camera Microphone Array Replacement: 手順 7、 2の画像 2
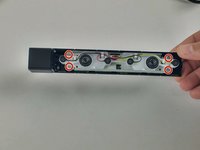
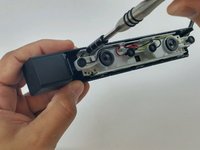
    • Using the PH0 sized screwdriver, remove the four 4.5mm Phillips #0 screws securing the circuit assembly to the device housing.

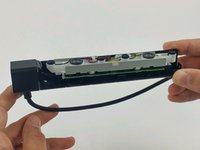
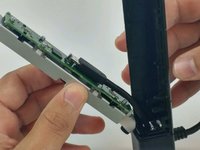
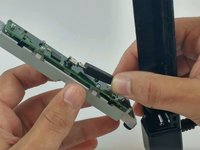
  8. Sony PlayStation Camera Microphone Array Replacement: 手順 8、 3の画像 1 Sony PlayStation Camera Microphone Array Replacement: 手順 8、 3の画像 2 Sony PlayStation Camera Microphone Array Replacement: 手順 8、 3の画像 3
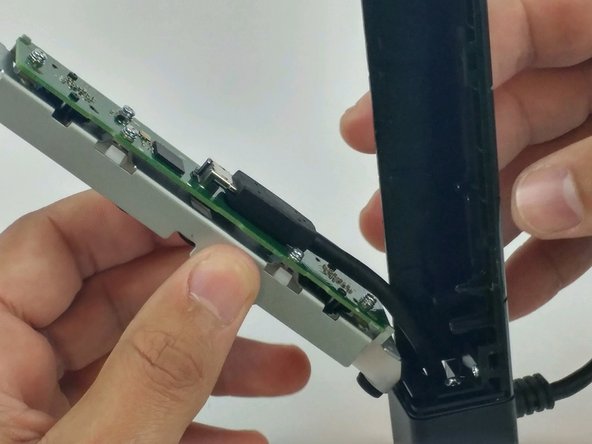
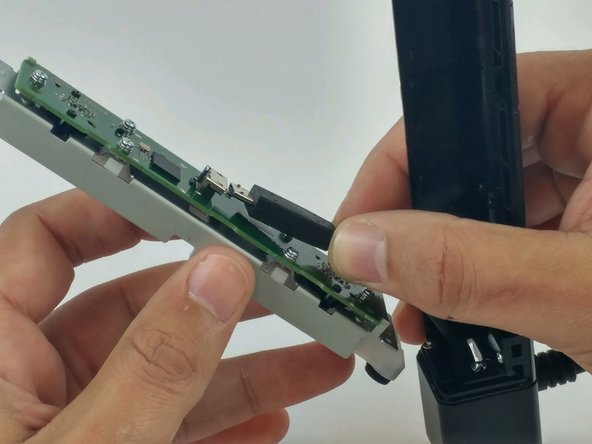
    • Lift the motherboard and frame from the plastic housing.

    • Disconnect the camera cable from the motherboard.

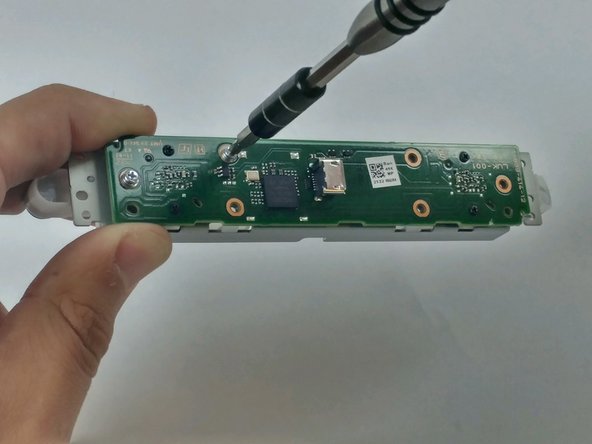
  9. Sony PlayStation Camera Microphone Array Replacement: 手順 9、 2の画像 1 Sony PlayStation Camera Microphone Array Replacement: 手順 9、 2の画像 2
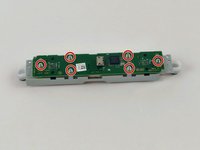
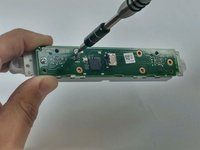
    • Using the PH0 sized screwdriver, remove the six 4.2mm Phillips #0 screws securing the motherboard to the metal frame.

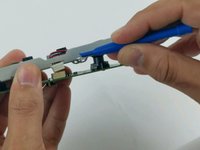
  10. Sony PlayStation Camera Microphone Array Replacement: 手順 10、 2の画像 1 Sony PlayStation Camera Microphone Array Replacement: 手順 10、 2の画像 2
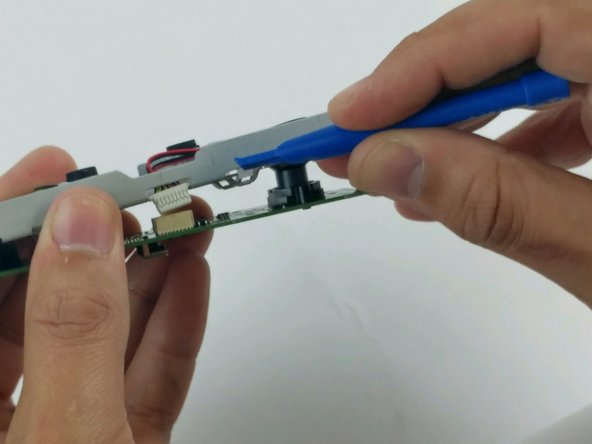
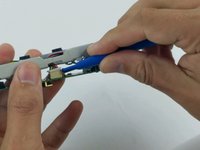
    • Using a plastic opening tool, disconnect the microphone array connector from the motherboard.

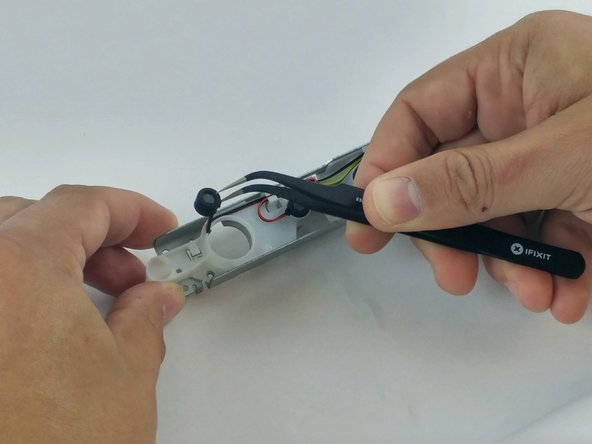
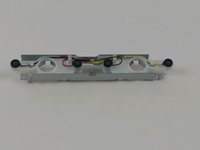
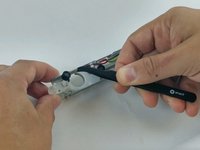
  11. Sony PlayStation Camera Microphone Array Replacement: 手順 11、 3の画像 1 Sony PlayStation Camera Microphone Array Replacement: 手順 11、 3の画像 2 Sony PlayStation Camera Microphone Array Replacement: 手順 11、 3の画像 3
    • Using fine point tweezers, grab hold of each microphone, one at a time, and lift from the plastic frame.

    • Using care to not damage the wires, remove microphone array from the retaining tabs on the plastic frame.

終わりに

To reassemble your device, follow these instructions in reverse order.

ある他の人がこのガイドを完成しました。

作成者

3人の作成者と共同で作成されました。

Joshua Gates

メンバー登録日: 02/15/17

268 ポイント

2のガイドは作成済み

チーム

USF Tampa, Team 5-5, Passmore Spring 2017 USF Tampa, Team 5-5, Passmore Spring 2017人のメンバー

USFT-PASSMORE-S17S5G5

3 メンバー

4のガイドは作成済み

0 件のコメント

コメントを追加

統計データ:

過去 24時間: 0

過去 7 日: 0

過去 30 日: 1

今までの合計 7,076