必要な工具と部品
ビデオの概要
-
この手順は未翻訳です。 翻訳を手伝う。
-
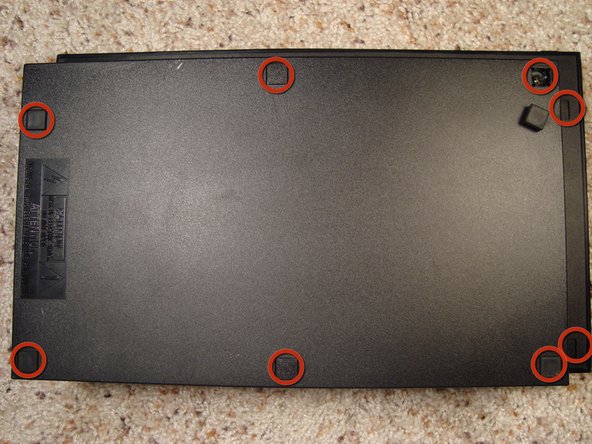
Turn the console upside down and with a flathead screw remove the rubber covers that hide the 8 screws.
-
On the back right of the console we can clearly see the warranty seal... the point of no return!
-
Once the seal and the screws are gone lift the upper part of the console and get ready to uncover the secrets of the PS2.
-
-
この手順は未翻訳です。 翻訳を手伝う。
-
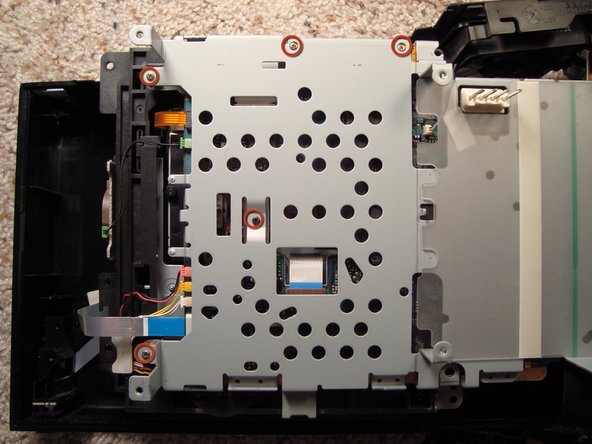
First of all let's remove the power supply by removing the four screws. In the blue box you can see the large fan, which is in front of the power supply to make sure the temperature is kept as low as possible, and to protect the "Emotion Engine".
-
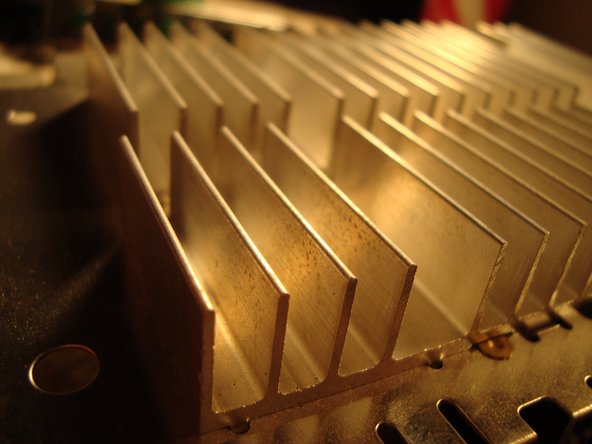
Here's a closer look at the massive power supply.
-
-
-
この手順は未翻訳です。 翻訳を手伝う。
-
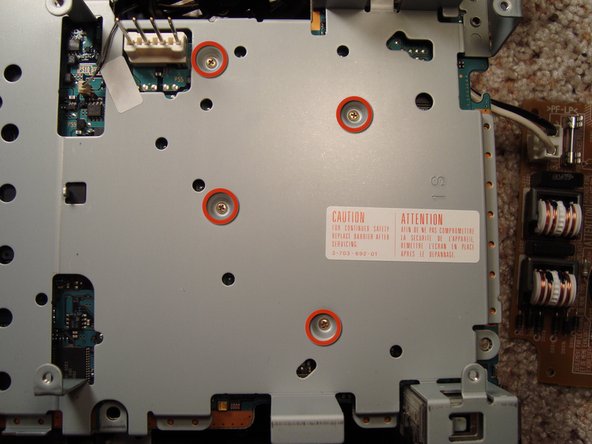
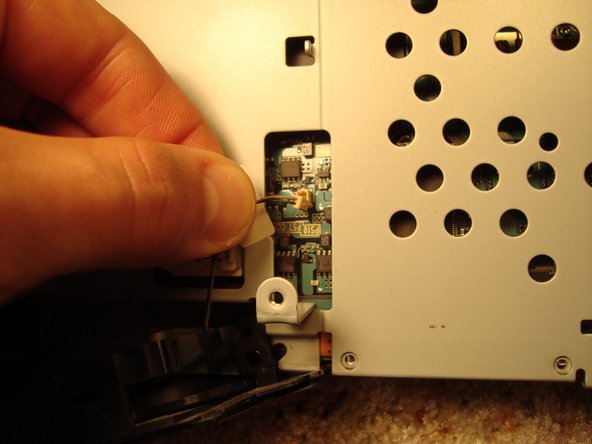
Next we need to remove the plastic layer that protects the power supply so we can access to the screws beneath it.
-
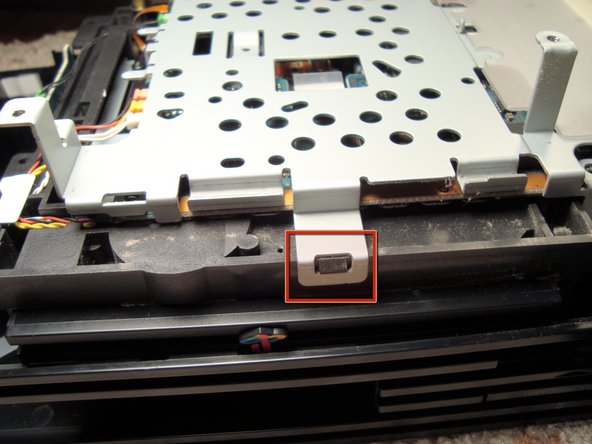
Once all the screws are gone we can lift the metal frame by using a flathead screw and some leverage to unlock all four sides from the plastic case of the optical drive.
-
-
この手順は未翻訳です。 翻訳を手伝う。
-
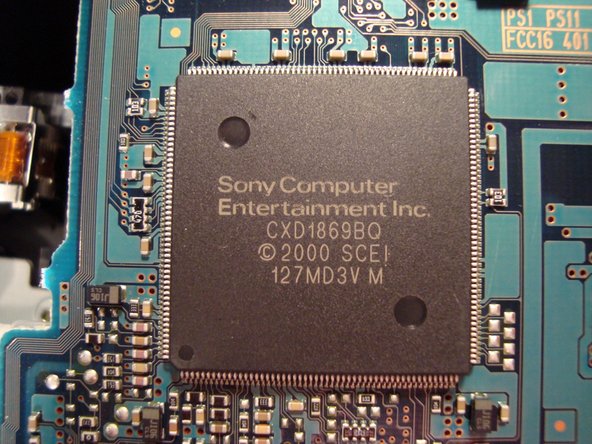
And here it is... the EE "Emotion Engine" Some specifics about the EE: CPU 128 Bit running at 300 MHz
-
RDRAM 32 MB
-
The GS "Graphics Synthesizer" with its clock frequency of 150 MHz, DRAM Bus Bandwidth 48 GB per second, DRAM Bus width 2560 bits and a Maximum Polygon Rate of 75 million polygons per second... pretty impressive
-