メインコンテンツにスキップ

Sony PSone Laser Assembly Replacement

必要な工具と部品

  1. Sony PSone Laser Assembly Replacement, Upper Case: 手順 1、 1の画像 1
    • Remove all cables plugged into the PlayStation.

  2. Sony PSone Laser Assembly Replacement: 手順 2、 2の画像 1 Sony PSone Laser Assembly Replacement: 手順 2、 2の画像 2
    • Flip over the PlayStation and remove the six screws from the bottom.

  3. Sony PSone Laser Assembly Replacement: 手順 3、 1の画像 1
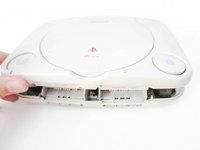
    • Flip the PlayStation back.

    • There are no screws holding EVERYTHING inside the PlayStation so better hold it like a burger while flipping.

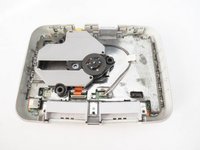
  4. Sony PSone Laser Assembly Replacement: 手順 4、 2の画像 1 Sony PSone Laser Assembly Replacement: 手順 4、 2の画像 2
    • Lift up and remove the upper case.

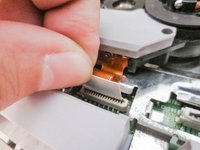
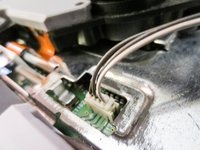
  5. Sony PSone Laser Assembly Replacement, Laser Assembly: 手順 5、 3の画像 1 Sony PSone Laser Assembly Replacement, Laser Assembly: 手順 5、 3の画像 2 Sony PSone Laser Assembly Replacement, Laser Assembly: 手順 5、 3の画像 3
    • Disconnect the cables from the PSone’s board.

    • Take extreme care when disconnecting the ribbon cable from motherboard. You risk damaging the cable if you’re not careful.

終わりに

To reassemble your device, follow these instructions in reverse order.

11 の人々がこのガイドを完成させました。

作成者

5人の作成者と共同で作成されました。

Marjorie

メンバー登録日: 12/23/13

2,273 ポイント

11のガイドは作成済み

0 件のコメント

コメントを追加

統計データ:

過去 24時間: 1

過去 7 日: 8

過去 30 日: 38

今までの合計 5,975