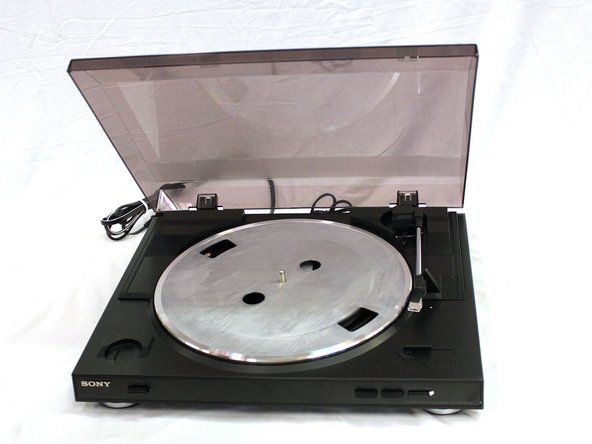
メインコンテンツにスキップ

Sony PS-LX300USB Motor Replacement

必要な工具と部品

  1. Sony PS-LX300USB Motor Replacement, Dust Cover: 手順 1、 1の画像 1
    • Turn the turntable around so that the back side is visible.

  2. Sony PS-LX300USB Motor Replacement: 手順 2、 2の画像 1 Sony PS-LX300USB Motor Replacement: 手順 2、 2の画像 2
    • Begin by releasing the left latch. Apply downward pressure to the square, black button using a flathead screw driver.

    • Once the latch is released, lift upward.

    • Use your left hand to hold the left side of the dust cover above the latch. This ensures the latch does not reconnect.

  3. Sony PS-LX300USB Motor Replacement: 手順 3、 1の画像 1
    • Use a flat head screw driver to apply pressure to the black square button on the right side.

  4. Sony PS-LX300USB Motor Replacement: 手順 4、 2の画像 1 Sony PS-LX300USB Motor Replacement: 手順 4、 2の画像 2
    • Once both the right and left buttons are released, pull the dust cover upwards.

    • The dust cover is now disconnected and ready for replacement.

  5. Sony PS-LX300USB Motor Replacement, Drive Belt: 手順 5、 2の画像 1 Sony PS-LX300USB Motor Replacement, Drive Belt: 手順 5、 2の画像 2
    • Lift the rubber mat, and put it to the side. It should be easy to remove, because it simply rests on a metal platter without anything securing it down.

  6. Sony PS-LX300USB Motor Replacement: 手順 6、 1の画像 1
    • Turn the platter so that the motor pulley can be seen through one of the two outer holes in the platter.

    • If the drive belt is hooked around the motor pulley, unhook it.

    • When reassembling to device, don't forget to hook the new drive belt to the motor pulley.

  7. Sony PS-LX300USB Motor Replacement: 手順 7、 1の画像 1
    • Grasping the platter by its two inner holes, lift it upwards.

    • Removing the platter may take a small amount of force. If the pulley is unhooked and the tone arm is safely to the side, don’t fear using a small amount of force in lifting the platter.

    • If you haven’t yet unhooked the drive belt, the motor pulley and the belt could sustain damage.

  8. Sony PS-LX300USB Motor Replacement: 手順 8、 2の画像 1 Sony PS-LX300USB Motor Replacement: 手順 8、 2の画像 2
    • Peel the drive belt from the inner ridge of the metal platter and put it to the side.

    • Sometimes, the drive belt can fall off the platter during deconstruction. If this is the case, simply take it out of the device wherever it is.

  9. Sony PS-LX300USB Motor Replacement, Motor: 手順 9、 2の画像 1 Sony PS-LX300USB Motor Replacement, Motor: 手順 9、 2の画像 2
    • Use a PH2 screwdriver to remove the 8 screws from the bottom cover.

    • Now lift the bottom cover to remove it.

  10. Sony PS-LX300USB Motor Replacement: 手順 10、 1の画像 1
    • The motor is in the right upper corner area of the turntable, shown in the red square.

  11. Sony PS-LX300USB Motor Replacement: 手順 11、 1の画像 1
    • Using a solder iron, carefully desolder the wires that are connected to the old motor to be able to remove it. Making sure to pay close attention where each wire is connected.

    • From left to right: Black is all the way to the left. Red is next. White is third. Yellow is all the way to the right.

    • When reassembling, do not forget to solder in the wires in their previous places.

  12. Sony PS-LX300USB Motor Replacement: 手順 12、 1の画像 1
    • Remove the old motor by turning it counterclockwise, freeing it from its position.

    • When reassembling, place the new motor in by aligning the two screws and turning the motor clockwise to secure it.

終わりに

To reassemble your device, follow these instructions in reverse order.

作成者

2人の作成者と共同で作成されました。

Christian Fuentes

メンバー登録日: 09/27/17

116 ポイント

1ガイドが承認済み

チーム

Cal Poly, Team S8-G3, Banghart Fall 2017 Cal Poly, Team S8-G3, Banghart Fall 2017人のメンバー

CPSU-BANGHART-F17S8G3

5 メンバー

5のガイドは作成済み

0 件のコメント

コメントを追加

統計データ:

過去 24時間: 0

過去 7 日: 10

過去 30 日: 31

今までの合計 3,335